Poppin’ Pearls
by Beate Johns
Add shimmer to your stamped image with Perfect Pearls.
Supplies
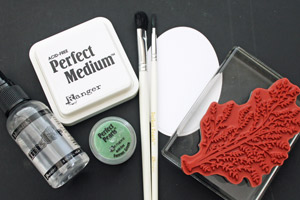
- Stamps
- Cardstock
- Perfect Medium, Versamark™ or other embossing ink
- Perfect Pearls® (Forever Green), or Pearl-Ex™
- Small and wider Brush, or Swiffer® cloth
Step-by-Step
-
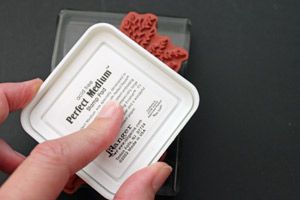
Step 1
Ink your image with Perfect Medium™.
-
Step 2
Stamp image on cardstock.
Hint:
You won't see the image.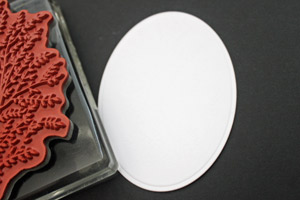
-
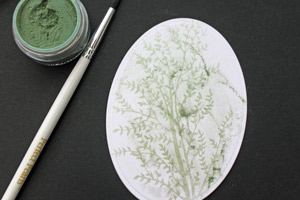
Step 3
Start brushing Perfect Pearls over your image with a thin brush.
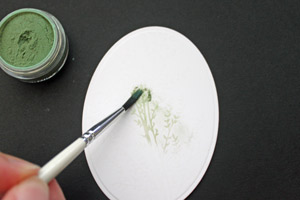
-
Continue until you covered the entire image with Perfect Pearls.
-
Step 4
Use your wider brush to brush off the excess powder from your image.
Alternative:
You can also swipe a Swiffers Cloth carefully over the image to pick up the extra powder.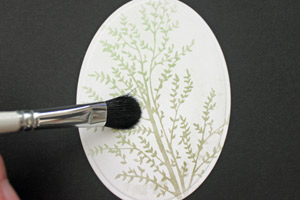
-
Step 5
To set the powder spray with fine water mist.
Hint:
When using Pearl-Ex for this technique, you will have to set them with an Acrylic Sealer instead of water.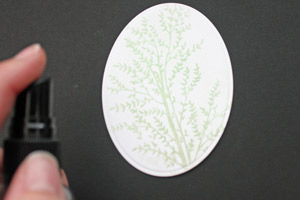
-
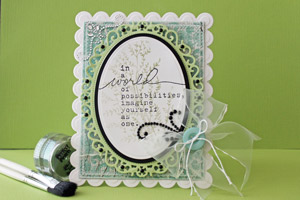
Step 6
Finish your card.
Video!
Variations
More Dramatic
Try the same technique on dark cardstock for a more dramatic look.
Interference?
Interference colors are fun. The powder looks different on light then on dark cardstock.
Your Turn
You've seen the tutorial, now you try it! We've got a section of the gallery set aside for Poppin’ Pearls. Try this technique, then upload your artwork to the gallery. Show us your creations!
***Please note - Internet Explorer/Edge is not a supported browser, and will not allow you to see the videos. Please use Chrome, Firefox or Safari to view our tutorial videos.
Questions and Comments
We'd love to get your feedback or questions. Leave your comment below.
I love the oval frame die cut from Spellbinders. Could you please tell me the name of it?
Thanks
The oval frame was cut with the largest Floral Oval Nestabilities die from Spellbinders. One of my favorite dies!
I created the tutorial just like Tim Holtz taught this technique at Ranger University.
I think I mentioned in the video that Pearl-Ex has to be sealed with Acrylic Sealer since it doesn't have a binding agent in the powder, like Perfect Pearls does.
Page 1 of 1 pages