Poppin’ Pastels
by Beate Johns
Use your chalks and applicators to make unseen images colorful.
Supplies
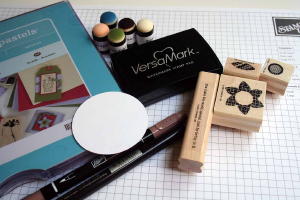
- Versamark® Pad
- Versamarker® (optional)
- Stamps
- Cardstock
- Sponge Daubers or other applicators
- Pastels also known as chalks
Step-by-Step
-
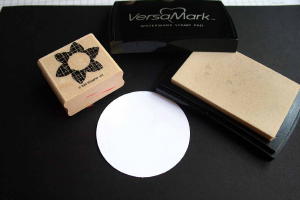
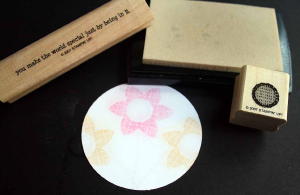
Step 1
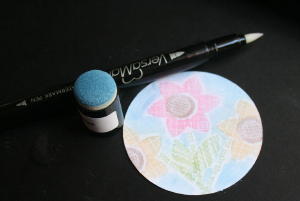
Stamp images with Versamark™ onto cardstock. The flower head was stamped three times here.
-
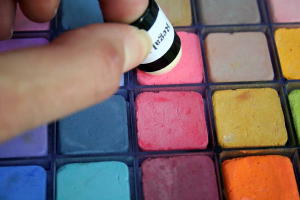
Step 2
Rub the sponge dauber (other other applicator) on the pastel color of your choice to pick up the color.
-
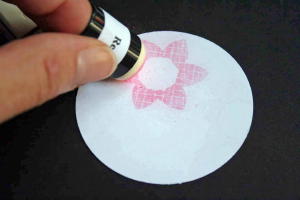
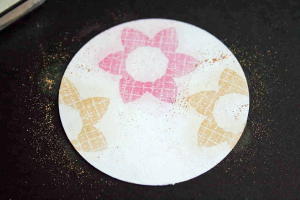
Step 3
Dab or rub the sponge dauber over the stamped image. The chalk will stick to it.
-
Step 4
Take another dauber and repeat to add another color.
-
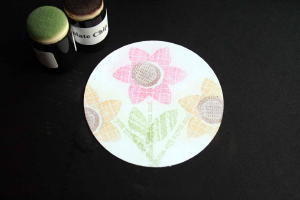
Step 5
Add more images if desired. Here, flower stems, leaves and centers were added.
-
Step 6
Apply chalk over these images.
-
Step 7 (Optional)
Use a Versamarker to apply ink to other unstamped areas.
-
Step 8
Apply more chalk.
-
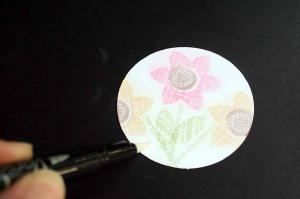
Step 9
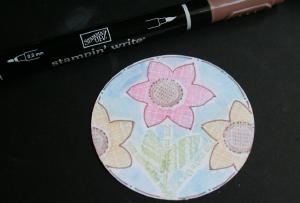
To define your stamped images more, try outlining or doodling around them with a marker.
-
Step 10
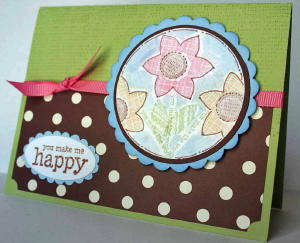
Finish your project.
Variations
HINTS:
-The pastels will rub off a bit. You can avoid that by spraying your chalked image with acrylic sealer.
-This is a fun activity for smaller children. Stamp images in Versamark, give them a sponge dauber and chalk and tell them to rub over the cardstock until they find it.
Your Turn
You've seen the tutorial, now you try it! We've got a section of the gallery set aside for Poppin’ Pastels. Try this technique, then upload your artwork to the gallery. Show us your creations!
***Please note - Internet Explorer/Edge is not a supported browser, and will not allow you to see the videos. Please use Chrome, Firefox or Safari to view our tutorial videos.
Questions and Comments
We'd love to get your feedback or questions. Leave your comment below.
The brown marker that was used to outline the flowers is a regular marker.
I live in Norway, but it looks so cool.. hope I will here from you.
(sorry if my english is not good)
- Tonje-
The stamp set is called "You make me happy". You can find a complete list of supplies in the gallery upload for this card.
Hugs and smiles
The kit with all the color on picture "step 2" ? what is it called?
Those are pastels from Stampin' Up!
Page 1 of 1 pages