Pocket Portfolio
by Dina Kowal
Create a presentation folder for cards, business info and more!
Supplies
- Cardstock (full sheet, 8 1/2" x 11”)
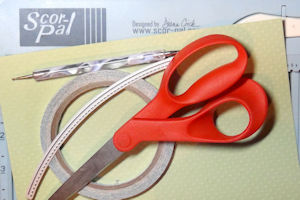
- Scoring board and tool
- Scissors or trimmer
- Border die (Whimsy Stamps Stitched Border Die Trio used here)
- Double sided adhesive
- Other supplies as needed to complete the project (used here: round label stickers)
Step-by-Step
-
Step 1
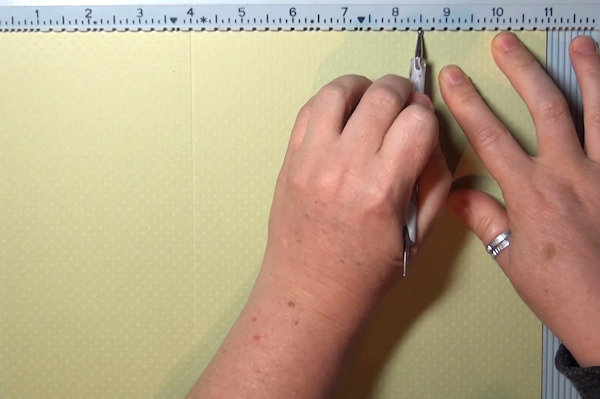
Position a sheet of cardstock on the score board with the long side at the top. Score at 4” and 8 1/2".
NOTE:
The ‘up’ side of the cardstock will be the outside of the portfolio. -
Step 2
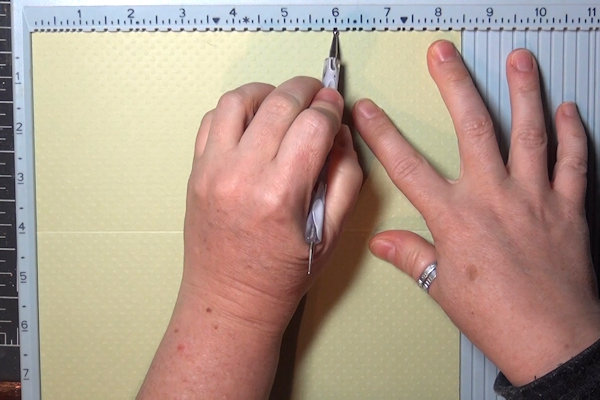
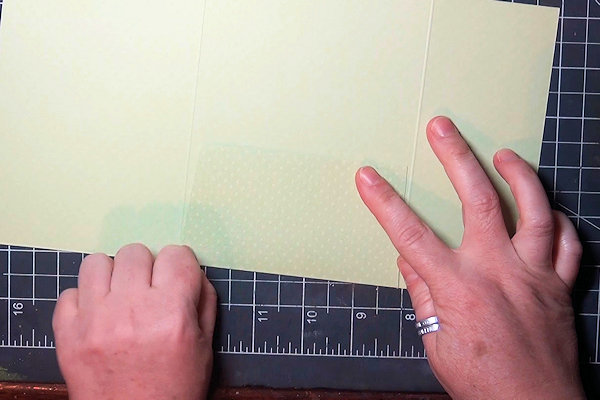
Rotate the cardstock so the 4” scored section is at the top. Score at 6”.
-
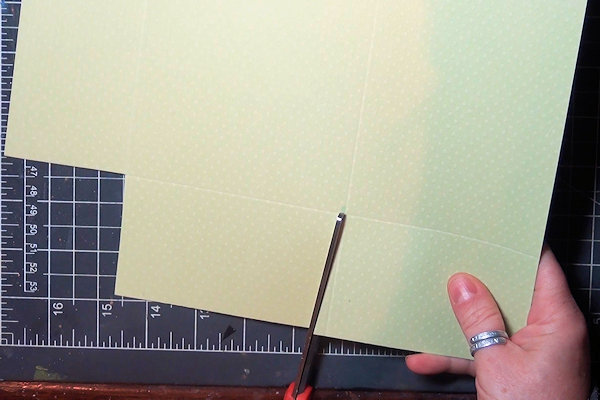
Step 3
There are 2 ways to create the center portfolio pocket. One way is to trim the 2 1/2" scored section as shown, cutting away the outer sections and trimming the remaining flap at a slight inward angle.
NOTE:
Save the larger piece that is cut away – it will be used! -
Fold the flap in and burnish the fold line. This pocket style allows for a little more flexibility in the thickness of your inserts.
-
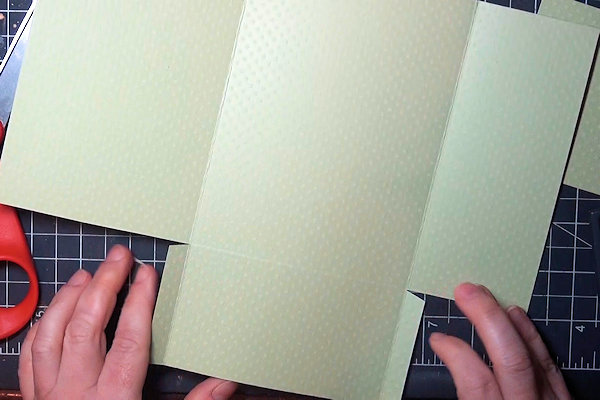
Step 4
Alternatively, you can create a pocket in the center. Cut in on the score line from both sides, just to where the score lines cross. From the bottom edge, cut up about 1/2" outside the score lines of the center section.
NOTE:
Save the larger piece that is cut away – it will be used! -
Fold the tabs in, and add double sided adhesive. Remove the tape liner and fold the pocket up to adhere it to the portfolio.
-
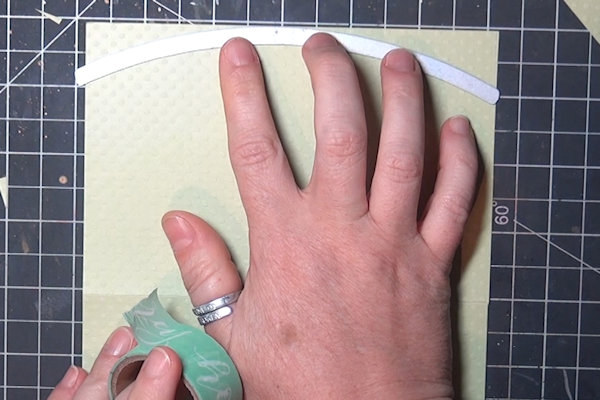
Step 5
Use a decorative border die to cut the edge of the wider front flap of the portfolio.
-
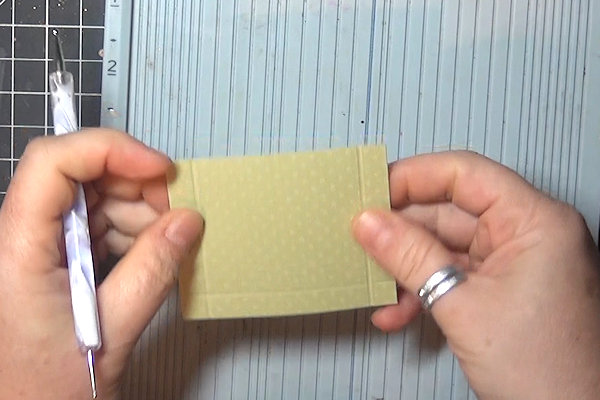
Step 6
Create a pocket for a gift card or business cards.
This can be cut from the larger section cut away in step 3 or 4. Trim the piece to 2 1/2" x 3”. -
Score on 3 sides at 3/8”.
NOTE:
Alternatively, a die can be used to cut the pocket - LF1558 Stitched Gift Card Pocket from Lawn Fawn is one example. -
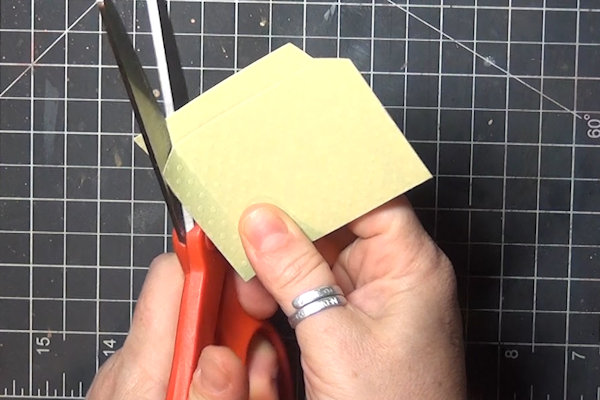
Step 7
Cut out corners as shown.
-
Fold in sides and add double sided adhesive to tabs.
-
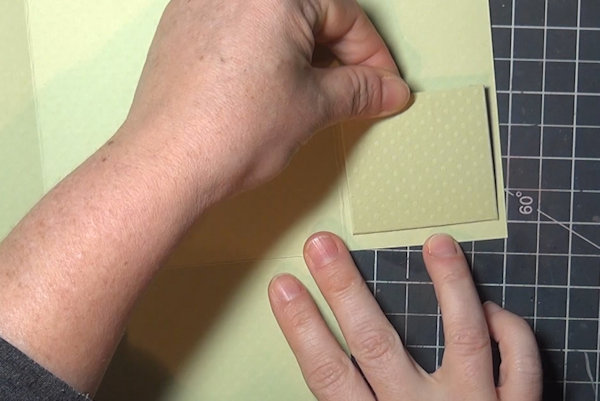
Step 8
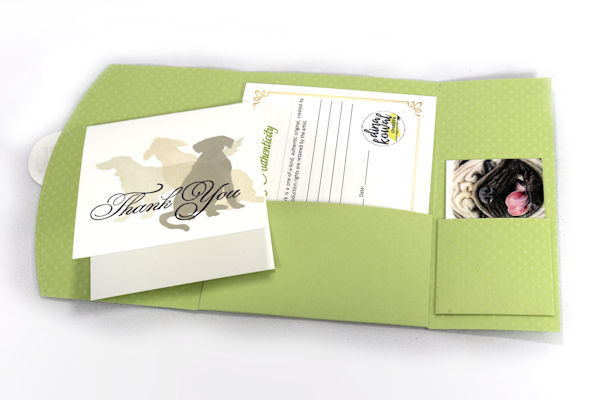
Adhere the pocket to the smaller inside flap of the portfolio. The pocket will fit several business cards or one standard sized gift card.
-
Step 9
Fill the portfolio to fit your needs. For this sample, a thank you note is included with purchase and business information.
-
For this sample, there is a hot chocolate packet inside, along with a gift card.
-
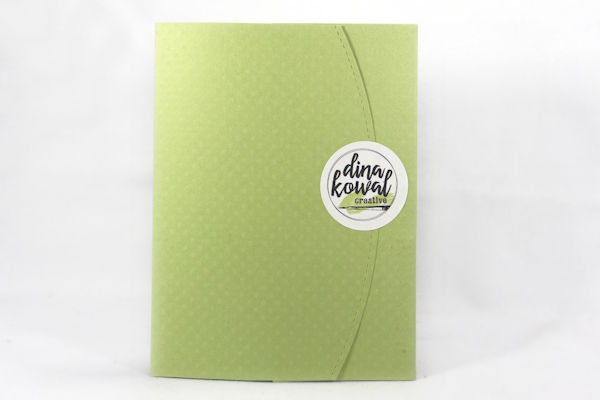
Step 10
Decorate the outside if desired.
-
Seal with a sticker or other embellishment, or use a belly band or ribbon as a closure.


Video!
Your Turn
You've seen the tutorial, now you try it! We've got a section of the gallery set aside for Pocket Portfolio. Try this technique, then upload your artwork to the gallery. Show us your creations!
***Please note - Internet Explorer/Edge is not a supported browser, and will not allow you to see the videos. Please use Chrome, Firefox or Safari to view our tutorial videos.

Questions and Comments
We'd love to get your feedback or questions. Leave your comment below.
Thanks!
Page 1 of 1 pages