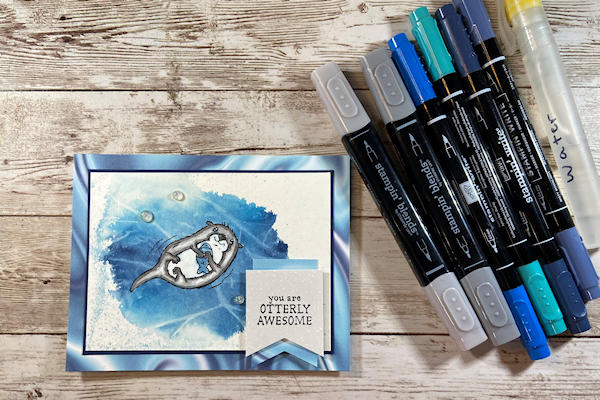
Plastic Wrap Watercolor
by Kelly Rose
Use plastic wrap to add texture to a watercolored background.

Supplies
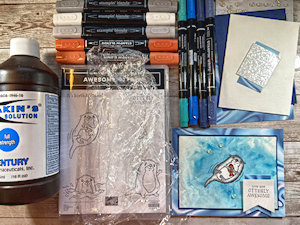
- Watercolor paper (Stampin’ Up!® Fluid 100 used here)
- Water painter (dry) or other synthetic paintbrush
- Kitchen plastic wrap and paper towels
- Water spritzer
- Dakin’s solution or bleach
- Water based markers in the same color family (SU Bermuda Bay, Pacific Point, Misty Moonlight, Night of Navy used here - other dye based mediums can also be used (reinkers, watercolor powders)
- Stamp positioner (SU Stamparatus used here)
- Open image stamp (SU Awesome Otters used here)
- Black solvent or hybrid ink (StazOn Jet black used here)
- Coloring tools – optional (SU Stampin’ Blends used: Light and dark Smoky Slate and Color lifter)
- Other supplies as needed to complete the project (SU products used here: Basic White thick cardstock, Night of Navy cardstock, Simply Marbleous and Mother of Pearl specialty paper, Tailored tag punch, Opal Rounds, Adhesive foam dimensionals)
Step-by-Step
-
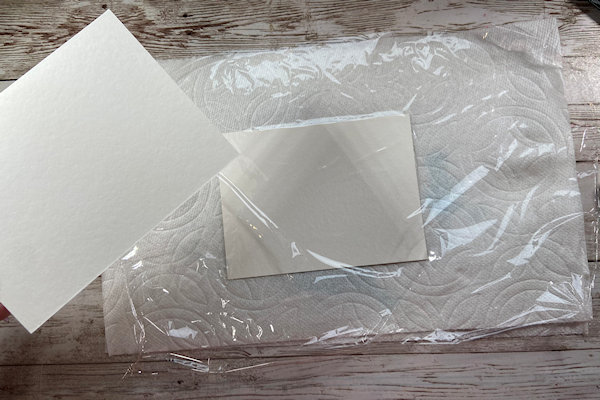
Step 1
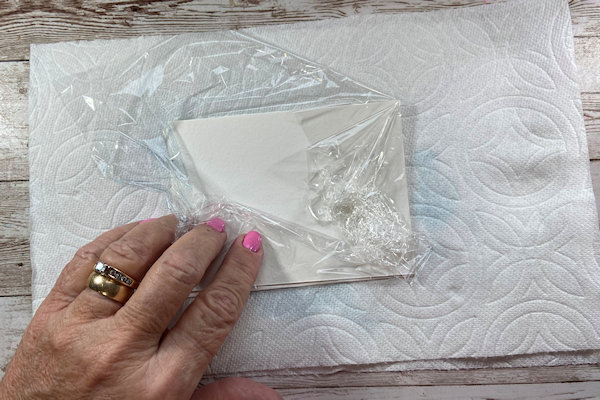
Prepare your workspace with paper towels. Place an extra piece of watercolor paper under the plastic wrap to help with size and placement. (Watercolor paper cut to 4 3/4” x 3 1/2” here.)
-
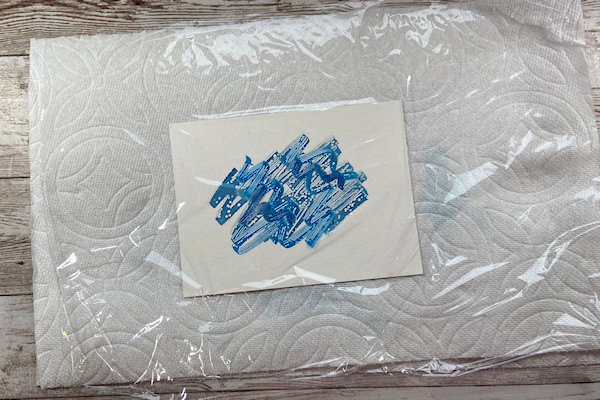
Step 2
Apply water base markers directly to the plastic wrap as shown (4 colors used here).
-
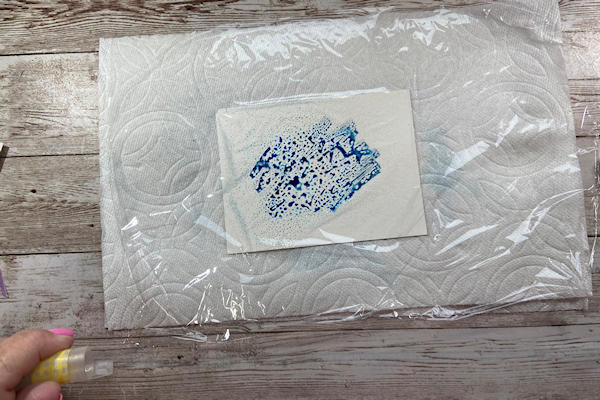
Step 3
Spritz 2-4 times with water. The more water you use, the more “watery” the effect will be.
-
Step 4
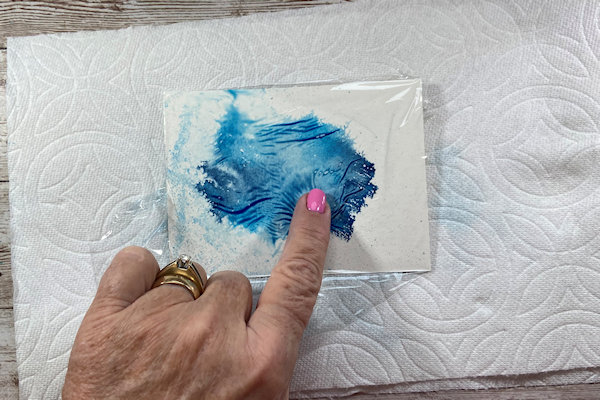
Place your second piece of watercolor paper on top of the ink, and wrap the plastic up around the paper so you can turn it over.
-
Quickly move the water and ink around to your liking. Creases in the plastic wrap will create texture in the ink when it dries.
-
Step 5
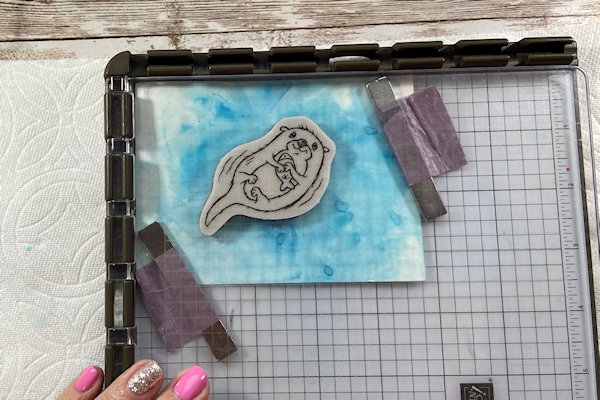
Set aside to dry completely with the plastic wrap in place. When dry, stamp an image using a precision stamping tool so that you can repeat the stamp if needed.
-
Step 6
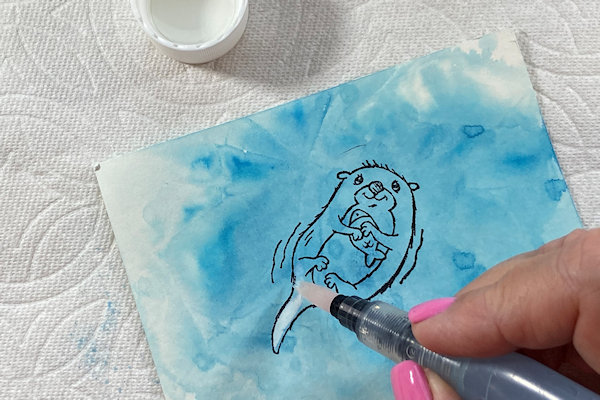
Use a dry detail paint brush or dry water brush to “paint” the image with bleach or Dakin’s solution.
NOTE:
Do not use natural hair brushes with bleach - make sure the bristles are synthetic. -
Step 7
Once the image has been “painted” with bleach to remove the pigment from the ink, add any other color to the image with markers or pencils.
-
Step 8
Use the panel to complete a card or other project.
Video!
Your Turn
You've seen the tutorial, now you try it! We've got a section of the gallery set aside for Plastic Wrap Watercolor. Try this technique, then upload your artwork to the gallery. Show us your creations!
***Please note - Internet Explorer/Edge is not a supported browser, and will not allow you to see the videos. Please use Chrome, Firefox or Safari to view our tutorial videos.

Questions and Comments
We'd love to get your feedback or questions. Leave your comment below.
Great idea to use the bleach - far easier than masking when I want my stamped image to stand out!
Page 1 of 1 pages