Penguin Favor
by Laura Mellinger
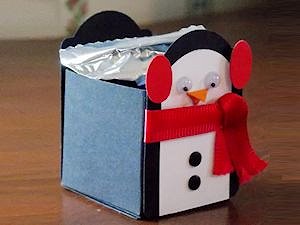
Use a rounded tag to make this cute penguin treat box.
Supplies
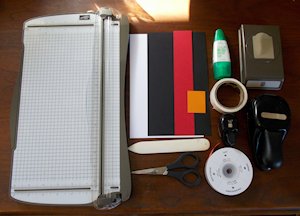
- Cardstock in black, white, red and orange (Stampin’ Up! Basic Black, Whisper White, Real Red & Pumpkin Pie cardstock used here)
- Rounded tag punch or nesting dies (Note Tag punch or other, Word Window & 1/4" Square punches
- Paper trimmer
- 6" ribbon (Stampin’ Up Real Red used here)
- Strong adhesive
- Glue Dots
- Detail scissors
- Bone folder
- Googly eyes
- Black Candy Dots
Step-by-Step
-
Step 1
Cut black cardstock measuring 6 1/4" x 3".
Score on short side at 1 1/2" and on long side at 1 1/2", 3", 4 1/2" and 6". Keep the tab on the top, but cut off below the score line. Cut up to the score lines on the bottom row.
-
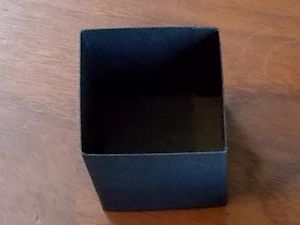
Step 2
Use strong adhesive on tabs and assemble the box.
-
Step 3
Punch or die cut 2 rounded tags from black cardstock, approximately 1 1/2" wide.
NOTE:
For the sample, Stampin’ Up!’s Note Tag Punch was used.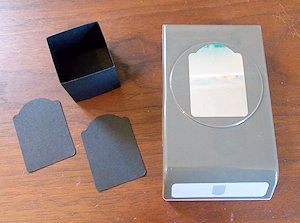
-
Step 4
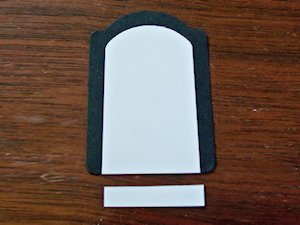
Punch or cut a white tag.
If using the Note Tag punch, trim off the sides as shown. If using nesting dies, use the next smaller die.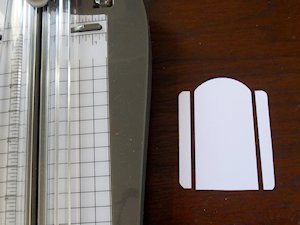
-
Step 5
Adhere the white piece to one of the black tags, creating an even border around the edge. Trim the excess off the bottom if necessary.
-
Step 6
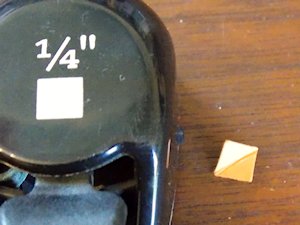
Punch or cut out a 1/4" square from a scrap of orange cardstock. Fold across from corner to corner.
-
Step 7
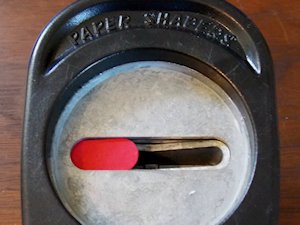
Make two earmuffs for the penguin using a small oval punch or die, or the Word Window punch as shown.
-
Step 8
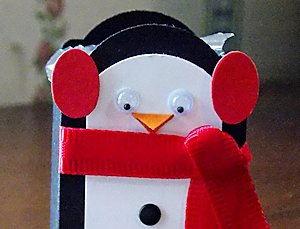
Wrap ribbon around the tag for a scarf, and secure it with a Glue Dot. Adhere ear muffs, googly eyes and beak above the ribbon. Add 2 Black Candy Dots for buttons under the ribbon (buttons, brads, or punched circles would also work).
-
Step 9
Complete the project and tuck a treat inside.
Video!
Your Turn
You've seen the tutorial, now you try it! We've got a section of the gallery set aside for Penguin Favor. Try this technique, then upload your artwork to the gallery. Show us your creations!
***Please note - Internet Explorer/Edge is not a supported browser, and will not allow you to see the videos. Please use Chrome, Firefox or Safari to view our tutorial videos.

Questions and Comments
We'd love to get your feedback or questions. Leave your comment below.
Page 1 of 1 pages