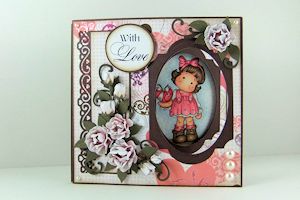
Peek-a-Boo Card
by Norma Lee
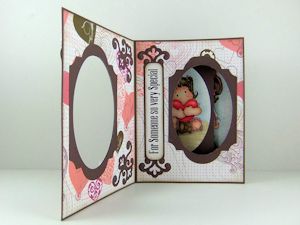
A sliding panel reveals a hidden message or image when this card is opened.
Supplies
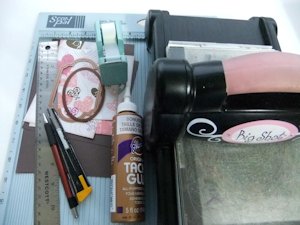
- Plain cardstock
- Patterned paper
- Scor-Pal or other scoring tool
- Oval/circle die , no wider than 2 3/8", to create the windows (Spellbinders Petite Ovals Small used here)
- Label or other shape die , slightly larger than the oval/circle die, to create the frame around the window (Spellbinder Labels Twenty-Eight used here)
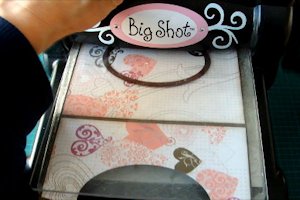
- Die cutting machine
- Removable tape
- Craft glue
- Other supplies as needed to finish card (e.g. images, sentiments, embellishments)
Step-by-Step
-
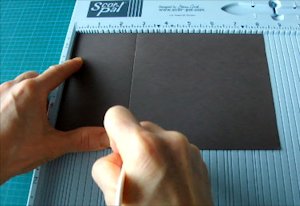
Step 1
Cut out 3 pieces of plain cardstock:
5 1/2" x 8 1/4"
5 1/2" x 8 1/2"
5 1/2" x 5 3/4"
-
Cut out 3 pieces of patterned paper:
5 3/8" x 5 3/8"
two at 5 3/8" x 4 1/8"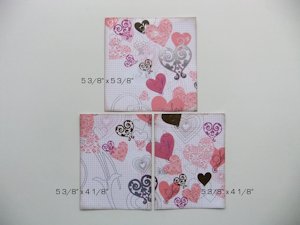
-
Step 2
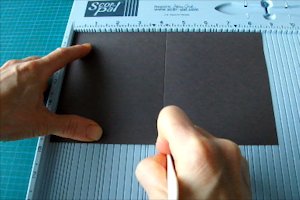
Place the 5 1/2" x 8 1/4" plain cardstock on the scoring board. Score at 2 3/4" and mountain fold along the score line.
-
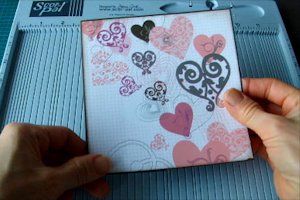
Step 3
Adhere the 5 3/8" x 5 3/8" patterned paper to the cardstock as shown. This is for the card front. Set aside.
-
Step 4
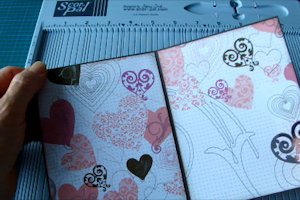
Place the 5 1/2" x 8 1/2" plain cardstock on the scoring board. Score midway at 4 1/4" and valley fold along the score line.
-
Step 5
Adhere the two pieces of 5 3/8" x 4 1/8" patterned paper to the cardstock as shown. The is for the inner card. Set aside.
-
Step 6
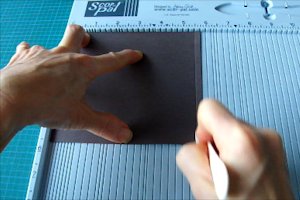
Place the 5 1/2" x 5 3/4" plain cardstock on the scoring board. Score at 5 1/2" and fold along the score line. This is for the card back. Set aside.
-
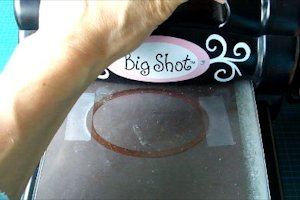
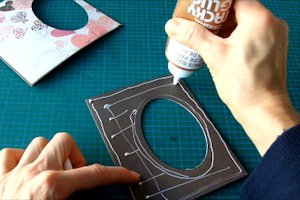
Step 7
Take the card front and turn it upside down. Place the oval die, with the blade side down, midway between the top and bottom, with the cutting blade flush against the edge of the folded panel. Secure with removable tape as shown.
-
Unfold the paper and run through the die-cutting machine to create a window (Window #1).
-
Step 8
Remove the oval die cut, but leave the die in place.
-
Step 9
Take the inner card and place it back-to-back with the card front, aligning the edges.
-
Trace the inside edge of the oval die lightly with a pencil as shown.
-
Step 10
Remove the oval die from the card front and place it precisely around the pencil-drawn oval on the inner card. Secure in place with removable tape.
-
Step 11
Keeping the inner card folded, run it through the die-cutting machine.
-
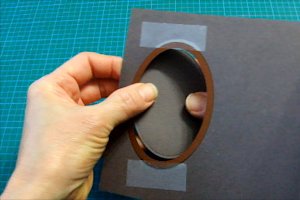
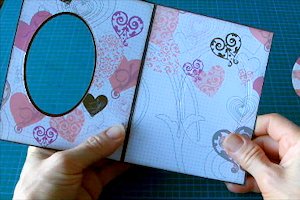
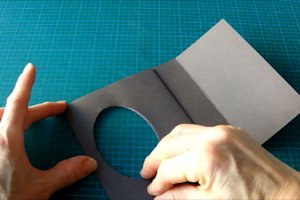
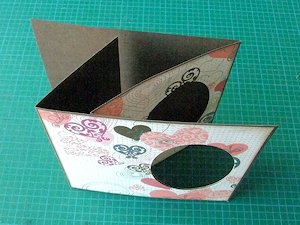
Step 12
Open the inner card. There should be a window (Window #2) at the left-hand side and a groove from the oval die on the right-hand side.
-
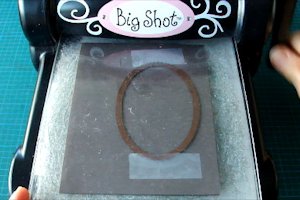
Step 13
Fit the die into the groove, and secure it with removable tape.
-
Run it through the die-cutting machine to create Window #3.
-
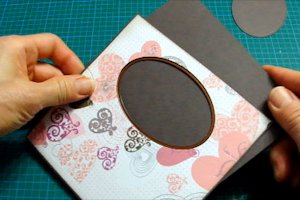
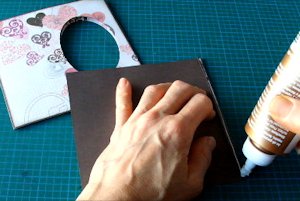
Step 14
Refold the inner card. Apply glue to the back of the panel that has Window #2 as shown.
-
Step 15
Adhere the card front to the inner card, aligning Window #1 to Window #2, as shown.
-
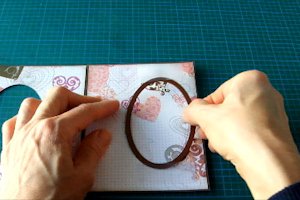
Step 16
Take the card back, and apply glue to the 1/4" flap.
-
Adhere to the back of the inner card that has Window #3.
-
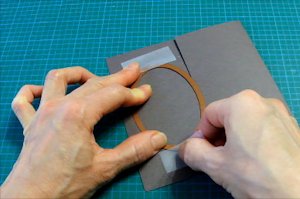
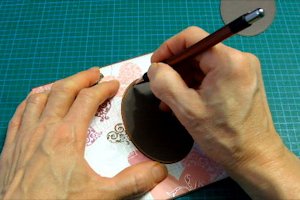
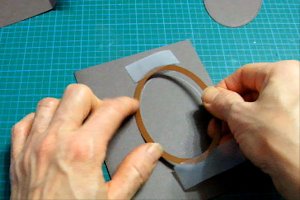
Step 17
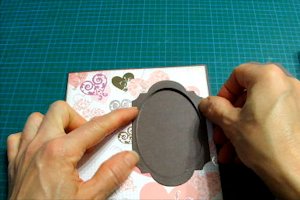
Create a frame for each window, by die cutting a shape that's slightly larger than your oval window, then die cutting the same size window within the shape.

-
Step 18
Apply glue to the back of the frame and adhere around window. Do this for all three windows.
-
Step 19 (Optional)
Option 1 - for images/sentiments die cut with the same oval die used for the windows:
Apply glue to their backs and slip them through the windows, one to be adhered to the card back and another to be adhered to the sliding panel.
Skip to Step 23.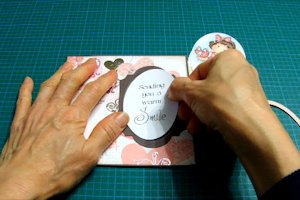
-
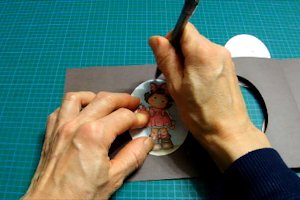
Option 2 - for images/sentiments die cut with a different die than the oval die used for the windows:
Take the image/sentiment for the card front and insert from behind the window as shown. Arrange it in place.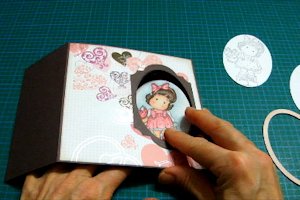
-
Step 20
Open the card to where the image is on the card back and trace the outline around the image lightly with a pencil.
-
Step 21
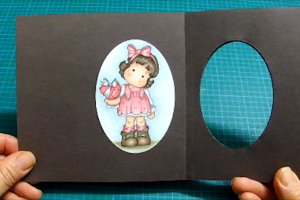
Apply glue to the back of the image and and adhere to the card back, using the sketched outline as a guide.
-
Step 22
Repeat steps 19 - 21 with the second image/sentiment, this time using the sliding panel attached to the card front.
-
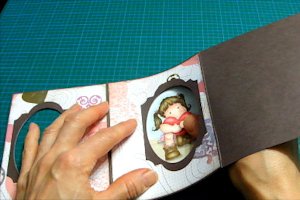
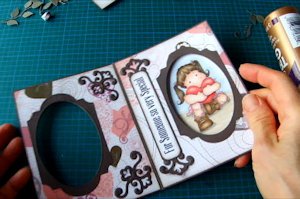
Step 23
Decorate the card with additional sentiments, embellishments, etc., as desired.
-
Step 24
Complete the card.
-
The finished card measures 5 1/2" square.
Video!
Your Turn
You've seen the tutorial, now you try it! We've got a section of the gallery set aside for Peek-a-Boo Card. Try this technique, then upload your artwork to the gallery. Show us your creations!
***Please note - Internet Explorer/Edge is not a supported browser, and will not allow you to see the videos. Please use Chrome, Firefox or Safari to view our tutorial videos.

 *
*
Questions and Comments
We'd love to get your feedback or questions. Leave your comment below.
Thank you
Page 1 of 2 pages 1 2 >