Pastel Metal Effects
by Kyra Sanders
Use PanPastels for a textured metallic finish.

Supplies
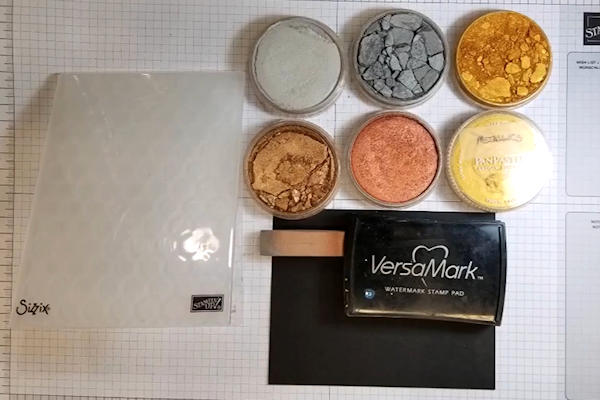
- Black cardstock cut to 5.5 x 4.25 inches
- Detailed embossing folder (Stampin’ Up!® 3D Dynamic Hexagons used here)
- Watermark or embossing ink pad (Versamark used here)
- PanPastel Metallic Set (colors used here: bronze, copper, silver, pewter, rich gold, light gold)
- Blending tool (recommended: Sofft Sponges or Ranger Ink Blending Tool and foam)
- Other supplies as needed to complete the project
Step-by-Step
-
Step 1
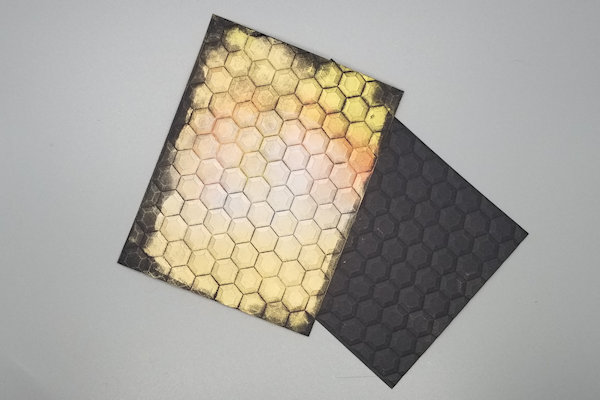
Emboss the black cardstock using your machine’s sandwich for 3D folders.
-
Step 2
Press embossing ink, directly from the pad, over the embossed panel. Make sure it’s fully covered.
-
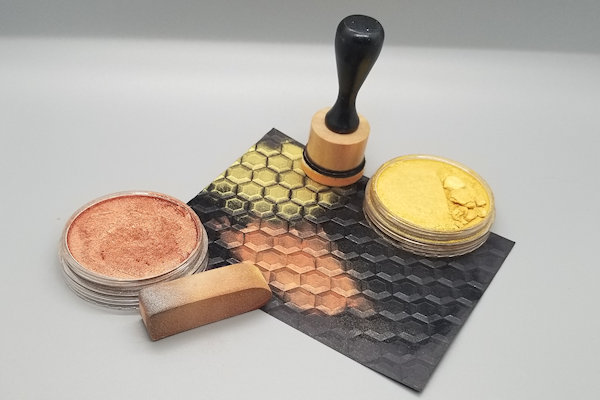
Step 3
Apply the first color of PanPastels using a circular motion.
-
Step 4
Continue applying other colors over different areas of the paper. Allow the colors to overlap. When changing colors, simply wipe the excess color on a piece of scrap paper or paper towel. The colors will stain the tool but will not contaminate the pastel in the pan or tool.
-
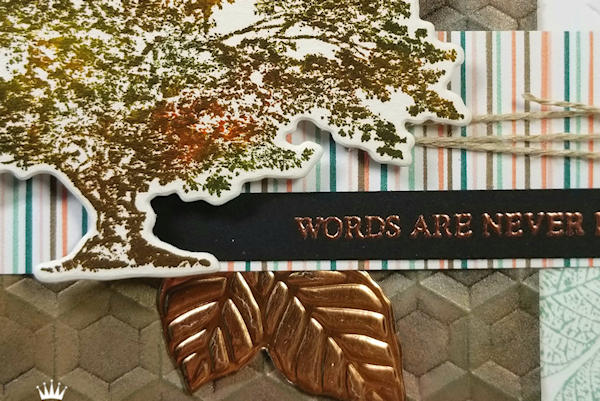
Step 5
Cut your panel to fit your project and embellish as desired.
Optional:
Seal the panel with a fixative spray. -
Step 6
Complete the project.


Video!
Your Turn
You've seen the tutorial, now you try it! We've got a section of the gallery set aside for Pastel Metal Effects. Try this technique, then upload your artwork to the gallery. Show us your creations!
***Please note - Internet Explorer/Edge is not a supported browser, and will not allow you to see the videos. Please use Chrome, Firefox or Safari to view our tutorial videos.

Questions and Comments
We'd love to get your feedback or questions. Leave your comment below.
Page 1 of 1 pages