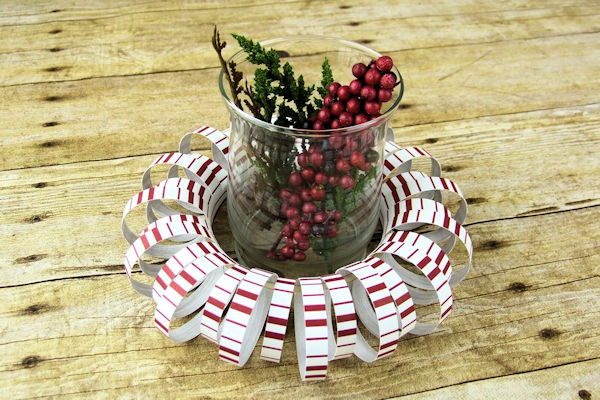
Paper Wreath
by Betty Traciak
Make a paper wreath using an embroidery hoop.
Supplies

- Double-sided scrapbook paper, cut to 6” X 12”
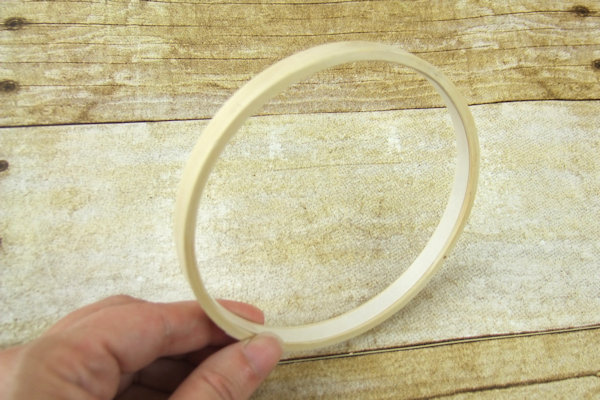
- 4-inch diameter wooden embroidery hoop
- Tape adhesive
- Scissors
- Paper trimmer
- Grid paper (optional)
- Embellishments
- Other supplies as needed to complete the project (Stampin’ Up!® products used here: for 1/4" Strip Wreath - Festive Farmhouse paper, Metallic Ribbon Combo Pack; for 3/8” Strip Wreath - Festive Farmhouse paper; for 1/2” Strip Wreath - Country Lane Designer Series Paper, Whisper White Cardstock, Memento Tuxedo Black Ink, Blackberry Bliss Ink Refill, Stampin’ Blends: Cajun Craze, Crushed Curry, Blackberry Bliss, Old Olive, Soft Suede, Whisper White 3/8” Classic Weave Ribbon, Big Shot, Stitched Shapes Framelits
Step-by-Step
-
Step 1
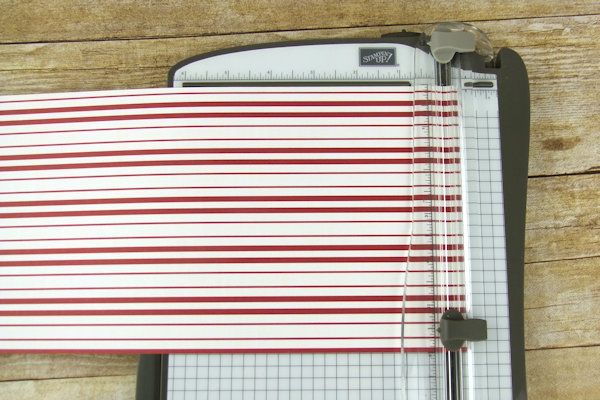
Determine the size of strips you would like to cut for your wreath. Suggestions are 1/4”, 3/8” or 1/2”.
Using the paper trimmer, cut determined width strips across the length of the double-sided paper. Cut to 1/2” inch of the edge and stop so the strips remain connected at the bottom. -
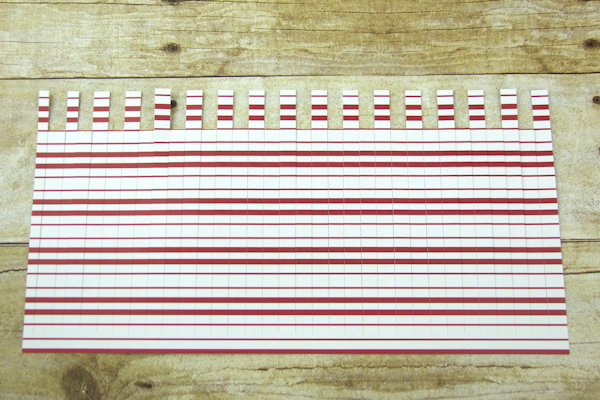
Step 2
Measure and trim one inch from every other strip.
-
Step 3
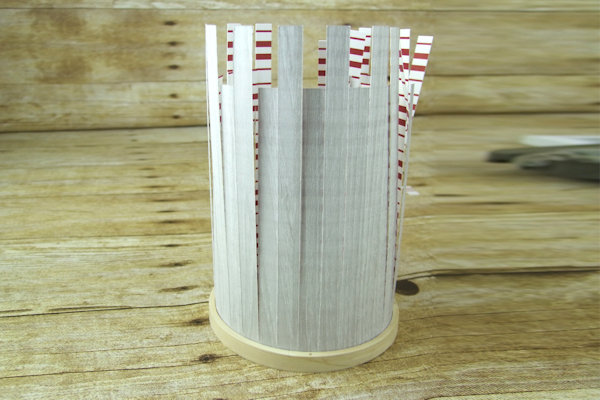
Using the inside embroidery hoop, apply tape adhesive to both the outer and inner surface.
-
Step 4
Attach the connected edge of the paper to the inside of the embroidery hoop. Trim paper so there is no overlap.
-
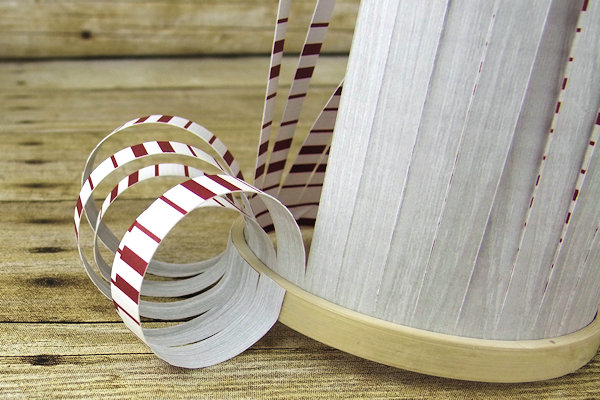
Step 5
Bend each strip in a circle and attach the end of the strip to the outside of the ring. Press firmly to adhere to the tape.
-
Step 6
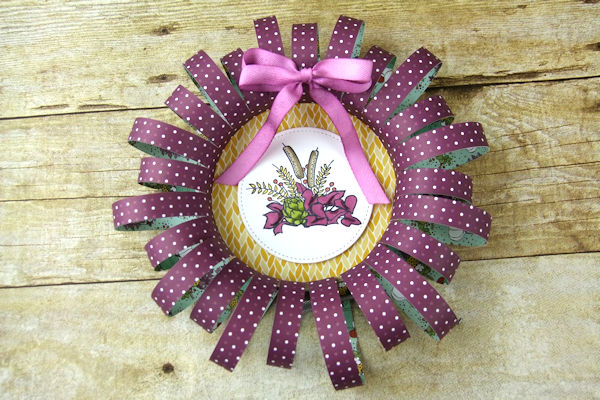
Decorate as desired to complete the project.
Video!

Your Turn
You've seen the tutorial, now you try it! We've got a section of the gallery set aside for Paper Wreath. Try this technique, then upload your artwork to the gallery. Show us your creations!
***Please note - Internet Explorer/Edge is not a supported browser, and will not allow you to see the videos. Please use Chrome, Firefox or Safari to view our tutorial videos.

Questions and Comments
We'd love to get your feedback or questions. Leave your comment below.
Page 1 of 1 pages