Paper Pin
by Jenn Balcer
Create a beautiful pin by adhering several layers of an image on top of each other and embossing. Stampin' Up! Demonstrator Kelli Purkey made this look popular.
Supplies

- Stamps Floral images are especially pretty. Flourishes' Poinsettia and Boxwood was used here.
- Ink
- Patterned paper or cardstock
- Detail scissors
- Adhesive
- Dimensional adhesive
- Ultra Thick Embossing Enamel (UTEE) and a Melting Pot or try Crystal Effects, or Krylon Triple Thick Crystal Clear Glaze
- Heat resistant craft mat
- Heat tool
- Jewelry findings and accessories such as pin backs and rhinestones
Step-by-Step
-
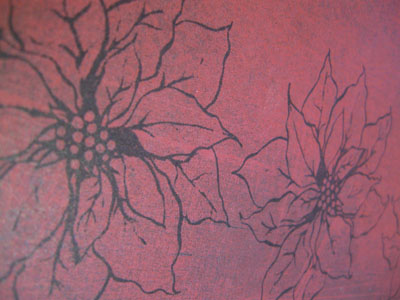
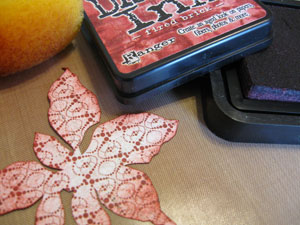
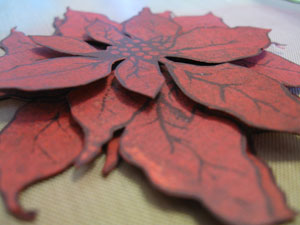
Step 1
Stamp image three or four times on patterned paper.
-
-
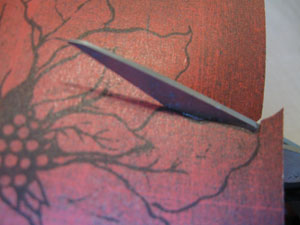
Step 2
Closely trim around all images with detail scissors.
-
Trim image differently for each layer. This will give the finished project dimension.
-
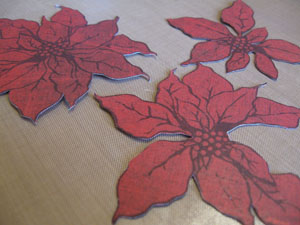
Step 3
Use a sponge to ink edges of paper, front and back.
-
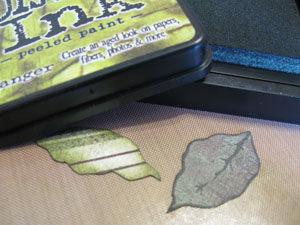
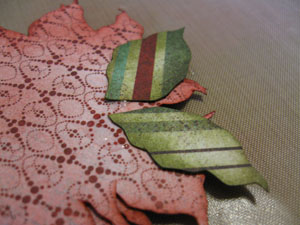
Step 4
Repeat above steps if necessary. Here, leaves were stamped, trimmed, and inked.
-
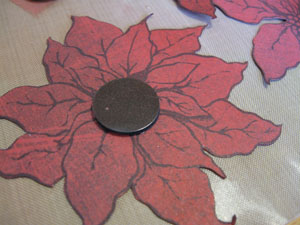
Step 5
Using dimensional adhesive, adhere layers.
-
The smallest layer should be on top.
-
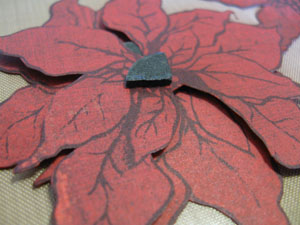
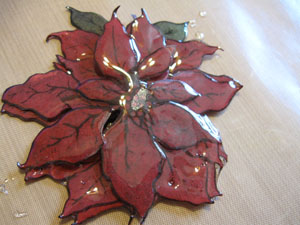
Step 6
The bracts of the poinsettia were staggered for a fuller look.
-
Apply adhesive to back side and add smaller, non-layered items (like the leaves here).
-
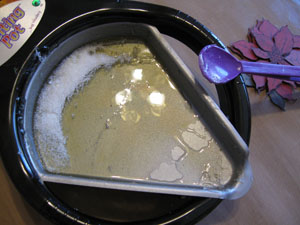
Step 7
Follow directions included with Melting Pot and add UTEE to pan. Heat according to directions.
-
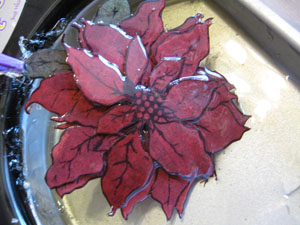
Step 8
One UTEE is heated, immerse layered item in liquid. CAUTION: This stuff is HOT.
Alternate Instructions: If you are using Glossy Accents or Krylon spray, apply now until coated and glossy, and add jewelry findings and pin back with E6000 or other strong adhesive.
-
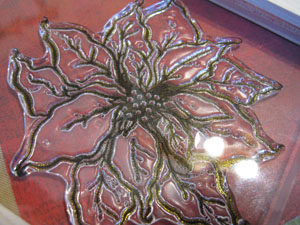
Using tools, spoon heated UTEE over item. Use tweezers to lift and separate layers, making sure everything is coated.
-
Step 9
Remove to Craft Sheet (or other non-stick, heat-resistant surface) and allow to harden. If needed, use skewers to lift and separate layers.
-
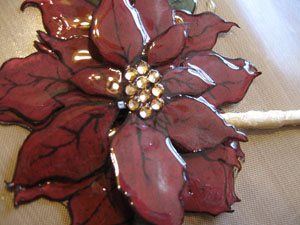
Step 9
Smooth edges and remove stringy glaze by using a heat tool. You can also apply rhinestones or other embellishments by heating the top layer and placing them into the still-hot glaze.
-
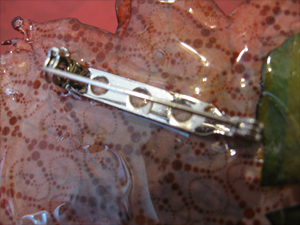
Step 10
Either glue or heat glaze to attach pin to back.
-
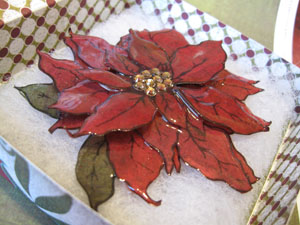
Step 11
Finished pin.

-
-
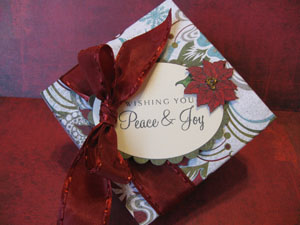
Finished present.
Your Turn
You've seen the tutorial, now you try it! We've got a section of the gallery set aside for Paper Pin. Try this technique, then upload your artwork to the gallery. Show us your creations!
***Please note - Internet Explorer/Edge is not a supported browser, and will not allow you to see the videos. Please use Chrome, Firefox or Safari to view our tutorial videos.

Questions and Comments
We'd love to get your feedback or questions. Leave your comment below.
I have done something simular but instead of Utee....I coated each of the layers of paper with crystal laquer before I assembled them. I allowed them to dry then layered them. You would never know it was paper.
Thanks for sharing you piece.
Terri
question, do you need a special melting pot just to do this??? and where can I buy this??? also is there any alternative to the whole melting pot majic that will give the same glossy effect and beauty???
great work!!!!
Another great use for all my floral stamps. Thanks
the Melting Pot I used is made by Ranger, and it was so much easier than using spray or Crystal Effects or even the Envirotex Lite that I'd used prior to the UTEE. It did take some practice, but the heat gun fixed any UH OHs.
Page 1 of 2 pages 1 2 >