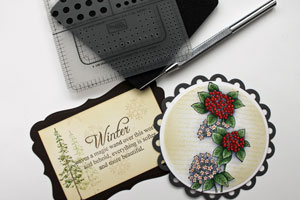
Paper Piercing
by Beate Johns
Use a paper piercing tool and template to create a pierced border.
Supplies
- Paper piercing tool
- Paper Piercing template and mat
- Cardstock
Step-by-Step
-
Step 1
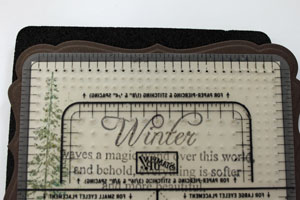
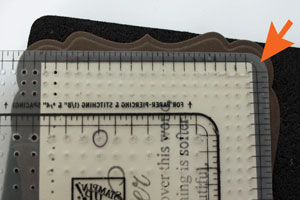
Paper Piercing straight edges
Place cardstock on the paper piercing mat. Line up the guide line of the Paper Piercing Template with the edge of the cardstock.
Hint:
If you plan on layering the paper pierced layer, do that before paper piercing the border. If you adhere the pierced layer to another piece of cardstock after the piercing, the holes might close a bit from the adhesive.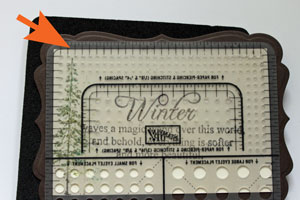
-
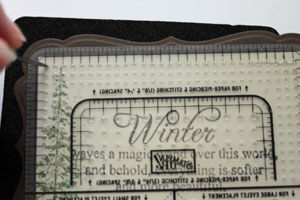
Step 2
Insert your Paper Piercing Tool in the first hole of your template and press down.
-
Continue to pierce through each of the holes in the template.
-
Step 3
Turn the cardstock 90 degrees and line up the template with the second side.
If you can, place the corner of the template over the right corner of the cardstock. That only works if the first hole you created on the left side lines up with one of the holes on the template.
-
If the template lines up with the corner, pierce the entire row.
If the template doesn't quite line up like in the picture above, pierce one hole, then adjust the template slightly. Repeat until the template does line up with the next corner and continue piercing.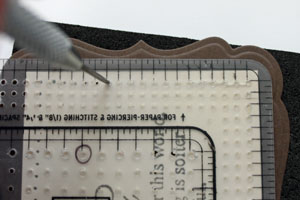
-
Step 4
Continue until there is a pierced border on each side of the rectangle or square.
-
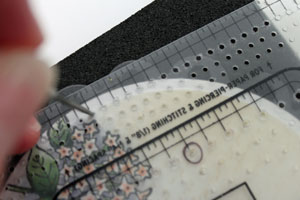
Step 5
Paper Piercing curved edges
Place cardstock on the paper piercing mat. Line up the guide line of the template with the edge of the cardstock.
Hint:
If you plan on layering the paper pierced layer, do that before paper piercing the border. Adhering the pierced layer to another piece of cardstock after the piercing, may close the pierced holes a bit because of the adhesive.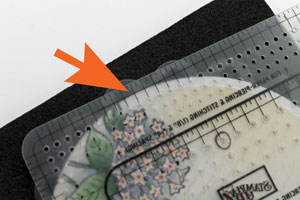
-
Step 6
Insert your Paper Piercing Tool in the hole under the guiding line that is lined up with the cardstock.
-
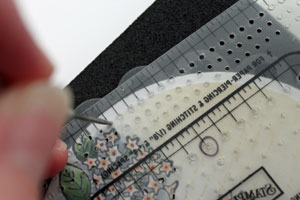
Step 7
Leave the paper piercing tool in the cardstock and turn the template so that the guide line over the next hole is lined up with the edge of the cardstock, and then pierce.
-
Step 8
Continue to pierce, turning the cardstock while the paper piercing tool is inserted. Repeat the "pierce and turn" until you've pierced all the way around your curved edge, oval or circular shape.
-
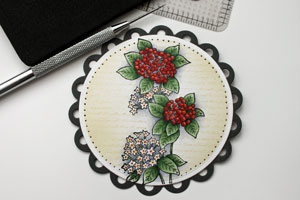
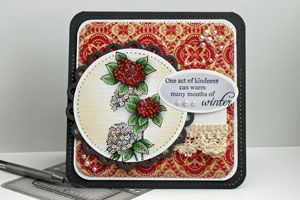
Step 9
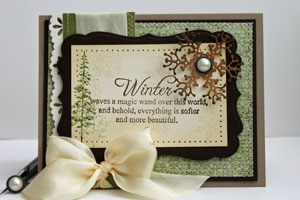
Finish the card.
Questions and Comments
We'd love to get your feedback or questions. Leave your comment below.
Debbie
Hugs and smiles
sewing machine too. for holes.
lh
Page 1 of 3 pages 1 2 3 >