Paper Mosaic
by Libby Hickson
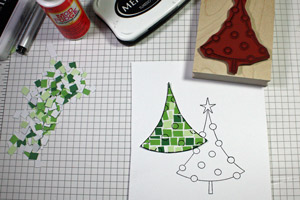
Create a mosaic look by adhering tiny paper pieces to your paper.
Supplies
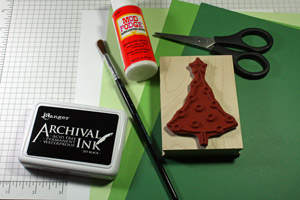
- Cardstock (Hero Arts Layering Paper in Pine, Grass & Celadon used here)
- Mod Podge, or other liquid adhesive
- Paintbrush
- Scissors
- Outline Stamp Image (Hero Arts K5628 Circle Ornament Tree used here)
- Permanent Ink (Ranger Archival Ink used here)
Step-by-Step
-
Step 1
Create paper mosaic "tiles" by trimming paper into small squares of various sizes.

-
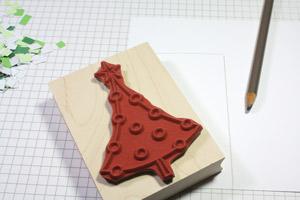
Step 2
Mark an outline on base paper of the general area to cover with mosaic.
-
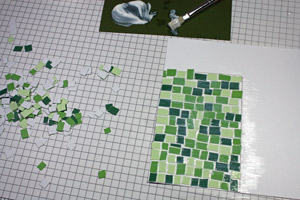
Step 3
Begin the mosaic by using a paintbrush to apply a small amount of Mod Podge to the cardstock and lining up the paper squares.
Hint:
Work in a small area at a time as the thin coat of Mod Podge can dry rather quickly.
-
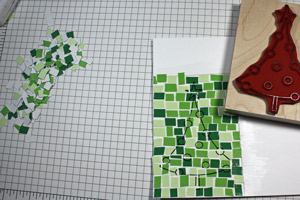
Step 4
Continue to add paper tiles until mosaic is complete. Cover with a top coat of Mod Podge. Allow to dry thoroughly.
-
Step 5
Stamp image with permanent ink, being careful not to smear the image on the glossy surface.
-
Step 6
Trim image and complete the card.
-
Optional:
Instead of stamping, die-cut shapes from the mosaic.
Video!
Your Turn
You've seen the tutorial, now you try it! We've got a section of the gallery set aside for Paper Mosaic. Try this technique, then upload your artwork to the gallery. Show us your creations!
***Please note - Internet Explorer/Edge is not a supported browser, and will not allow you to see the videos. Please use Chrome, Firefox or Safari to view our tutorial videos.

Questions and Comments
We'd love to get your feedback or questions. Leave your comment below.
I made the same look with a lot less effort by die cutting a tree and using the outline as a stencil. I stamped inside the tree instead of gluing bits of paper in it. Had the same effect! I didn't have sequins so I used "jewels". Very fun idea!
Dianna
Page 1 of 1 pages