Painted Wood Burning
by Helen Gullett
Use a digital stamp as a pattern for your wood burning design.
Supplies
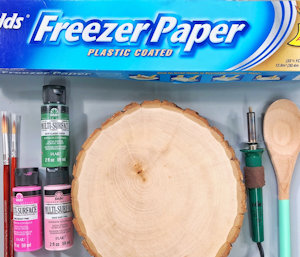
- Freezer paper, cut to 8 1/2” x 11”
- Digital stamp or other template (Stay Strong digital set by Graciellie Design used here)
- Inkjet printer
- Wood piece (Walnut Hollow Natural Basswood Country Round used here)
- Wooden spoon or other burnishing tool
- Painter’s tape
- Wood burning tool (Plaid Wood Burning and Stencil Cutting Tool used here)
- Heat resistant mat (optional)
- Craft paints
- Brushes
- Baby wipes
Step-by-Step
-
Step 1
Cut a piece of freezer paper to letter size (8 1/2” x 11”). Print a digital image on the glossy side of the freezer paper.
NOTE:
If needed, you can flip the image in your photo editor before printing. -
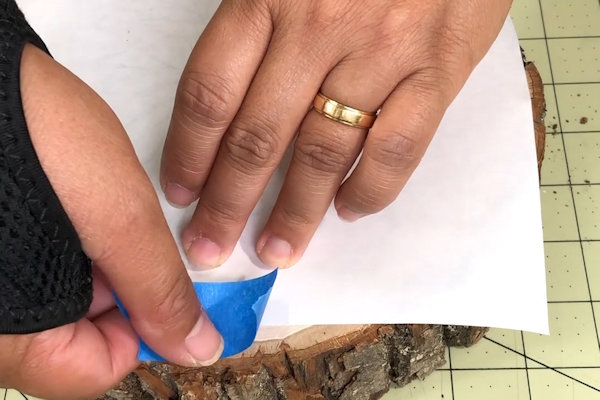
Step 2
Use painter’s tape to secure the image on the wood, inked side down.
-
Use the flat part of the wooden spoon to transfer the image on the wood surface.
NOTE:
To make sure you have transferred the image, you can lift up part of the paper, but do not take it off the wood completely. Once you are sure that all the image has transferred,
you can remove the paper. -
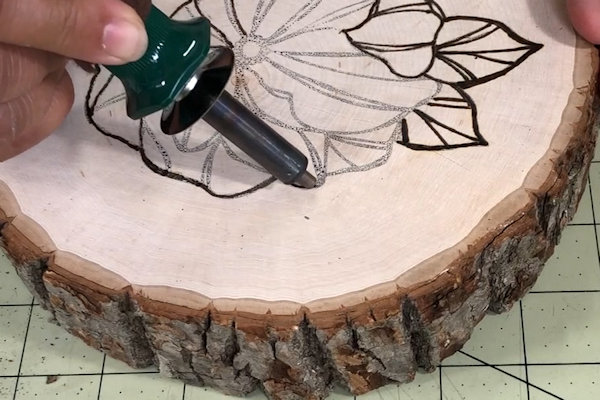
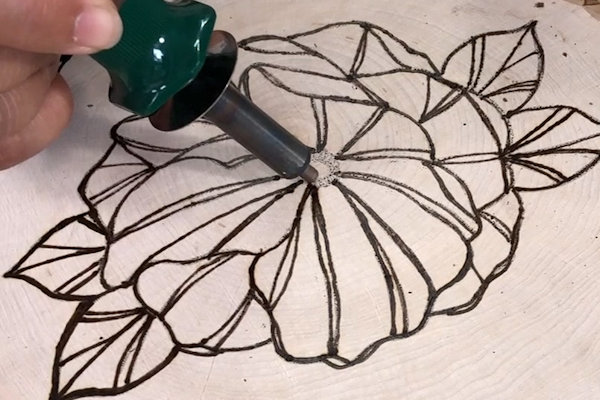
Step 3
Using a wood burning tool, trace the image on the wood. Use consistent pressure and motion for an even image.
TIP:
Preheat the wood-burning tool while transferring the image so it will be warm enough to trace the image on the wood. -
Rotate the wood around to get at good angles as you trace.
-
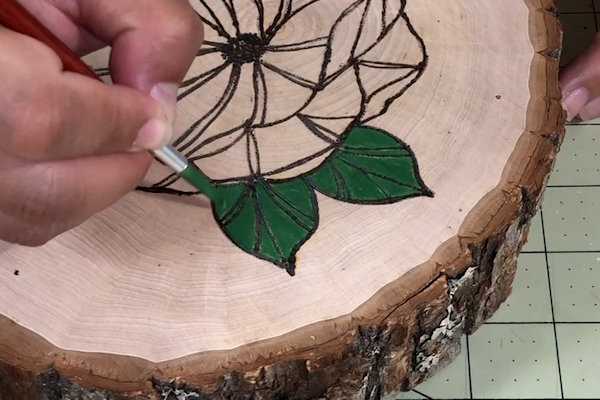
Step 4
Paint the image as desired. Acrylic craft paints are used here.
-
TIPS:
When you get paint on the lines, use baby wipes to clean it off while the paint still wet. -
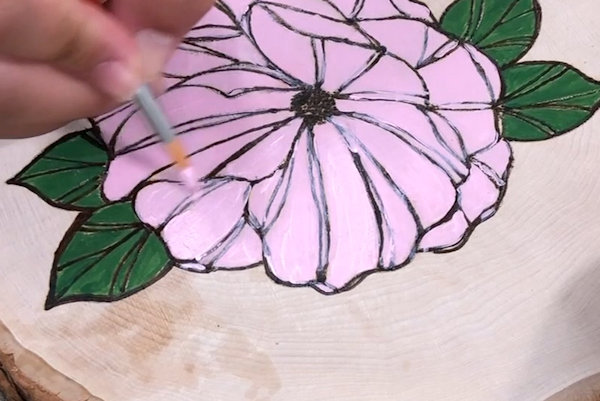
Step 5
TIPS:
When you get paint on the lines, use baby wipes to clean it off while the paint still wet. -
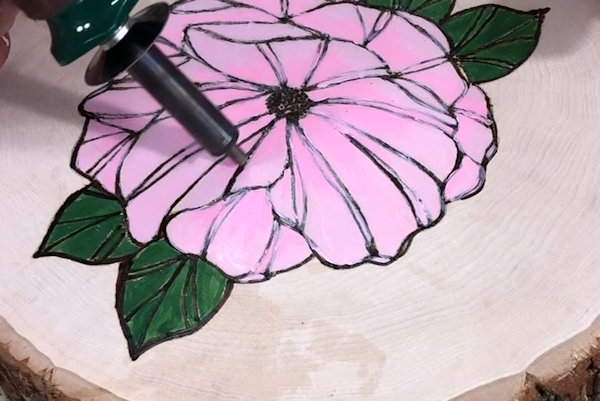
When the paint is dry, use the wood-burning tool to retrace the painted lines that are unclear. As needed, clean the wood-burning tool on a heat-resistant mat.
-
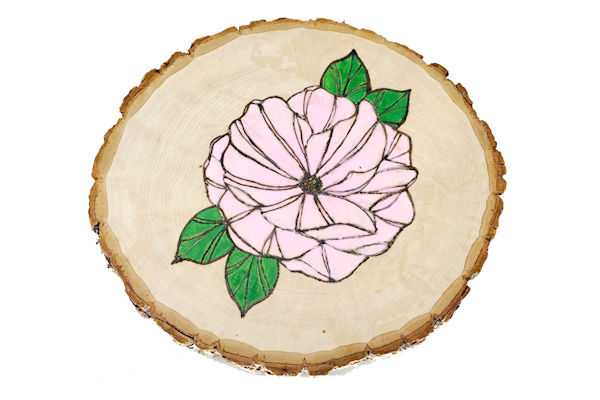
Step 6
Complete the project.


Video!
Your Turn
You've seen the tutorial, now you try it! We've got a section of the gallery set aside for Painted Wood Burning. Try this technique, then upload your artwork to the gallery. Show us your creations!
***Please note - Internet Explorer/Edge is not a supported browser, and will not allow you to see the videos. Please use Chrome, Firefox or Safari to view our tutorial videos.

Questions and Comments
We'd love to get your feedback or questions. Leave your comment below.
Page 1 of 1 pages