Outer Space Background
by Francine Vuillème
Create a mixed media universe for an outer space scene.
Supplies
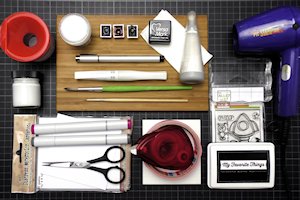
- Watercolor paper
- Painter’s tape
- Paint brush
- Cup of water
- Heat tool or folded paper towel
- Watercolors or other water-soluble medium (blue, red or pink, black)
- White acrylic paint mixed with water
- Wink of Stella clear glitter brush pen
- Space-themed rubber stamp, such as a shuttle or rocket image (Blast off & Phone Home stamps from The Alley Way Stamps used here)
- Other supplies as needed to complete the project (blending card, white top-folded card base, white embossing powder, heat gun, anti-static powder tool or bag, 3D foam pads, adhesive tape runner, Black Licorice Hybrid Ink (My Favorite Things), Versamark ink, Copic markers)
Step-by-Step
-
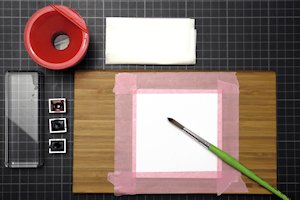
Step 1
Cut a panel from watercolor paper and secure it to your work surface using painter’s tape. This helps reduce warping. Apply clear water to the center of the panel with a paint brush, leaving a white border at each edge.
-
Step 2
Apply a wash of blue watercolor paint, then randomly add red/pink and black, or experiment with other colors. Blend where the colors meet and let the wash flow naturally.
HINT:
You can use dye inks, watercolor crayons, or any other transparent water-soluble media for this technique.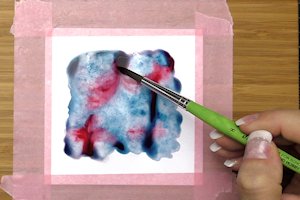
-
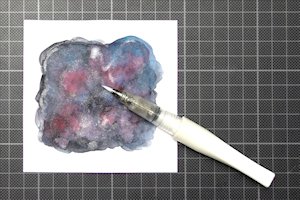
Step 3
Absorb any excess pools of water with a paper towel. Allow the panel to dry before adding another layer of watercolors or use a heat gun to go faster.

-
Step 4
Repeat steps 2 and 3, applying additional layers to achieve the desired color intensity and look.

-
Step 5
Add a layer of shimmer to the night sky using a Wink of Stella clear glitter brush pen.
-
Step 6
Pick up white acrylic paint mixed with water using a wet brush. Tap the brush to make splatters over the panel. Let the panel air dry completely.
HINT:
You can also flick an old toothbrush with white paint or spritz a white spray to achieve a similar result.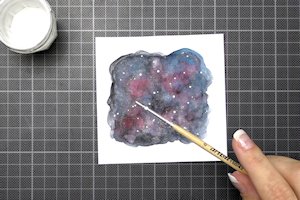
-
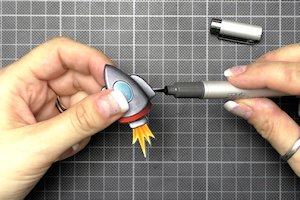
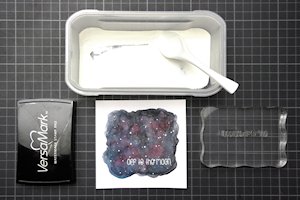
Step 7
Color and add a space-themed image to the project.
-
Decorate the panel as desired.
-
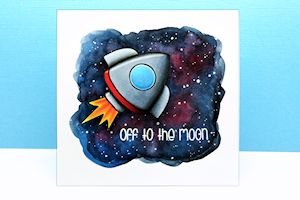
Step 8
Complete the project.
Video!
Your Turn
You've seen the tutorial, now you try it! We've got a section of the gallery set aside for Outer Space Background. Try this technique, then upload your artwork to the gallery. Show us your creations!
***Please note - Internet Explorer/Edge is not a supported browser, and will not allow you to see the videos. Please use Chrome, Firefox or Safari to view our tutorial videos.

Questions and Comments
We'd love to get your feedback or questions. Leave your comment below.
Great technique! And you did a fantastic job with the tutorial.
Michele
Another greeting for a little boy (or girl) -- hey! how about making this for your husband? is:
I love you to the moon and back.
Thanks for the instructions. Much appreciated.
Page 1 of 1 pages