Outdoor Backgrounds
by Elizabeth Whisson
Set the scene for an outdoor image using Copic markers.
Supplies
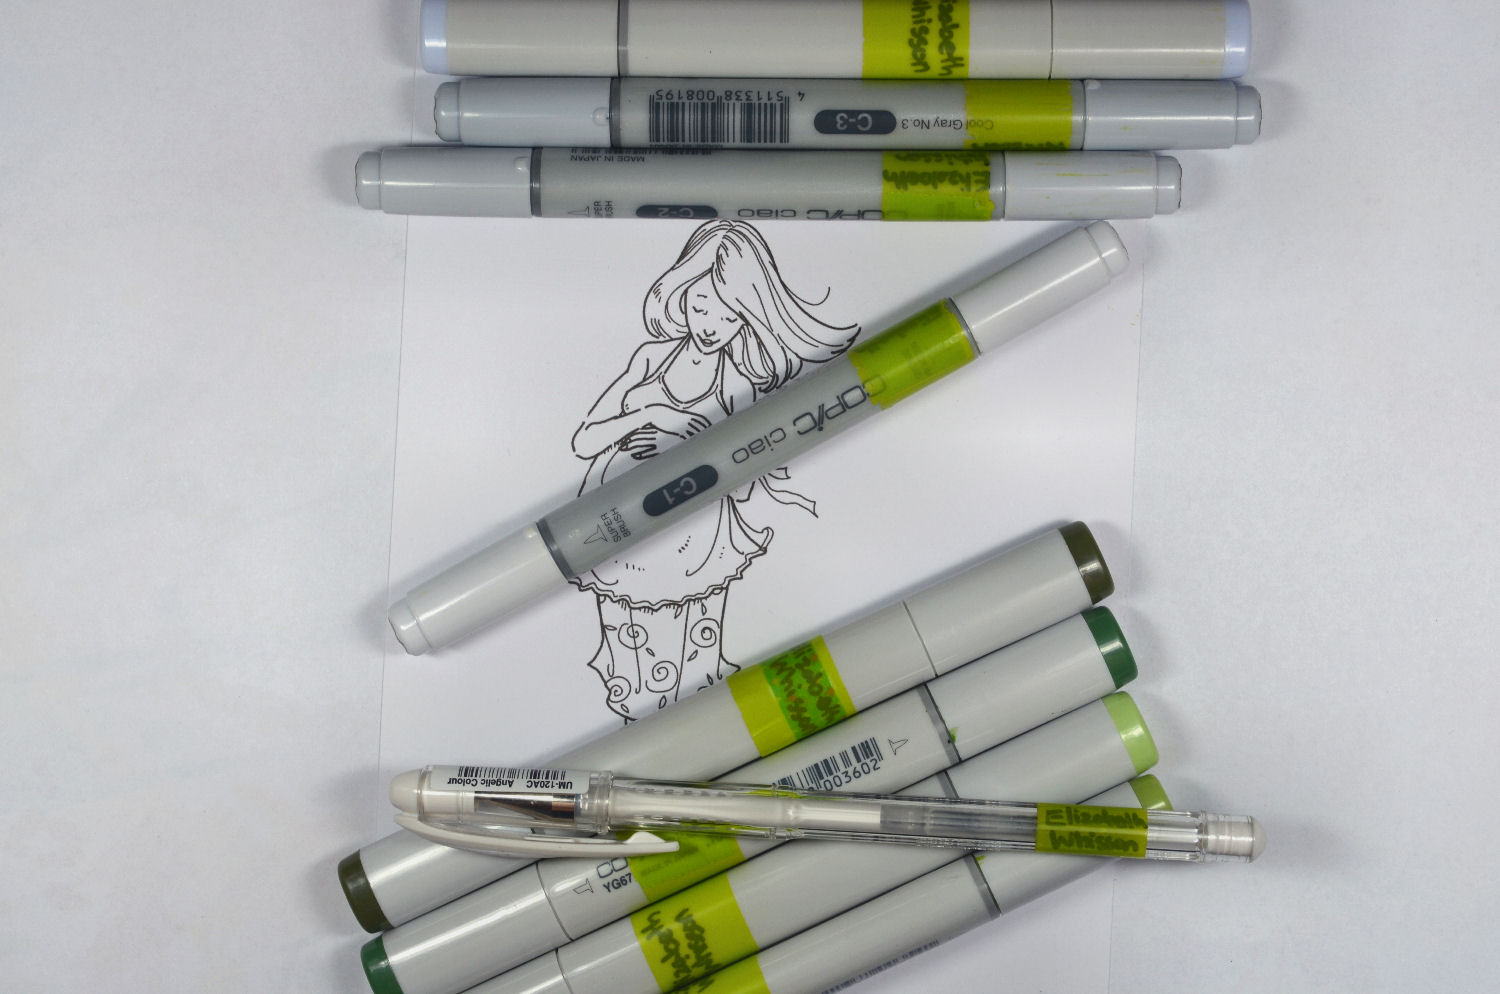
- Smooth cardstock (X-Press It blending card used here)
- Outdoor image printed or stamped on cardstock (Mo Manning digital stamp used here)
- At least 3 grey markers for clouds – light, medium and dark (Four Copic alcohol markers used here – three cool grey and an optional blue-grey)
- Blue marker(s) for the sky (Two Copic alcohol markers used here)
- At least 3 green markers – light, medium and dark (Four Copic alcohol markers used here)
- White gel pen (optional)
Step-by-Step
-
Step 1
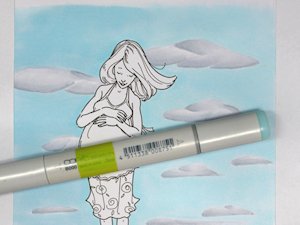
Using the lightest grey marker (C1 used here), outline the shape of your clouds. Clouds towards the top of your page will be more detailed and larger. Clouds toward the horizon (bottom of your page) will be smaller and less detailed. You can also add a horizon line so that you know where your sky will end and the ground will start.
HINT:
Clouds tend to be flatter on the bottom and puffier on the top.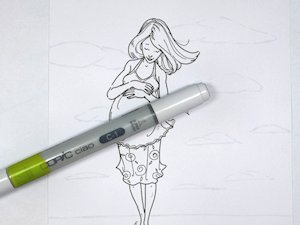
-
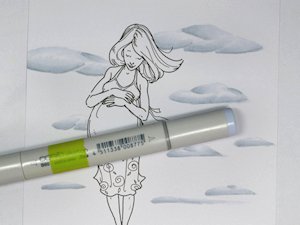
Step 2
Take the darkest grey marker (C3 used here) and add a little color across the bottom of each cloud and in some places near the top.
HINT:
The more color you add in this step, the darker your clouds will end up.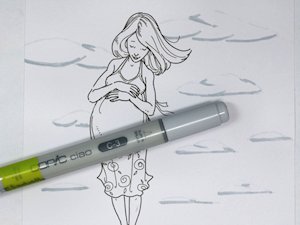
-
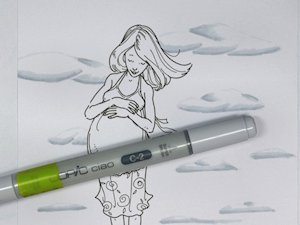
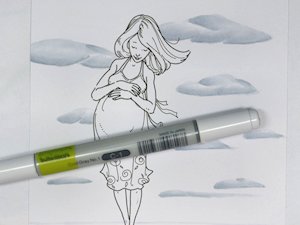
Step 3
Using the medium grey marker (C2 used here) blend out the darkest grey color toward the middle of the clouds.
-
Step 4
Blend out the color even further towards the middle of your clouds using the lightest grey marker (C1 used here).
Be sure to leave some “white space” in the middle of each of at least the detailed clouds in this step.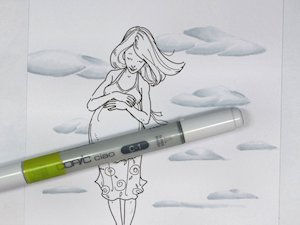
-
Step 5 (Optional)
Use a blue-grey marker (B60 used here) and go over all the color you’ve laid down so far; starting where the darkest color is and flicking towards the middle of each cloud.
-
Step 6
Do a final blend of the colors using the lightest grey marker (C1 used here), blending from the darkest area to the lightest. You may cover up all the white area in the middle of your cloud in this step or leave parts of the cloud white – depending on the look you want to achieve.
-
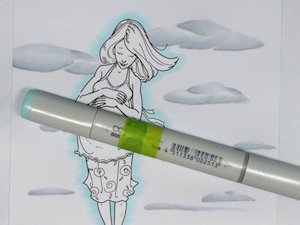
Step 7
To color the sky, choose a light blue marker (B00 used here) and flick the color away from the image all around the edge of the image.
-
Step 8
Take a slightly lighter blue marker (B000 used here) and blend the darker blue away from the image and color in the rest of the sky.
-
Step 9
Use the first blue marker again (B00 used here) and make a faint line just under the clouds (leave a little gap between the bottom of each cloud and the line you are making). It is hard to see in the photo but this helps make the clouds look like they are “moving”.

-
Step 10
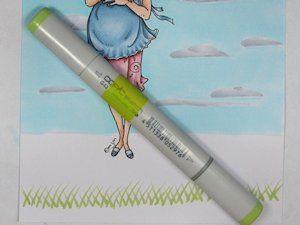
To add grass, take the lightest green marker (G43 used here) and, starting at the bottom of the image, make thin flicks in the shape of a “V” or elongated “X” all across the bottom.
-
Step 11
Continue with the same color, filling in the rest of the grass area, working from the bottom of your page towards the top. I usually work across the page in “rows”, but don’t make the rows too neat or your grass will not look natural.
If you want your image to be “standing” in the grass – flick some blades of grass across parts of the image (in this case – the shoes/feet and legs). This is why it's best to color the image first).
When you reach the horizon line, make sure your grass blades extend over the horizon line into the sky area (this is why you color the sky before the grass).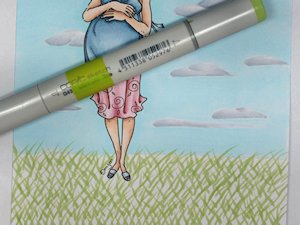
-
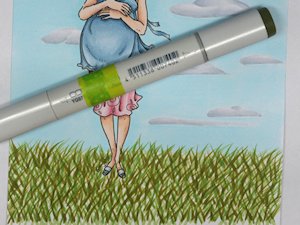
Step 12
Take the next darkest marker (YG67 used here) and do the same as for the lighter green. Start at the bottom of the page and make thin “V” flicks all over the grassed area. Work in rows across the page again, but ensure they are not too neat.
-
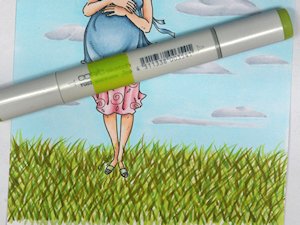
Step 13
Take the darkest green marker (YG97 used here) and do the same again. Start at the bottom of the page and make thin “V” flicks all over the grassed area. Again, work in rows across the page.
-
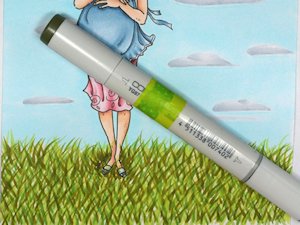
Step 14 (Optional)
Using another color green (YG03 used here) do the same again. Start at the bottom of the page and make thin “V” flicks all over the grassed area. With this last color fill in some of the white areas that were left and change the overall “color” of the grass.
-
Step 15
Take your darkest green marker again (YG97 used here) and add some extra flicks of grass around the image where shadows would be.
-
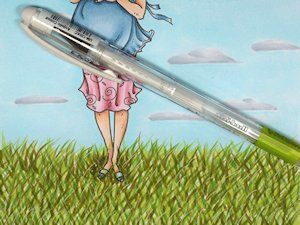
Step 16 (Optional)
To add some more interest to the grass, take a white gel pen and make some “V” flicks (like you did with the green markers) across the whole grassed area. The white flicks shouldn’t be as numerous as the green flicks were – spread them out a little more.
-
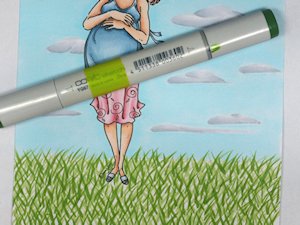
Step 17
Finish any other coloring on your image and add to a card or project.
HINT:
If you are not confident coloring your image before finishing the background, you could color the clouds, sky and grass first, then color your image and then go back and add any flicks of grass over the parts of your image that are “standing/sitting” in the grass.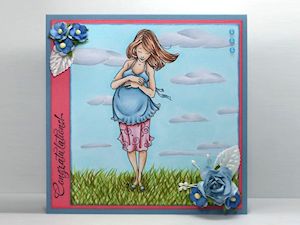
Video!
Your Turn
You've seen the tutorial, now you try it! We've got a section of the gallery set aside for Outdoor Backgrounds. Try this technique, then upload your artwork to the gallery. Show us your creations!
***Please note - Internet Explorer/Edge is not a supported browser, and will not allow you to see the videos. Please use Chrome, Firefox or Safari to view our tutorial videos.

Questions and Comments
We'd love to get your feedback or questions. Leave your comment below.
You could also use a stencil or cloud die.
Sherry - I do always free hand draw my clouds but as Dina said you could use a stencil or die to do the outline and then follow the rest of the tutorial to fill-in the clouds. The great thing about using the light grey marker first to outline the clouds is that if you do make a mistake (or change your mind on the placement of the clouds) you can just leave it and colour over it with the sky colour - you won't notice in the end
https://www.facebook.com/groups/mosclub/
Page 1 of 1 pages