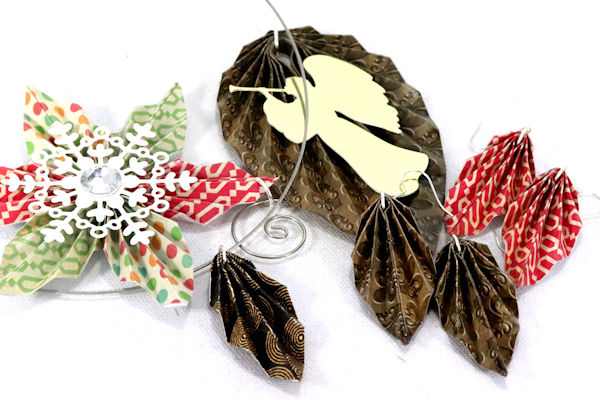
Origami Leaf
by Dina Kowal
Learn the basics of this fun fold, then transform it into a pendant, ornament or embellishment!
Supplies
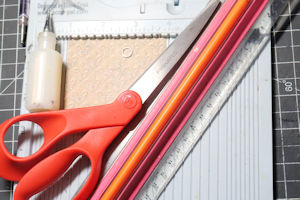
- Double sided paper
- Scoring tool
- Scissors
- 8-10 mm jump ring (optional, depending on project)
- Liquid adhesive
- Clear glaze (Krylon Triple Thick Clear Glaze Aerosol Spray works well)
Step-by-Step
-
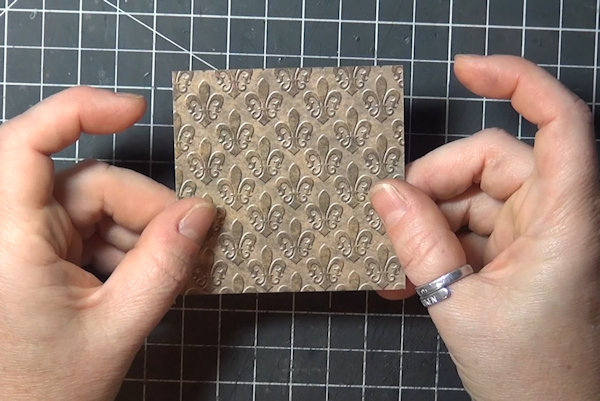
Step 1
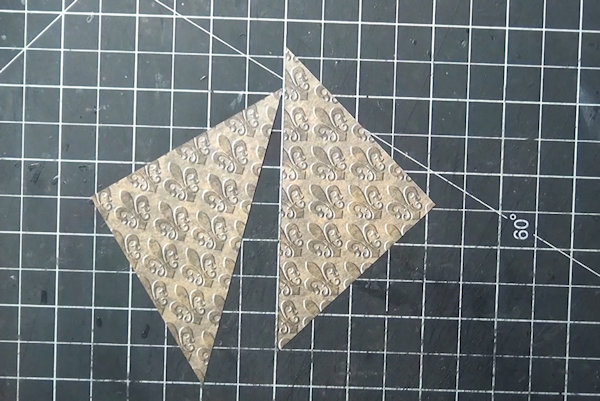
Cut a square of double sided paper (not cardstock). The sample square is 3”.
-
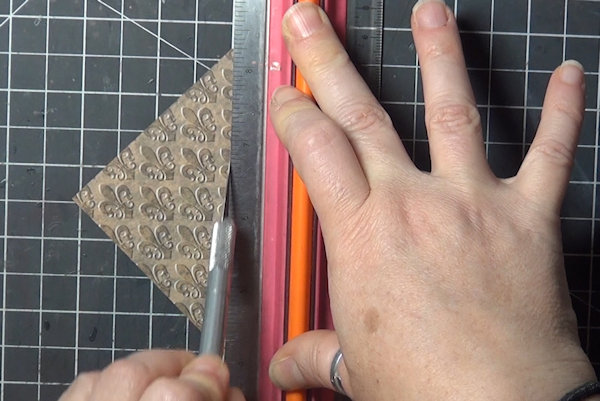
Step 2
Cut across from corner to corner, creating 2 triangles.
-
-
Step 3
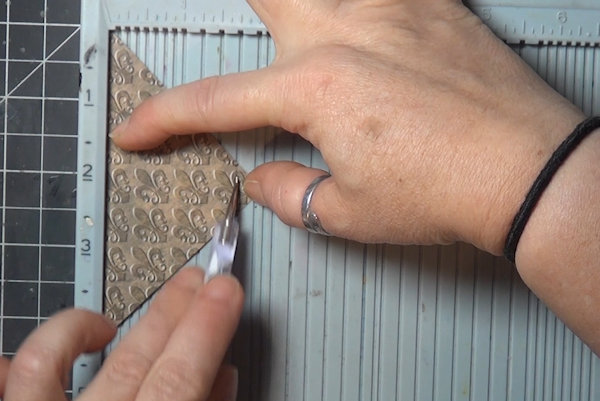
Aligning the long side of the triangle with the side of a scoring board, score at every 1/4".
TIP:
Begin scoring from the point over (right to left), to ensure that the long side stays flat and against the side of the board. Scoring from left to right causes the paper to lift. -
Step 4
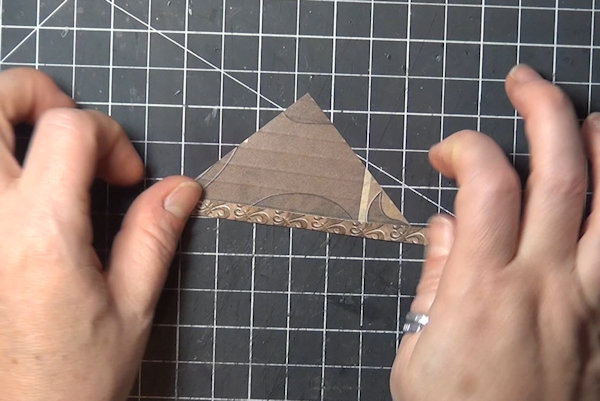
Begin accordion folding the triangle from the long side, first folding the ‘right’ side to the back.
-
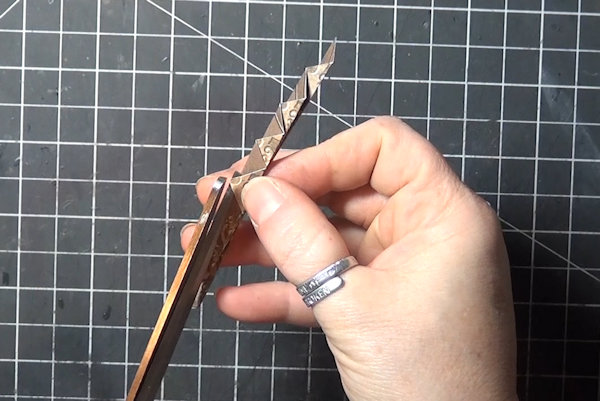
Fold on all the lines until the triangle is completely folded into a 1/4” wide piece. Trim off the point that hangs over the edge.
-
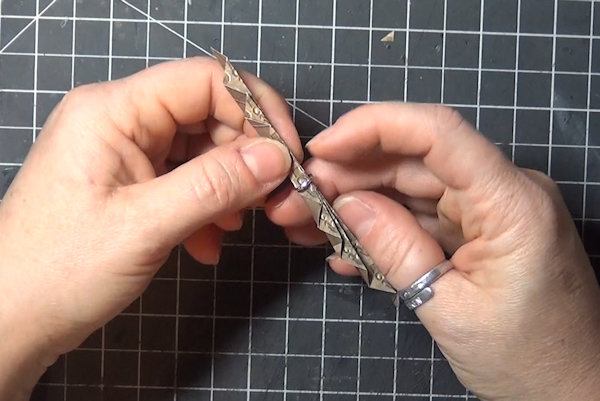
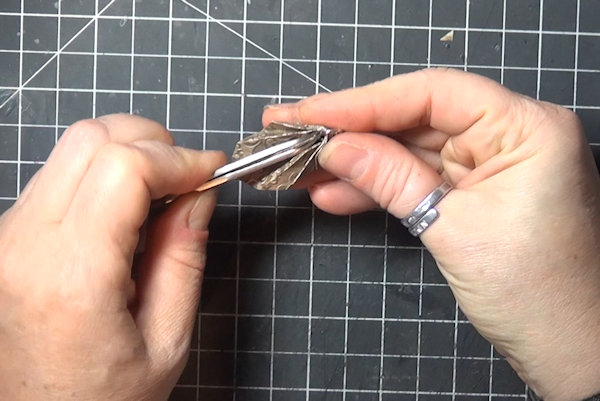
Step 5
Center a jump ring on the piece, working it carefully over the folds. Turn the opening of the ring to the inside (the first long fold).
NOTE:
If you are going to use the leaf as a simple embellishment, a ring is not necessary. -
Step 6
Fold the points together, matching up the two halves of the long side. Depending on the thickness of the paper, you may need to work the edges together in a straight line toward the ring.
-
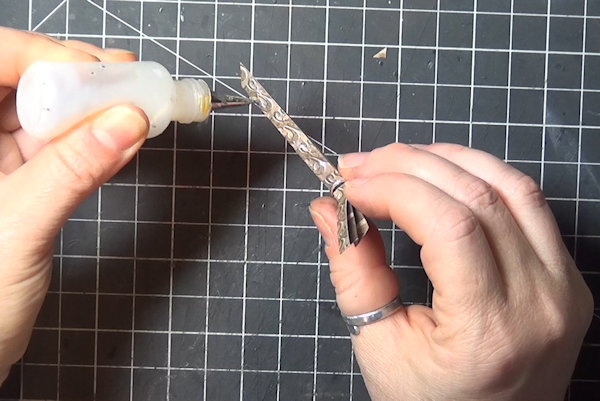
Step 7
Apply liquid adhesive to the inside fold.
-
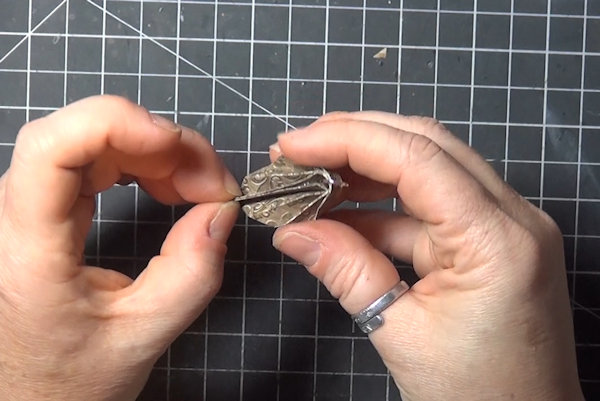
Step 8
Press the sides together. Take care to keep the adhesive only on this area, so it doesn’t squeeze out and stick any other folds together.
-
Squeeze from the sides or use tweezers to help with adhesion toward the ring.
-
Step 9
Optional - trim off the tip of the leaf that sits behind the front point. (It’s fine to leave it there too. It just adds length that is not seen.)
-
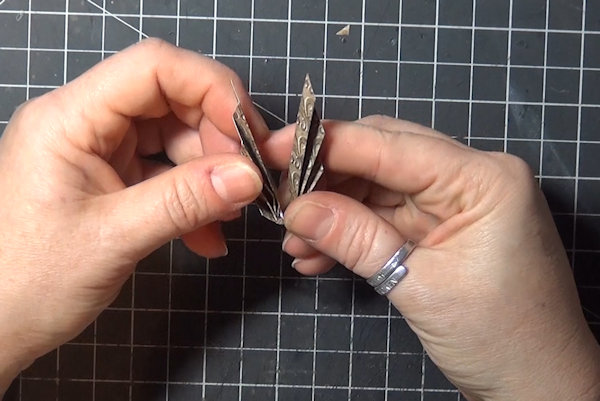
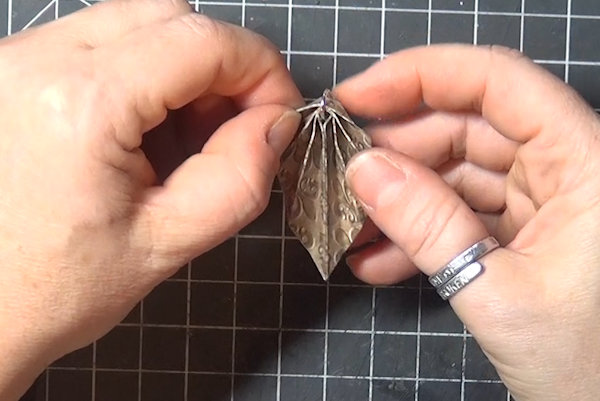
Step 10
When the glue has set, spread the folds apart to create a nice leaf shape.
-
Step 11
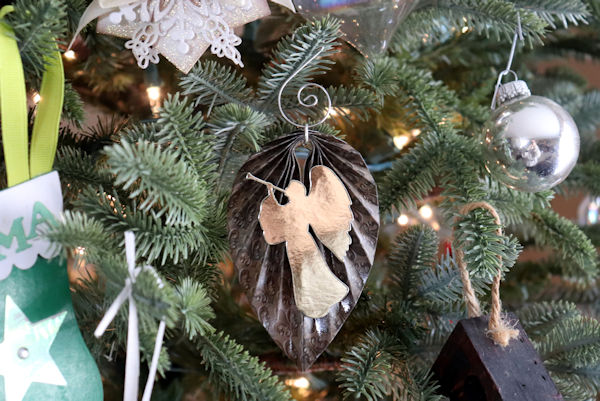
Seal the leaves using a spray or liquid glaze.
Use them as embellishments or attach jewelry findings to use them on earrings or pendants.

Video!
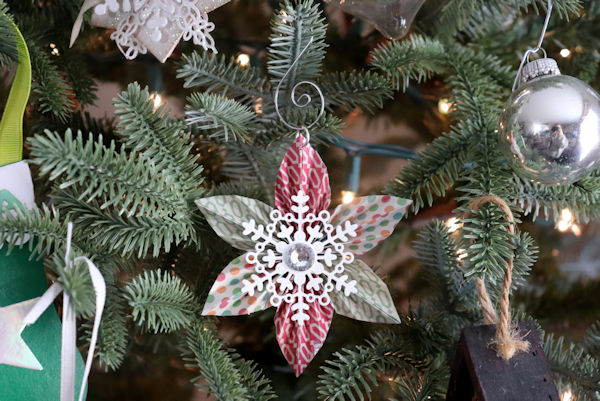
Variations
-
Experiment with different size papers and different scoring intervals. This sample started as a 6” square. Scores are every 1/4”. A 10mm ring was used.
-
Glue several leaves together in a ring to form a rosette.
Your Turn
You've seen the tutorial, now you try it! We've got a section of the gallery set aside for Origami Leaf. Try this technique, then upload your artwork to the gallery. Show us your creations!
***Please note - Internet Explorer/Edge is not a supported browser, and will not allow you to see the videos. Please use Chrome, Firefox or Safari to view our tutorial videos.

Questions and Comments
We'd love to get your feedback or questions. Leave your comment below.
Page 1 of 1 pages