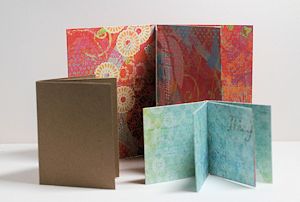
One Sheet ATC Book
by Dina Kowal
Make a fun mini album using a single sheet of cardstock.
Supplies
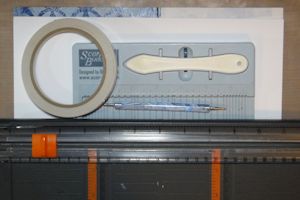
- Light or medium weight cardstock (colored or patterned)
- White cardstock or watercolor paper
- Paper trimmer
- Scoring tool
- Bone folder
- Double sided tape
- Other supplies as needed to complete the project
Step-by-Step
-
Step 1
Trim colored cardstock to 7 1/2" x 11". This will be the base of the book.
-
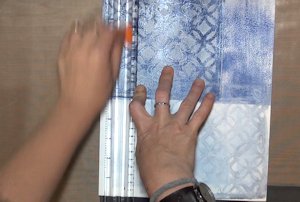
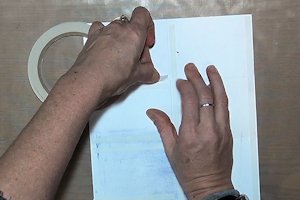
Step 2
Score down the center of the cardstock from the short side at 3 3/4".
-
Score along the long side at 2 3/4", 5 1/2", and 8 1/4".
-
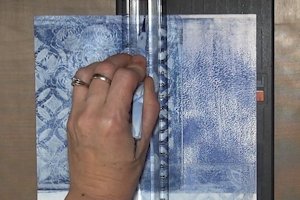
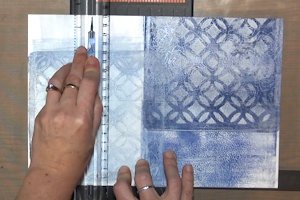
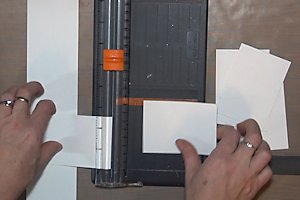
Step 3
Align the long center score line along the cutting line of the paper trimmer.
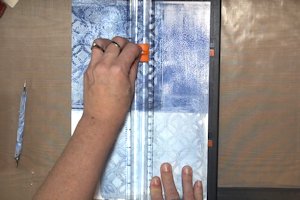
-
Cut from the first to third intersecting score lines, creating an opening in the center as shown.
-
Step 4
Crease along all score lines with a bone folder.
HINT:
Fold lengthwise first. Open the card flat, then fold in half the other way to create a mountain fold. Fold up on outer score lines to create valley folds.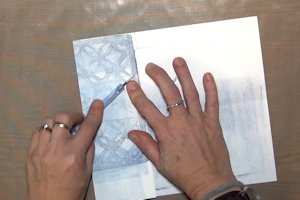
-
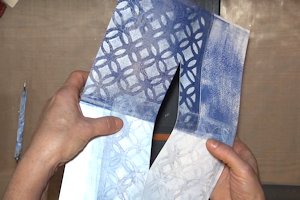
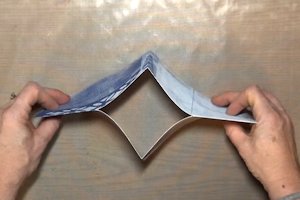
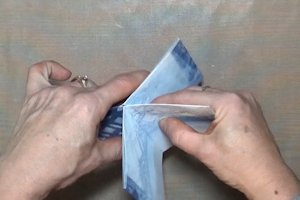
Step 5
To create the form of the book, fold the base in half so that the cut line is on the fold and facing up. Push the end sections toward the center, causing the middle section to open out into a diamond.
-
Step 6
Flatten the center sections and fold both of them over to the right. Fold the left panel over to create the cover of the book – it can be folded to the front or the back.
-
Step 7
Once the book is formed, open it up and add double sided tape horizontally on one side (along the edge and the center score) and vertically on the other (on the edges, and on both sides of each score line). A permanent tape runner would work well for this step as well.
-
Fold as before, taking care to fold and adhere the outside panels together first before putting the center panels together.
NOTE:
Pages may need to be worked or flattened down to conform to the book shape. With thicker card, the inner pages edges may not line up exactly and can be trimmed.
-
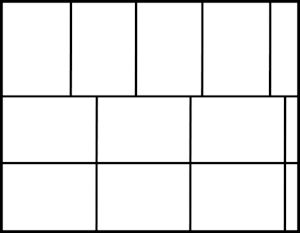
Step 8
To cut trading card sized panels (2 1/2" x 3 1/2") to decorate the pages, begin with a 8 1/2" x 11" sheet of cardstock. Cut a 3 1/2" x 11" strip from one side, and cut it into four 2 1/2" wide pieces.
-
The remaining section is 5" wide. Cut it into two sections, each 2 1/2" x 11". Cut these strips into 3 1/2" pieces. One sheet should yield 10 pieces.
-
Step 9
Decorate the pages as desired, using photos, stamped images, or inspirational sentiments.

-
Complete the project.

Video!
Variations
-
To make a larger album, use any size cardstock. Score at the center, and divide the width in 4 to determine the position of the intersecting score lines. Assemble in the same way as shown above, adjusting the size of the layering panels.
Your Turn
You've seen the tutorial, now you try it! We've got a section of the gallery set aside for One Sheet ATC Book. Try this technique, then upload your artwork to the gallery. Show us your creations!
***Please note - Internet Explorer/Edge is not a supported browser, and will not allow you to see the videos. Please use Chrome, Firefox or Safari to view our tutorial videos.

Questions and Comments
We'd love to get your feedback or questions. Leave your comment below.
Just beautiful! I love this idea...will have to try it!:)
I also love the stamp set you used. Can you tell me the name of that stamp set please? thank you for such a great video.
Dottie - I shared a little of my process in the video! If you'd like to see more I did video the whole process and I can share that soon.
just how lovely ATC's can be!
Page 1 of 2 pages 1 2 >