Never-Ending Card
by Lynn Mercurio
Create a four-faced interactive card for any occasion.
Supplies
- Cardstock in coordinating colors
- Scoring board
- Paper trimmer
- Bone folder
- White craft glue
- Stamps and embellishments to complete the project
Step-by-Step
-
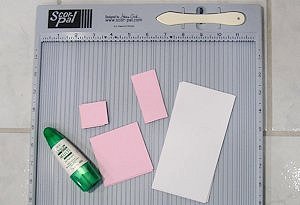
Step 1
Cut 4 cardstock panels for the base, each 3” X 6”.
Cut 8 pieces from coordinating cardstock to decorate the large square panels, each 2 3/4” X 2 3/4”.
Cut 4 pieces from coordinating cardstock to decorate the rectangle panels, each 2 3/4” X 1 1/4”.
Cut 16 pieces from coordinating cardstock to decorate the small square panels, each 1 1/4” X 1 1/4”.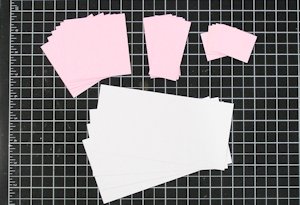
-
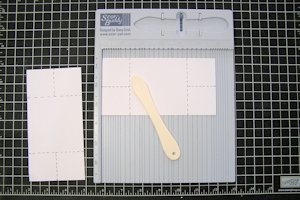
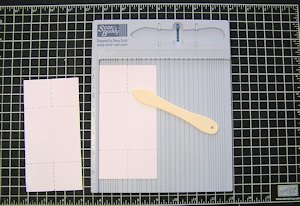
Step 2
Score each of the four base panels along the long edge at 1 1/2” and 4 1/2”.
-
Step 3
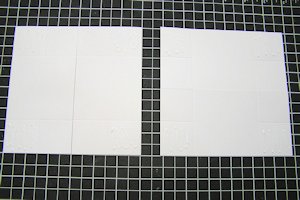
Score each of the four white panels on both short edges at 1 1/2”, down to the intersecting score line.
-
Step 4
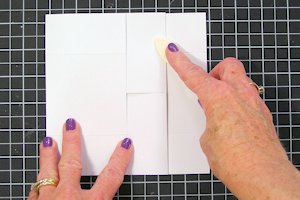
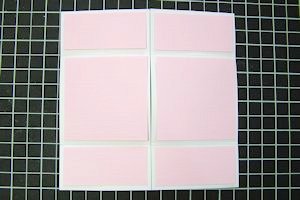
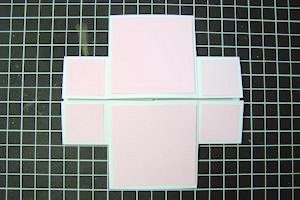
Align two of the base panels vertically, and two horizontally.
Hint:
Use a low-tack tape between the panel pairs to keep them together.
-
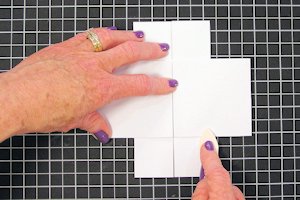
Apply white glue to only the four outermost squares on both panel sets. The green tape in the photo indicates where to apply the glue.
Note:
Glue is preferred to double-sided tape, as it allows for some wiggle room before permanent fixture.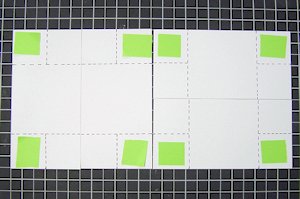
-
Step 5
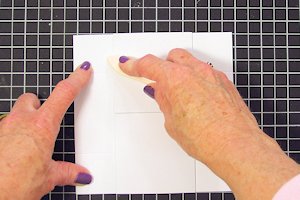
Take the panels from the horizontal pair, and align them one at a time across the vertical panels, lining up glued sections, corners and edges.
Allow glue to dry completely.
Tip:
Carefully lining up the edges will ensure that the Never-Ending Card will function without any frictional interference.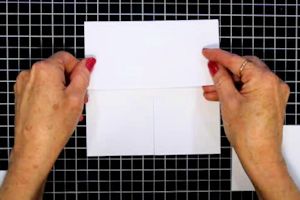
-
Step 6
Place the bottom panel from the right, onto the bottom panel on the left, just as for the top half…lining up the edges exactly.
-
Step 7
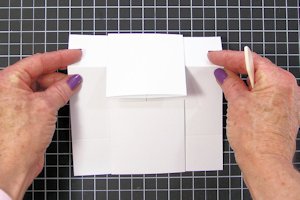
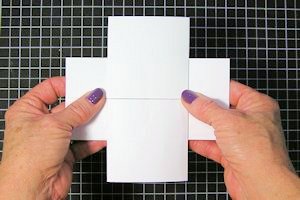
Now comes the never-ending part. Turn the base so that the center line is vertical. Gently fold back the right half at the scored vertical line and burnish with your bone folder to create a sharp crease.
-
Step 8
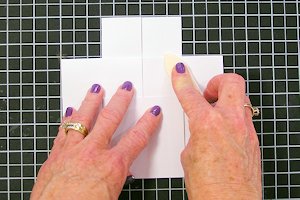
Fold over the left side of the base and score the vertical score line as in Step 7.
-
Step 9
Fold back the top part of your base back and burnish the score line.
-
Step 10
Fold back the bottom part of the base back and burnish the score lines.
-
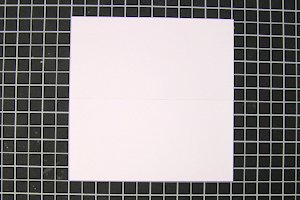
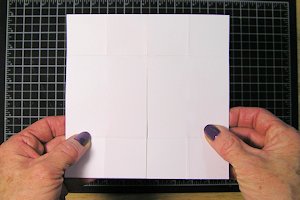
Step 11
After burnishing all score lines, the base should look like this for the first side.
-
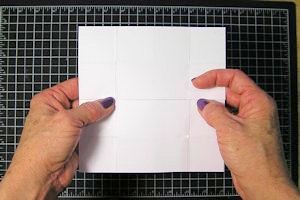
Step 12
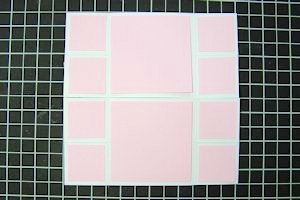
Open the card from the center opening to reveal the second side.
-
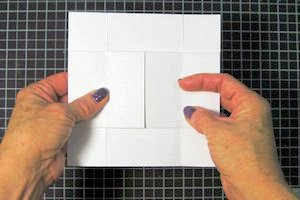
Step 13
Open the card from the center opening to reveal the third side.
-
Step 14
Open the card again, flipping the two larger center panels toward the back, revealing the fourth side.
-
Step 15
Going back to the first side of the Never-Ending Card, apply the coordinating cardstock panels as shown.
-
Step 16
Open the card to the second side, and adhere the panels as shown.
-
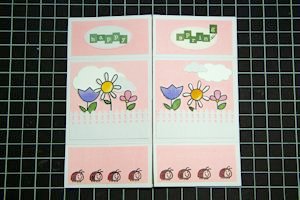
Step 17
Open the card to the third side and adhere the panels as shown.
Notice that there are two sections left white.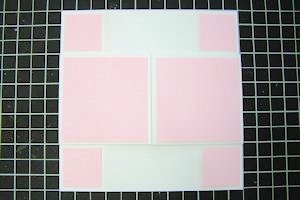
-
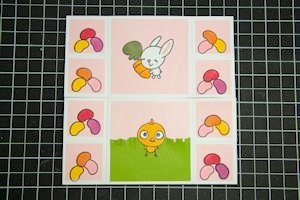
Step 18
Open the card to the fourth side and adhere the panels as shown.
-
Step 19
Embellish the front of the card as desired. Keep stamped or die cut images from extending past the coordinated cardstock panels, so that they will not interfere with the movement of the card.
-
Step 20
Open the card to the second side and continue decorating and embellishing.
-
Step 21
Open the card to the third side and continue decorating and embellishing.

-
Step 22
Open the card to the fourth side to finish decorating and embellishing.
The finished card size is a 6" square.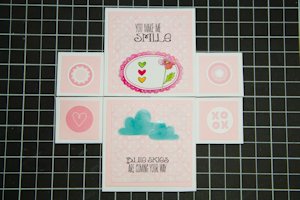
Video!
Your Turn
You've seen the tutorial, now you try it! We've got a section of the gallery set aside for Never-Ending Card. Try this technique, then upload your artwork to the gallery. Show us your creations!
***Please note - Internet Explorer/Edge is not a supported browser, and will not allow you to see the videos. Please use Chrome, Firefox or Safari to view our tutorial videos.

Questions and Comments
We'd love to get your feedback or questions. Leave your comment below.
This would work very well with a variety of themes.
Page 1 of 2 pages 1 2 >