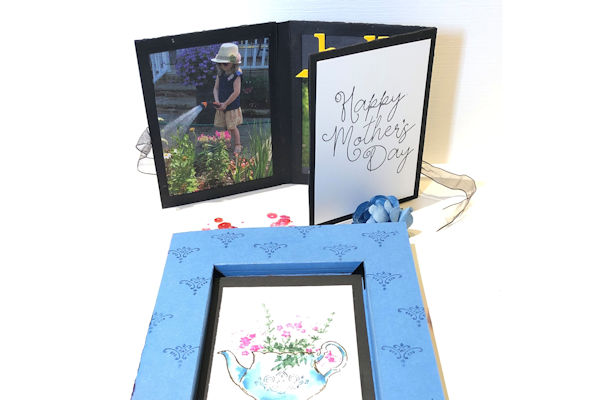
Nested Portfolio Card
by Deb Valder
Tuck a photo portfolio in the front of an interactive presentation card.
Supplies
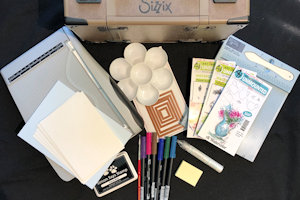
- Cardstock
- Trimmer
- Scoring tool (or attachment on trimmer)
- Craft knife
- Rectangle dies
- Adhesive
- Ribbon
- Other supplies as needed to complete the project (Art Impressions watercolor stamps, watercolor paper, watercolor markers, permanent black ink)
Step-by-Step
-
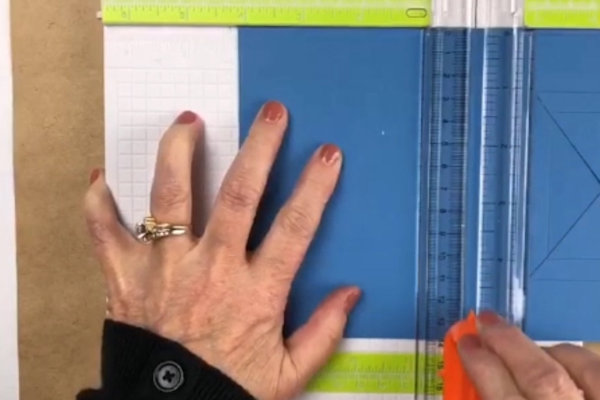
Step 1
Cut the card base to 5 1/2" x 8 1/2". Score at 4-1/8” and 4 3/8” on the long side.
-
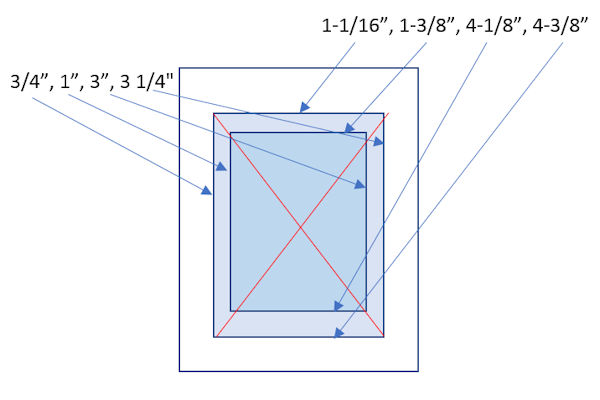
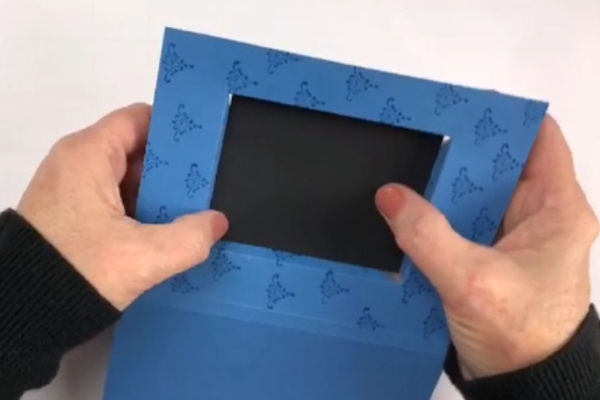
Step 2
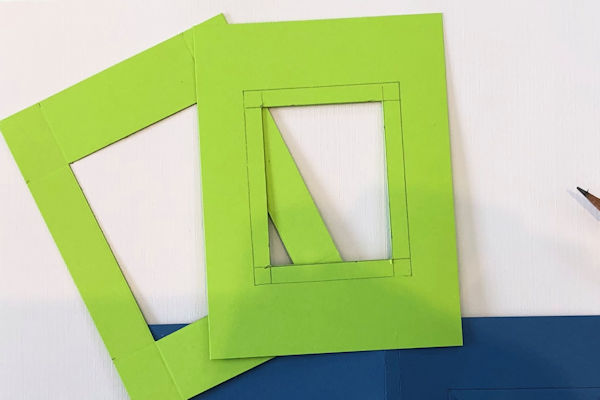
Create 2 templates for the insert area, at 4 1/8” x 5 1/2". Follow the measurements on the image to create the central opening, cutting on the outside lines for the first template, and the inside lines for the second template. (You may click the image for a larger view.)
-
The templates should look like this when finished.
-
Step 3
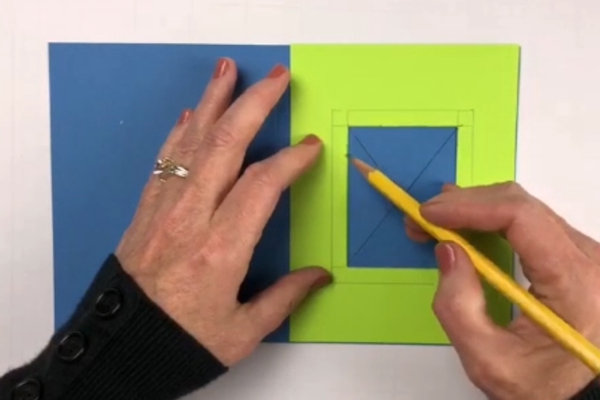
Line up and trace the templates onto the card front.
-
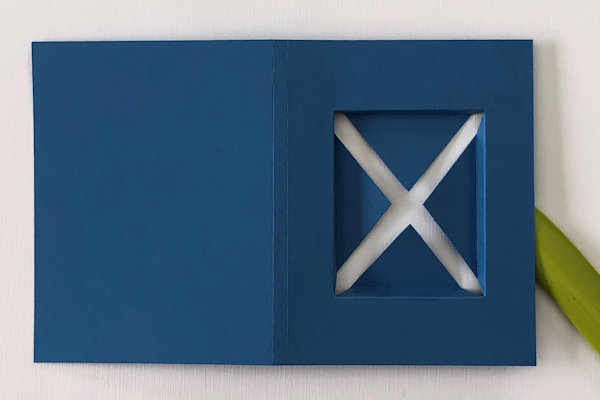
Step 4
Score along all traced lines.
-
Cut an X from corner to corner of the largest rectangle.
-
Step 5
Stamp a design on the card front surrounding the frame. Mask the spine and back of the card to avoid stamping past the front cover.
-
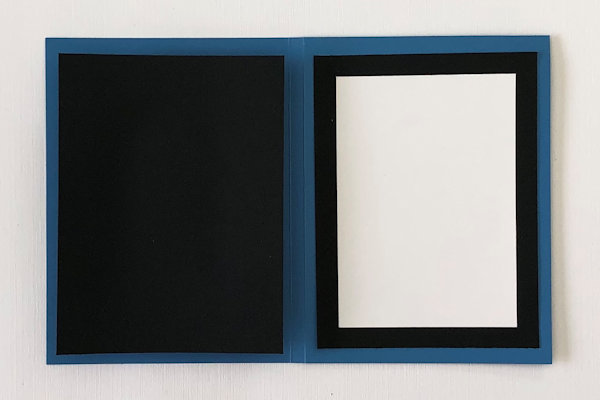
Step 6
Fold the larger scores in and the smaller scores back out (towards the middle). Use your crease tool to make nice crisp folds. This gives you a 1/4” deep well for your portfolio.
-
Step 7
Add two 2 1/2” x 3 1/4" pieces of cardstock - one on the inside of the well and one on the back (inside the card).
-
Step 8
Now add two 3 5/8” x 5” cardstock panels to the inside of the card, one on the left side over the well and one on the right side.
Layer a 2-7/8” x 4 1/4” panel on the right side. -
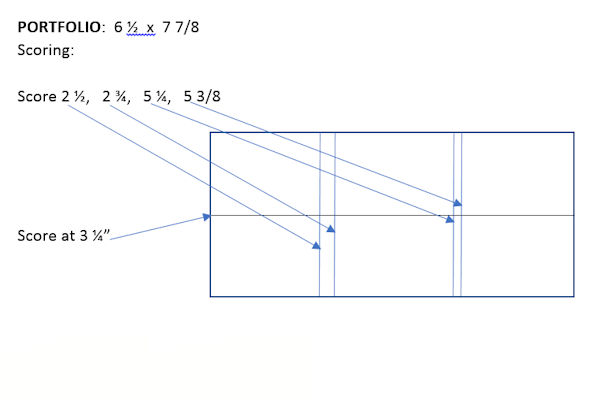
Step 9
To make the portfolio, cut a cardstock base that is 6 1/2" x 7 7/8”.
Following the diagram, cut down to the center line, and stop. Trim out the narrow portions between each section above the center line.
Score up to the center line and stop. -
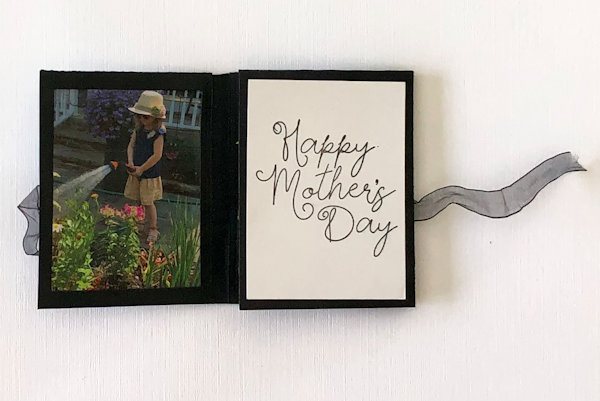
Step 10
Cut frames from the top flaps of the base using a rectangle die.
Insert photos and adhere the frames into place. -
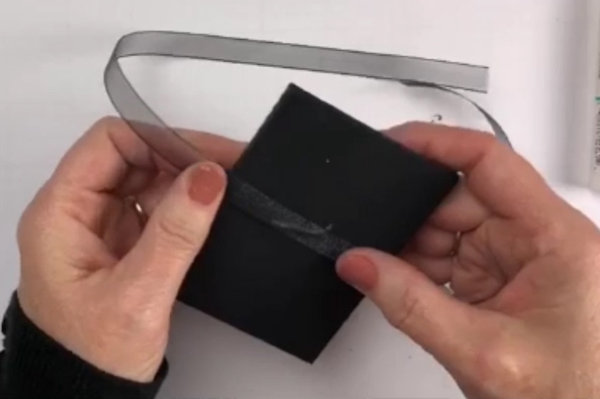
Step 11
Fold up the portfolio, folding in the right panel first and then the left. Add a ribbon, adhering to the front panel only, long enough to tie around the portfolio on the side. Center the ribbon at the left fold.
-
Stamp a panel that will be seen when the portfolio is open.
-
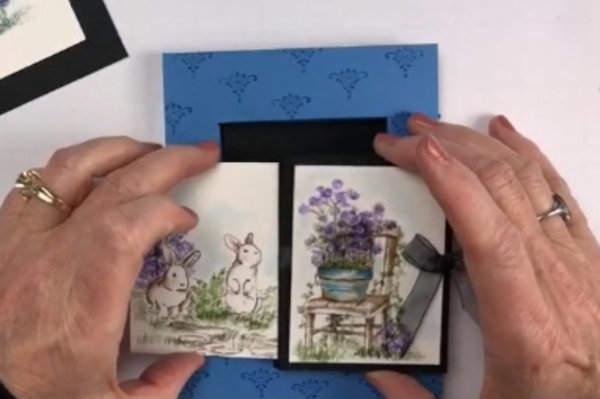
Step 12
Stamp a panel for the front of the booklet. Insert a coordinating panel in the well that will be seen when the portfolio is removed.
-
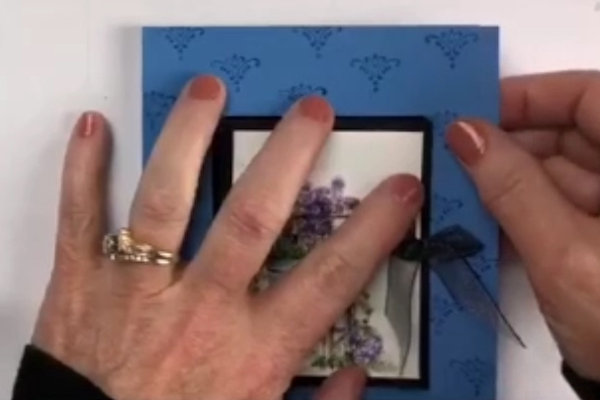
Step 13
Set the portfolio inside the “well” of the card.
-
Step 14
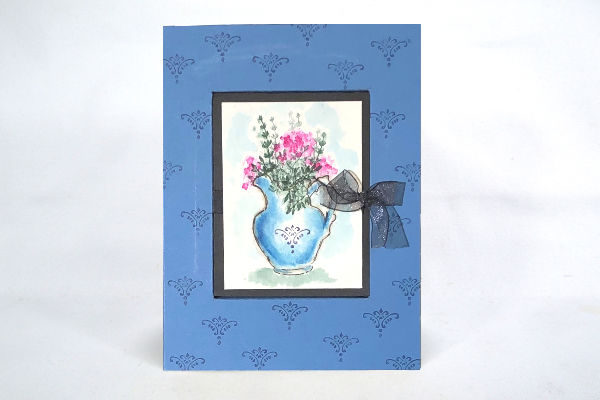
Complete the project.
-


Video!
Your Turn
You've seen the tutorial, now you try it! We've got a section of the gallery set aside for Nested Portfolio Card. Try this technique, then upload your artwork to the gallery. Show us your creations!
***Please note - Internet Explorer/Edge is not a supported browser, and will not allow you to see the videos. Please use Chrome, Firefox or Safari to view our tutorial videos.

Questions and Comments
We'd love to get your feedback or questions. Leave your comment below.
Page 1 of 1 pages