Moonlight Silhouette
by Shannon Cole
Use negative space to create a silhouetted image.

Supplies
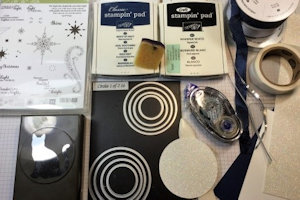
- Large animal punch or die (Stampin’ Up!® Cat Punch used here)
- Circle die, approx. 3” (SU! Layering circles framelits used here)
- White glitter paper or cardstock ( SU Dazzling Diamonds Glimmer paper used here)
- Dark cardstock (SU Night of Navy cardstock used here)
- Mini glue dots (SU! Brand used here)
- Other supplies as needed to complete the project (used here : SU! Star of Light stamp set, White craft ink, Whisper White cardstock, 5/8” Navy seam binding, 1/8” silver, and Silver mini sequin trim, adhesive, bone folder, foam pad, and sponge)
Step-by-Step
-
Step 1
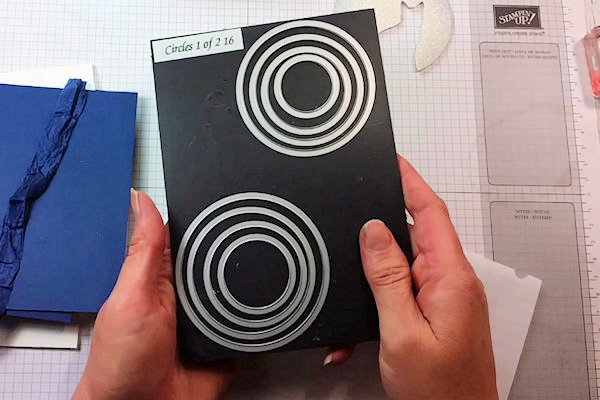
Begin with a circle of glitter or white cardstock cut with a 3” circle framelit or punch.
-
Step 2
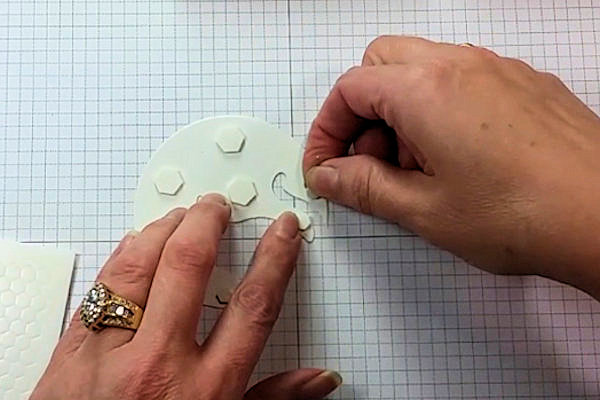
Use a punch or die to create a negative image (open space of a shape) within the circle.
NOTE:
Make sure to have the image in the proper orientation when punching. -
Step 3
This will leave a positive image (here a cat) and a negative opening (a cat which will look silhouetted against a moon).
-
Step 4
Sponge lightly around the edges to add depth.
NOTE:
Please see the video for tips on sponging without streaking and also how glimmer paper can also be changed color by spritzing. -
Step 5
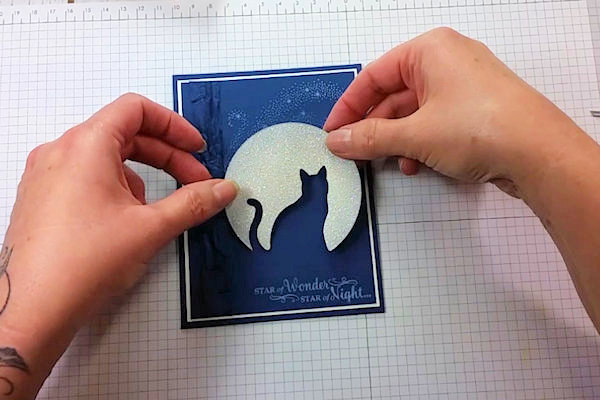
Place dimensional adhesive to the back of the punched “moon”.
-
Step 6
Assemble the card and embellish as desired. A dark card base will show the negative cutout best.
-
Step 7
Complete the project.


Video!
Your Turn
You've seen the tutorial, now you try it! We've got a section of the gallery set aside for Moonlight Silhouette. Try this technique, then upload your artwork to the gallery. Show us your creations!
***Please note - Internet Explorer/Edge is not a supported browser, and will not allow you to see the videos. Please use Chrome, Firefox or Safari to view our tutorial videos.

Questions and Comments
We'd love to get your feedback or questions. Leave your comment below.
Any suggestions?
Page 1 of 1 pages