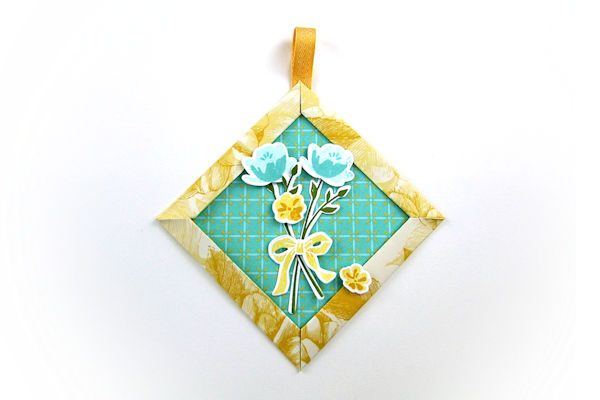
Mitered Frame
by Betty Traciak
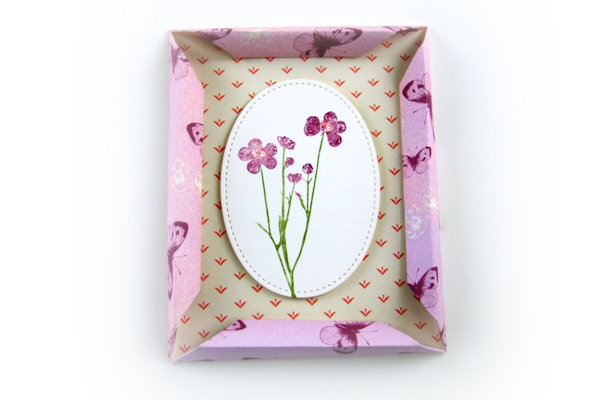
Use double-sided cardstock to create a framed panel.
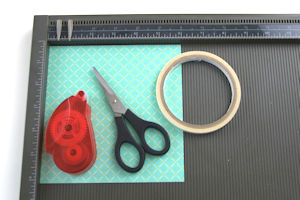
Supplies
- Double-sided scrapbook paper (Stampin' Up!® Tea Room Specialty Designer Series Paper used here)
- Tape or adhesive runner
- Scissors
- Score board
- Other supplies as needed to complete the project (SU products used here: Jar of Love stamp set, Whisper White Cardstock, Coastal Cabana, Crushed Curry and Old Olive Classic Inks, Everyday Jars Framelits)
Step-by-Step
-
Step 1
Determine the outer dimension of the finished project and add one inch to each side.
Example: For a 4” x 4” frame use a 6” x 6” piece of double sided paper.
Score at 1/2” and 1” from each side. -
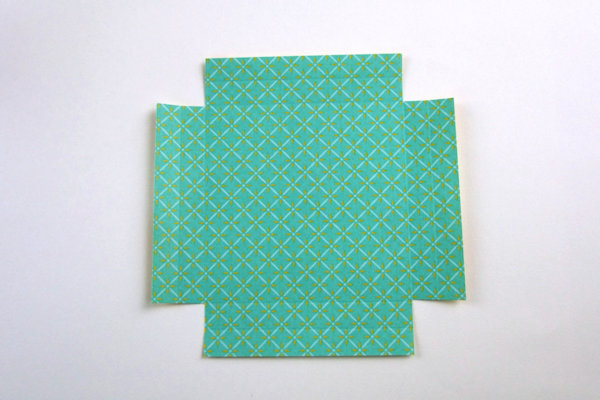
Step 2
Cut away the four small squares in each corner, cutting just up to the scorelines.
-
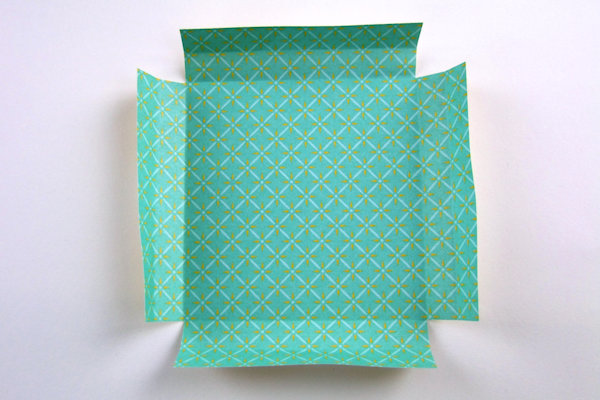
Step 3
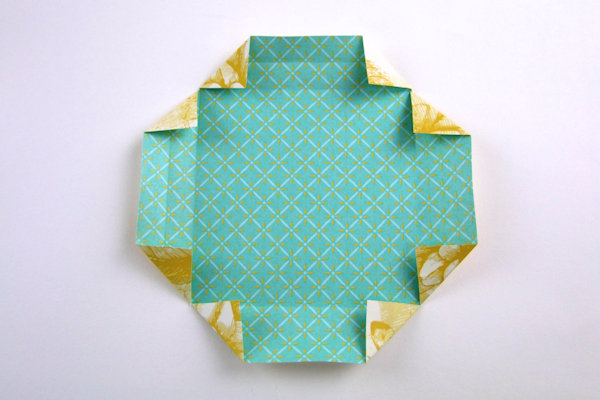
Fold on all scorelines and reopen so the paper is flat.
-
Step 4
Fold each corner on a 45 degree angle.
-
Step 5
Fold on scorelines and adhere.
-
Step 6
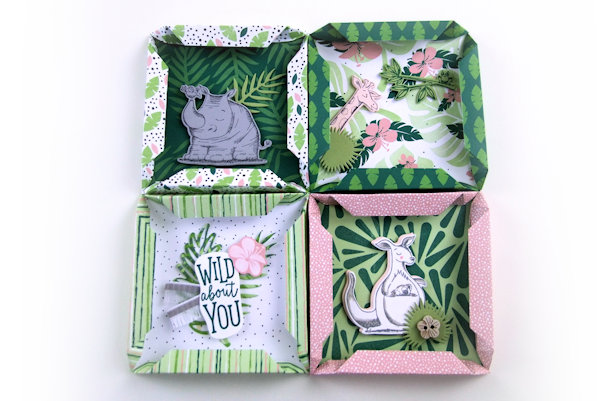
Decorate as desired.


Video!
Variations
-
Free Floating Edges:
Complete as above but in Step 5 do not adhere the edges.
-
Triangular Edged Frame:
Determine the outer dimension of the finished project. Add 1-1/2” to each side. Score at 1/2", 1” and 1 1/2" on all sides.
Your Turn
You've seen the tutorial, now you try it! We've got a section of the gallery set aside for Mitered Frame. Try this technique, then upload your artwork to the gallery. Show us your creations!
***Please note - Internet Explorer/Edge is not a supported browser, and will not allow you to see the videos. Please use Chrome, Firefox or Safari to view our tutorial videos.

Questions and Comments
We'd love to get your feedback or questions. Leave your comment below.
It says add 1 inch to the outer dimension of the finished product. But she uses a 6x6 paper for a 4x4 finished piece. That's 2 inches on each side.
Page 1 of 1 pages