Mirror Image Stamping
by Lydia Fiedler
Create realistic reflections in water using blank rubber or photopolymer and the MISTI stamping tool.
Supplies
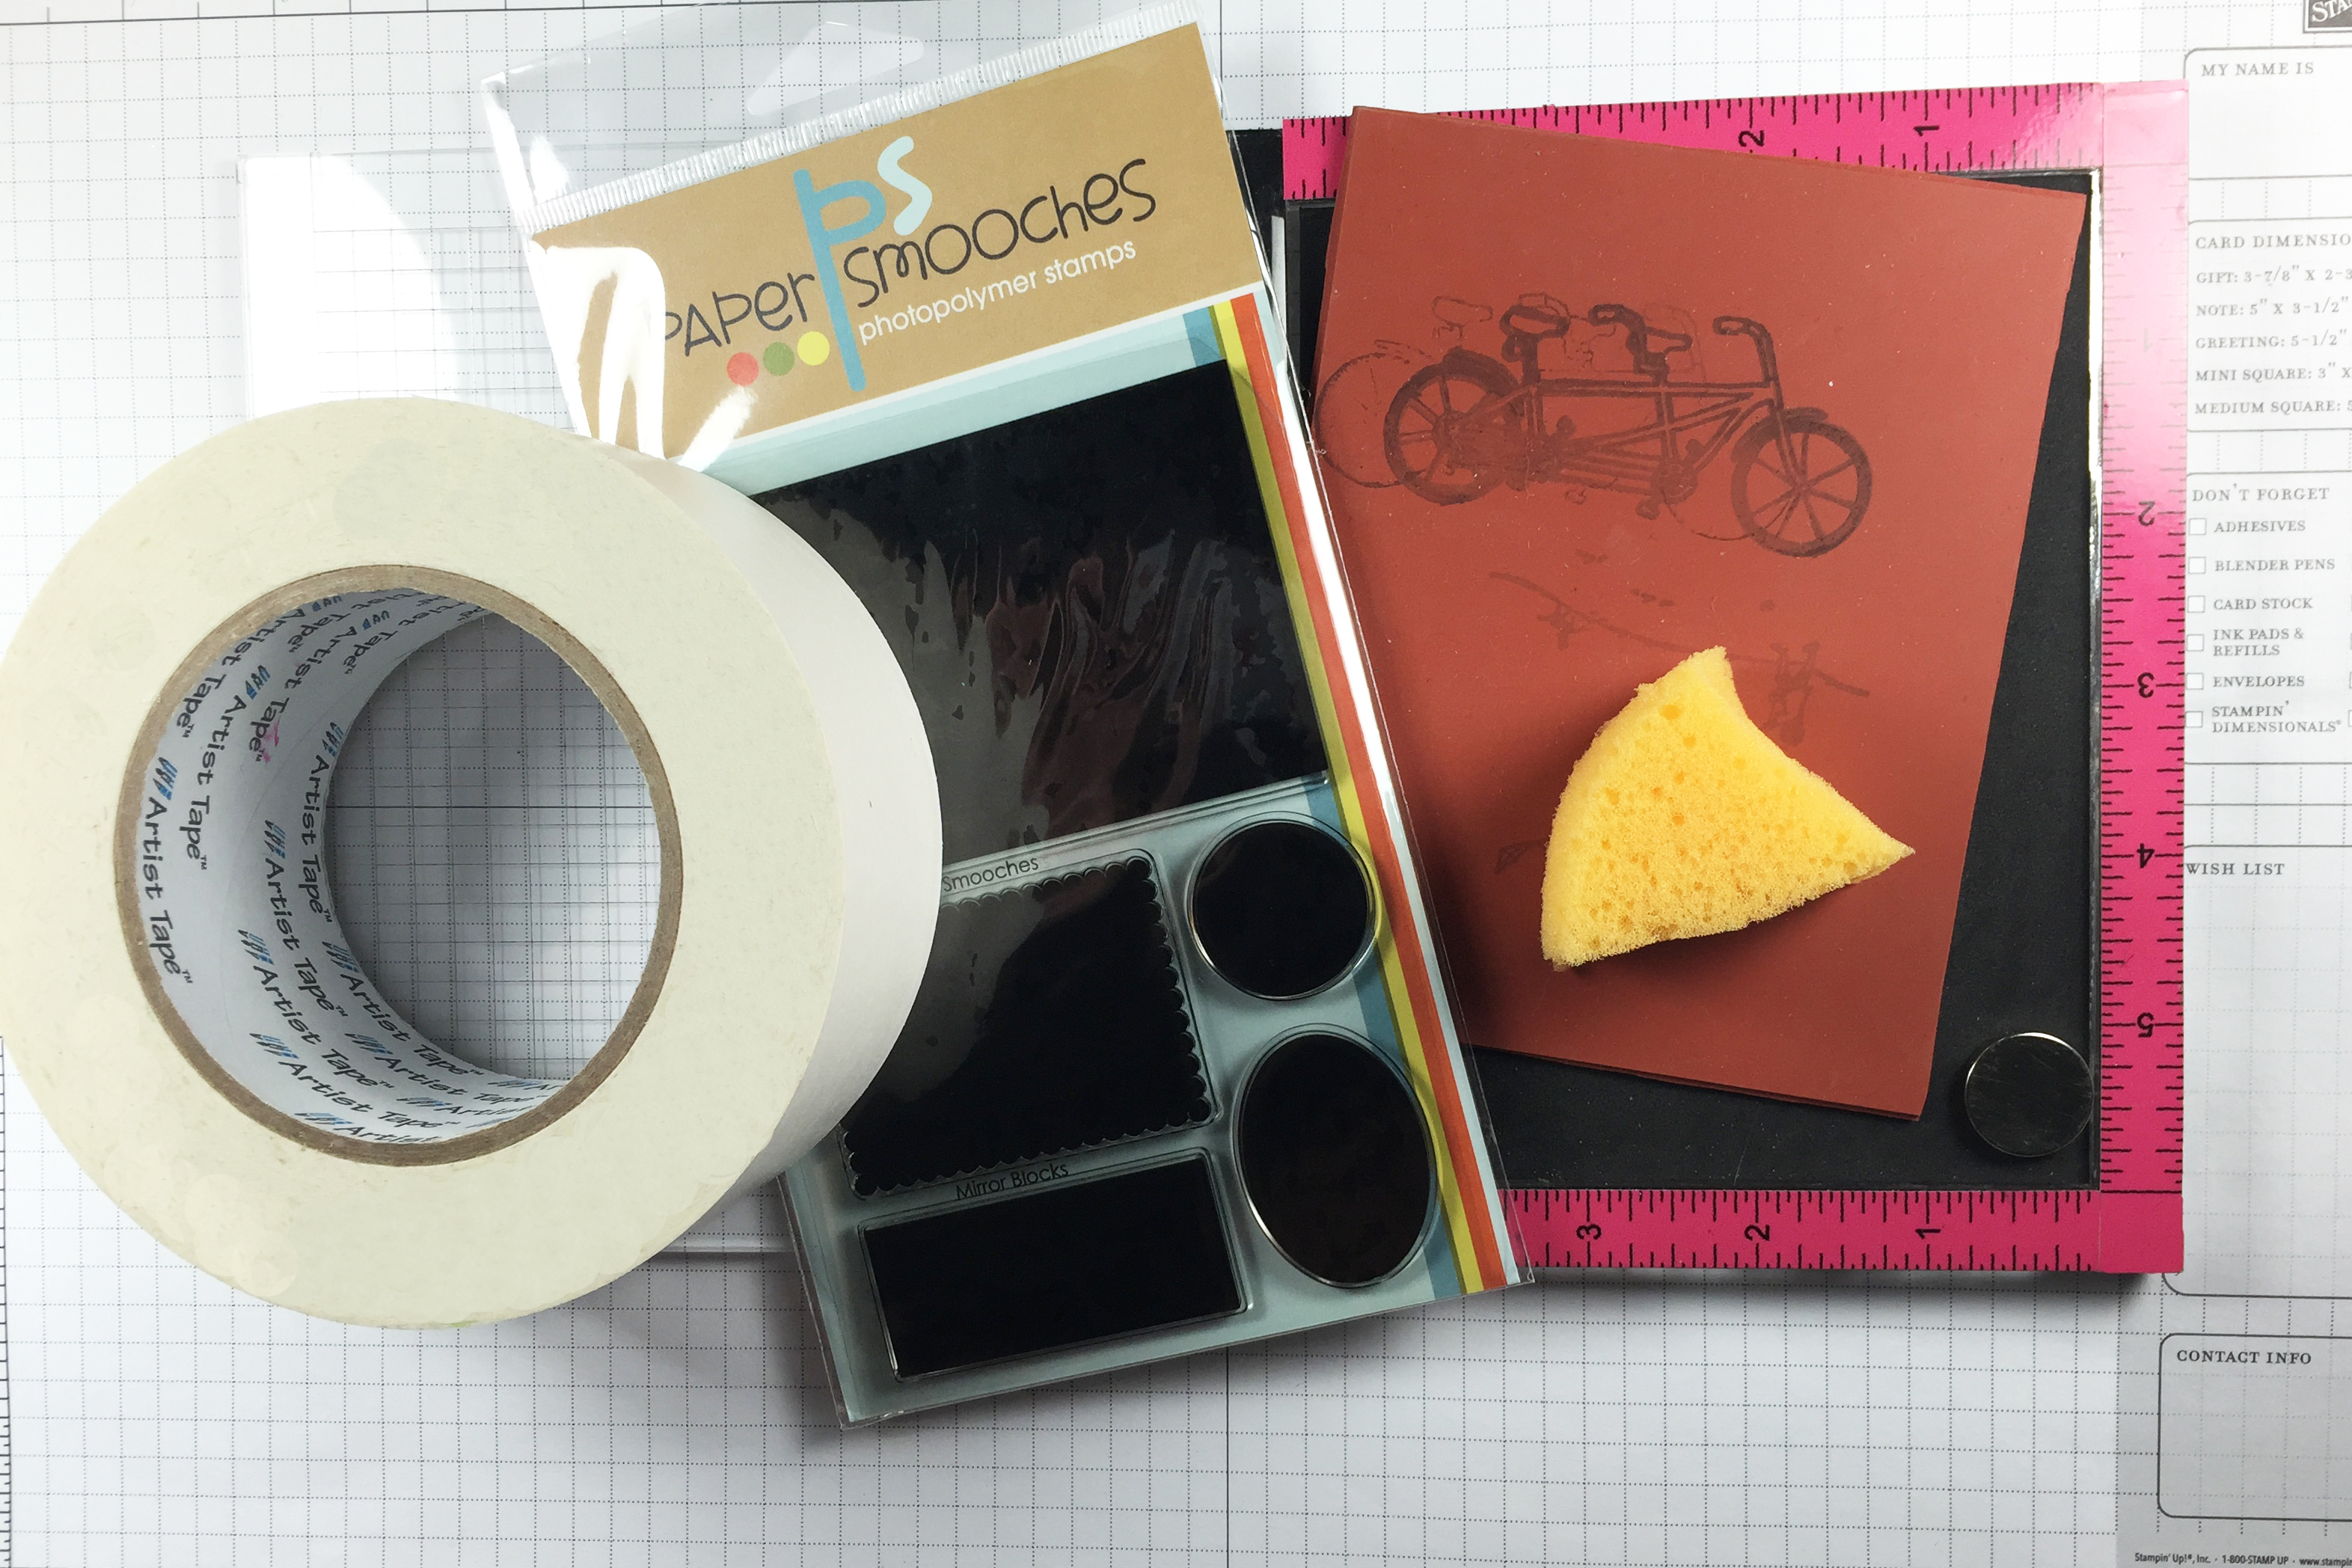
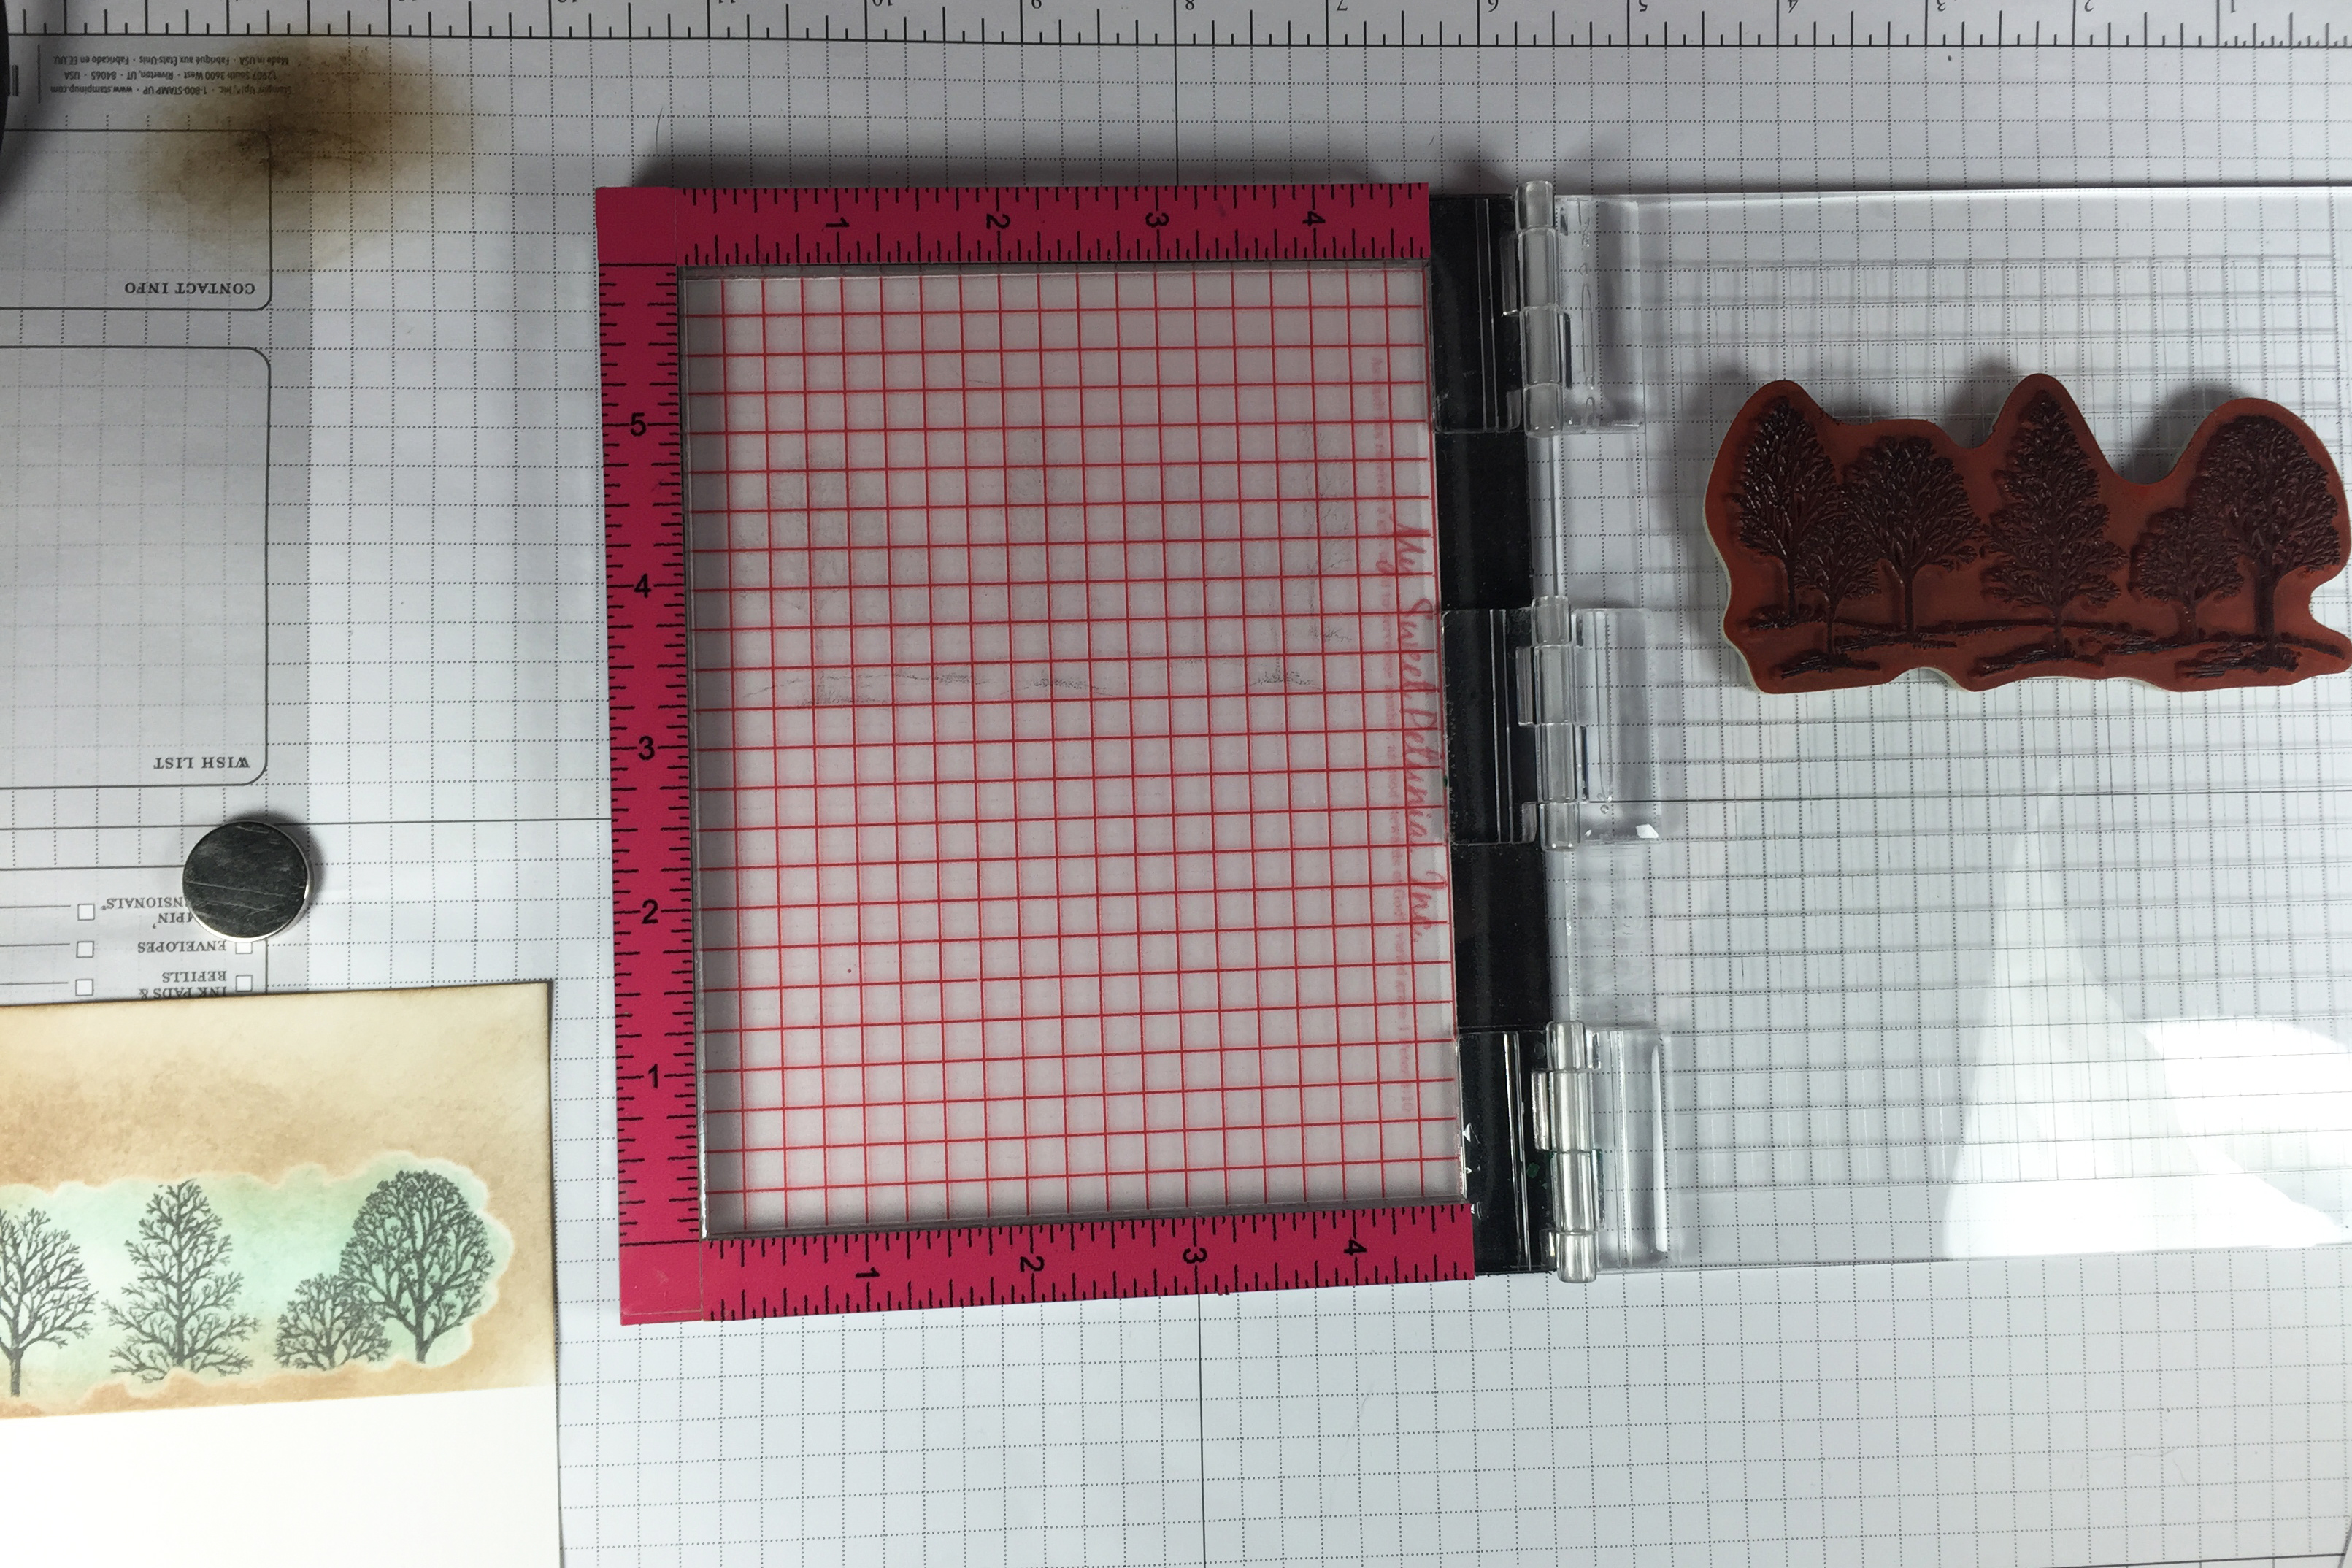
- MISTI Stamping Tool or other stamp positioner
- Mirror image rubber or photopolymer stamp (Mirror Image stamps shown here from So Suzy Stamps & Paper Smooches)
- Stamp (Stampin' Up! Lovely as a Tree used here)
- Masking paper or tape
- Shape die or scissors
- Sponge or ink blending tool
Step-by-Step
-
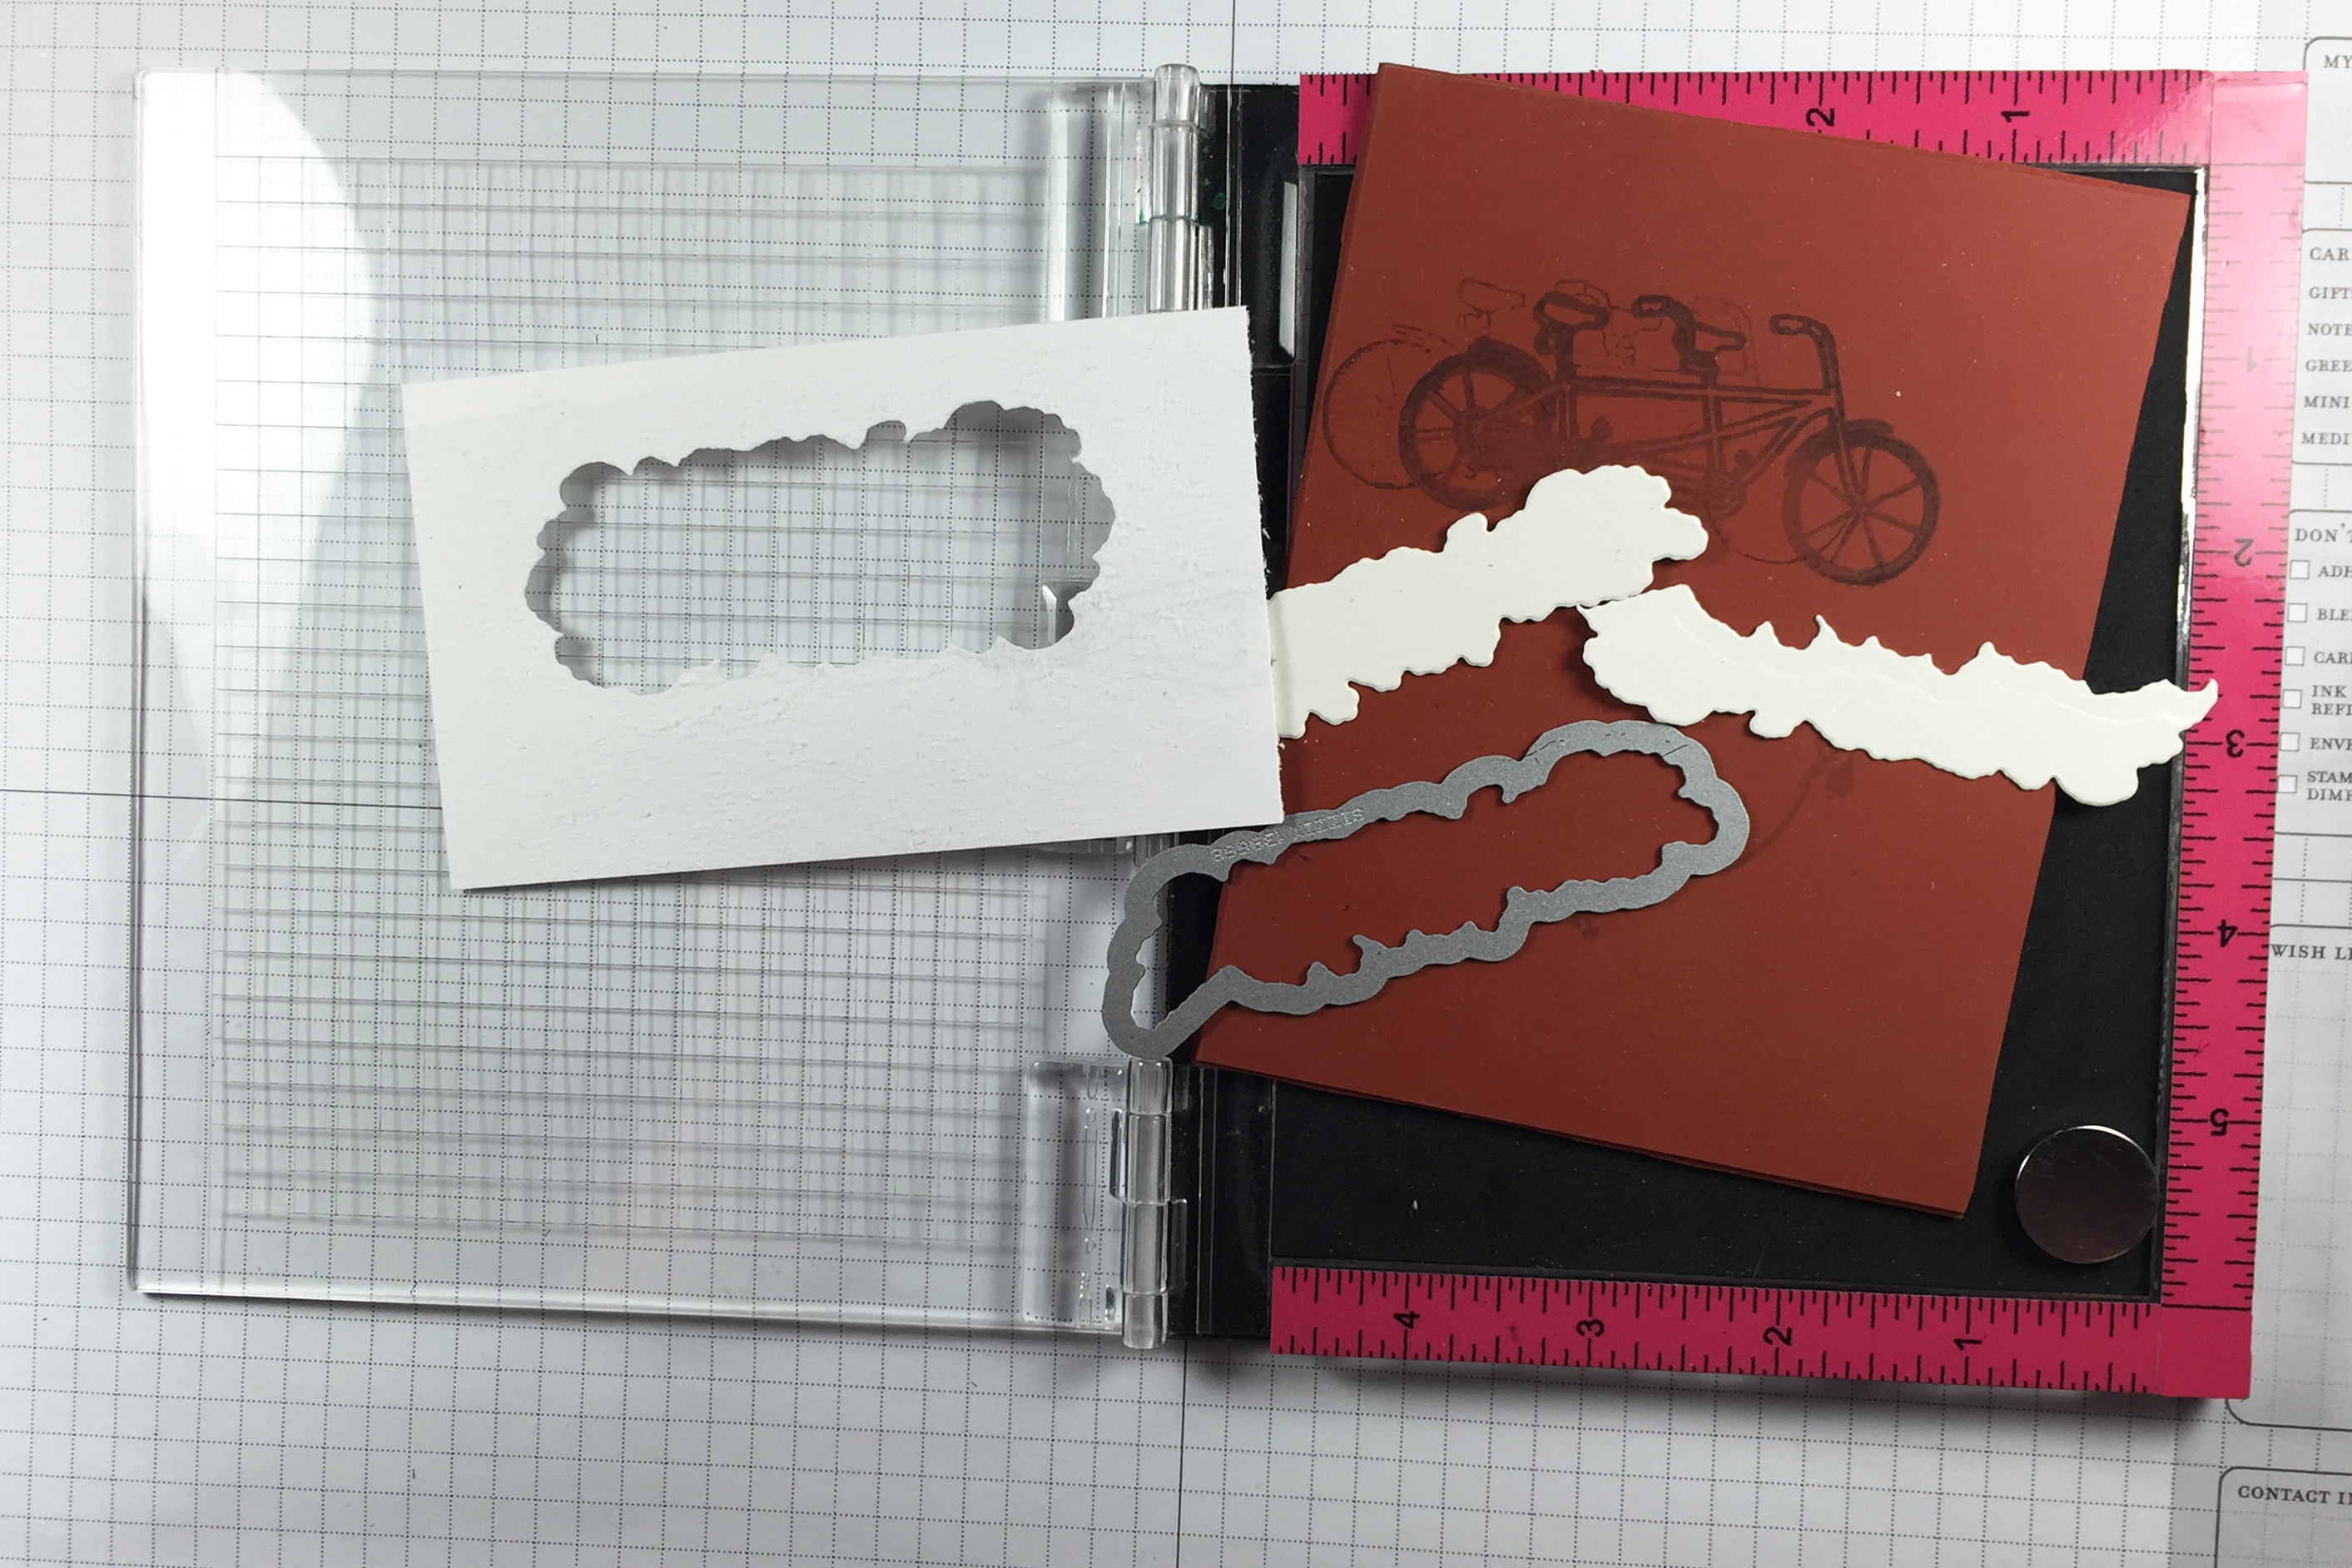
Step 1
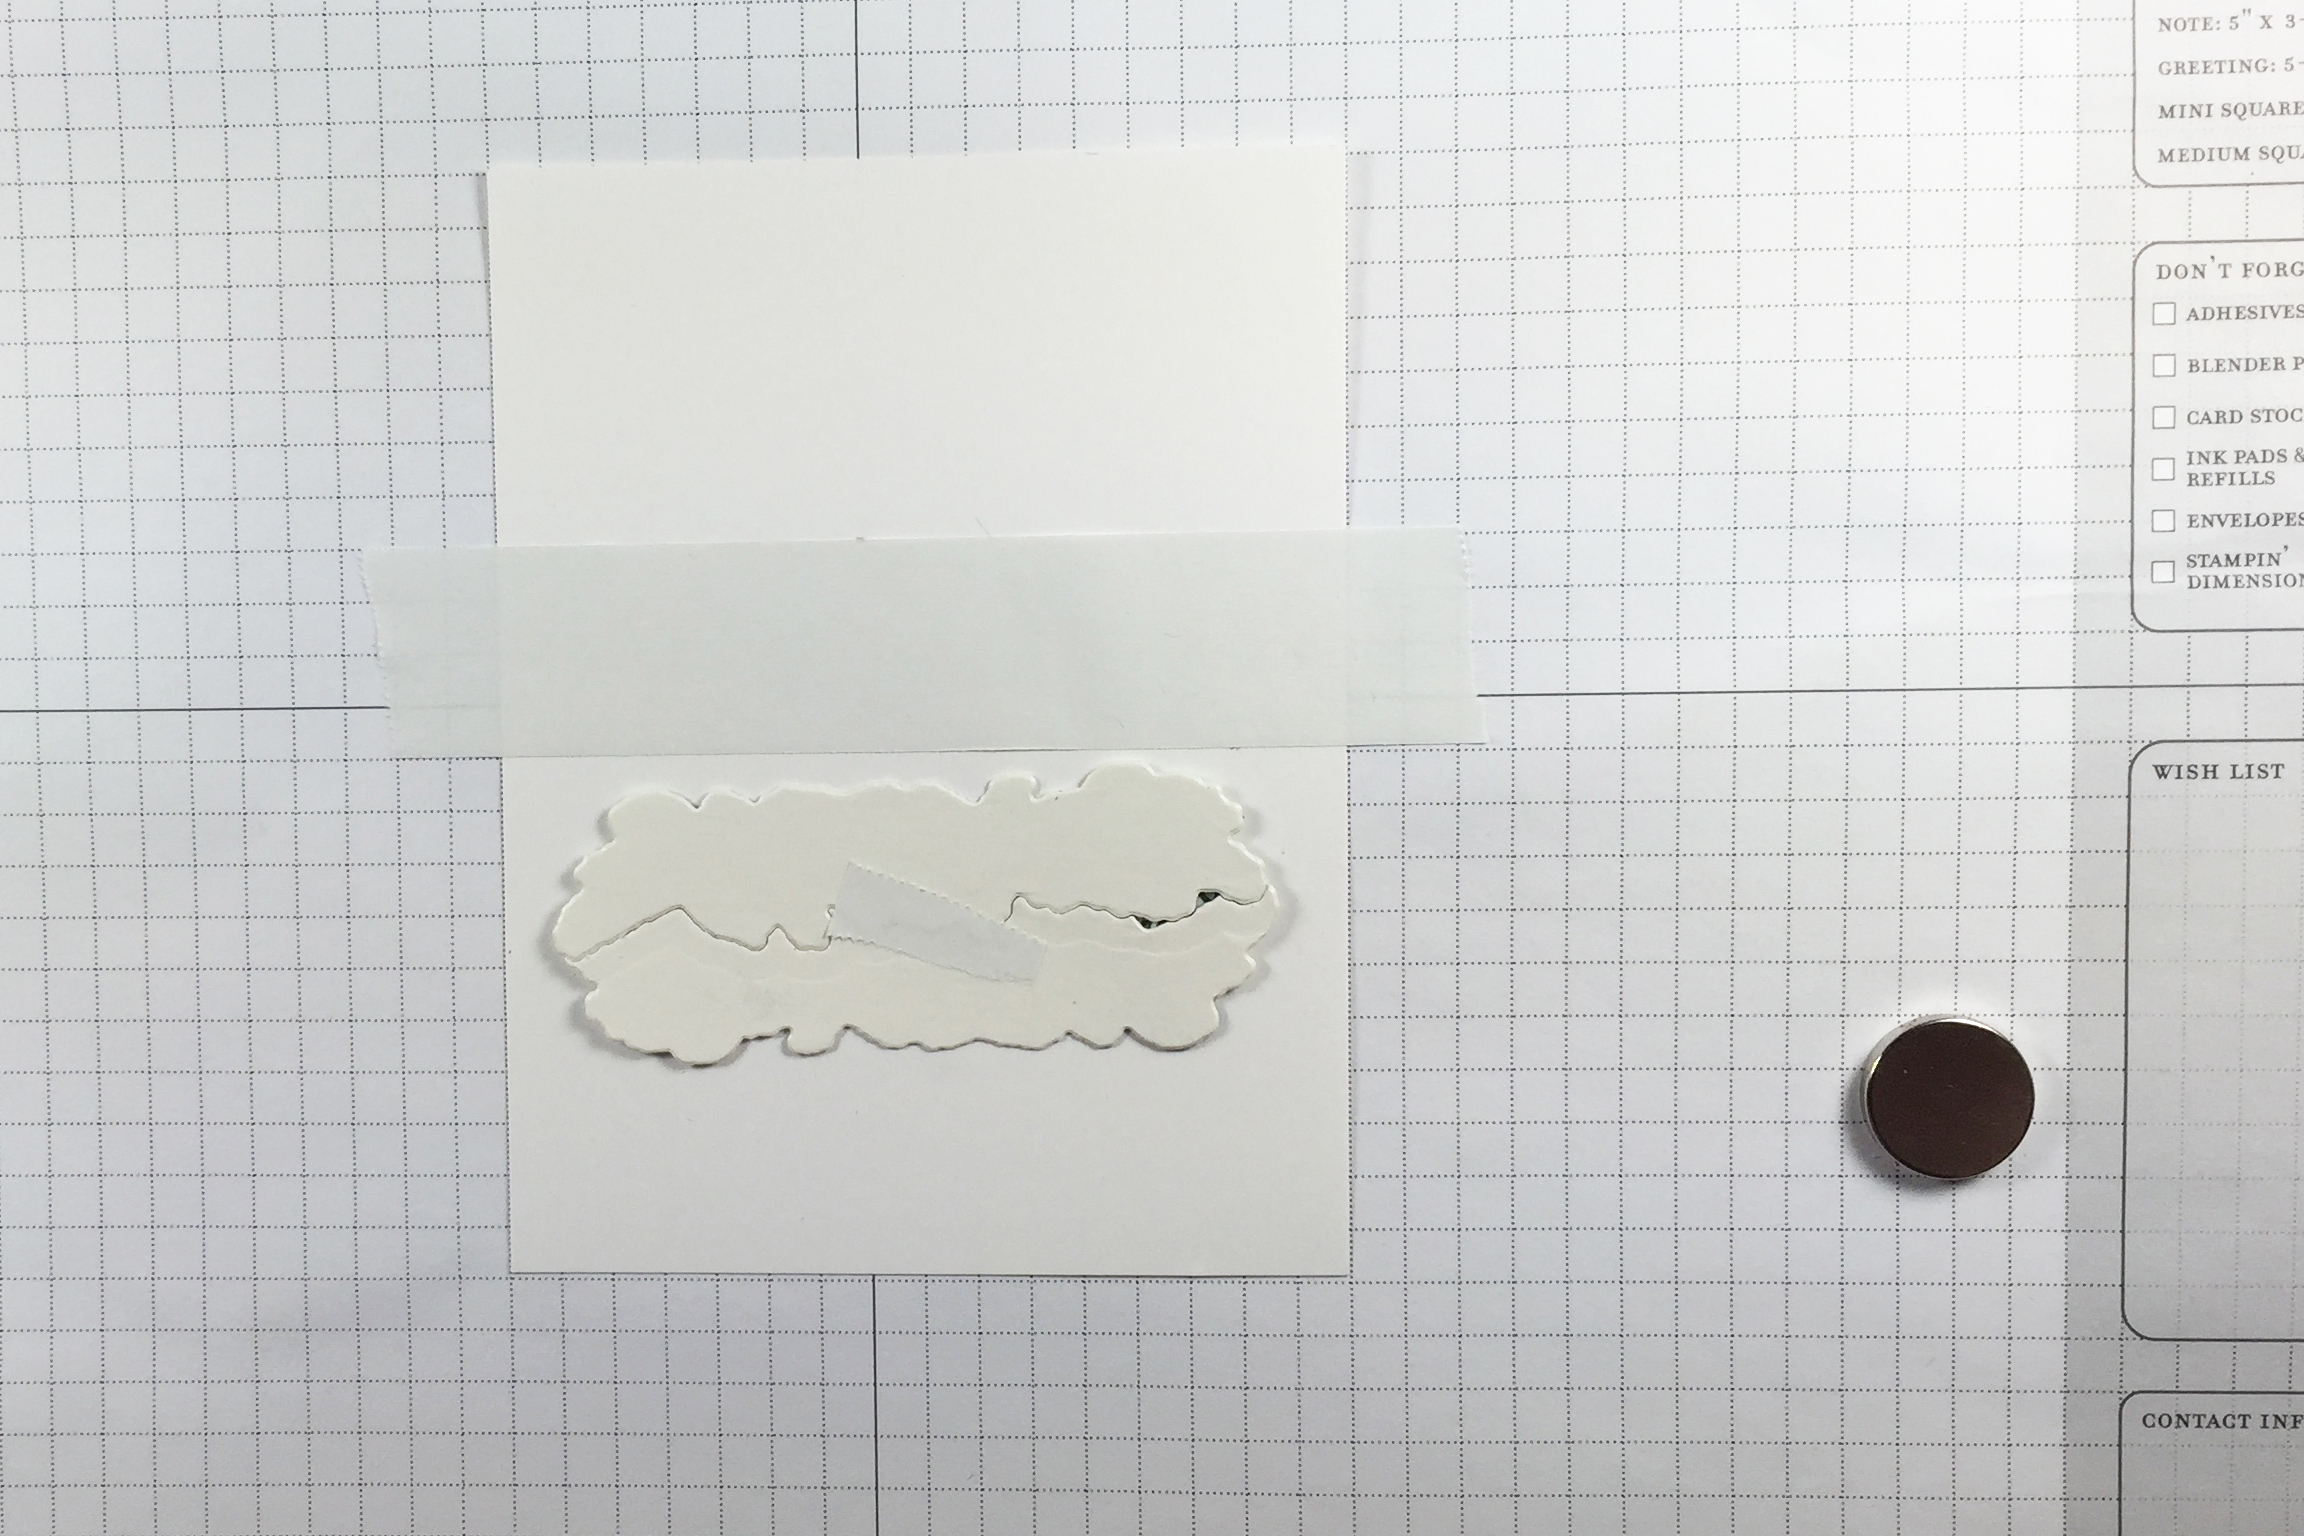
Die cut or hand cut an irregular puddle or pond shape from masking paper or tape.
-
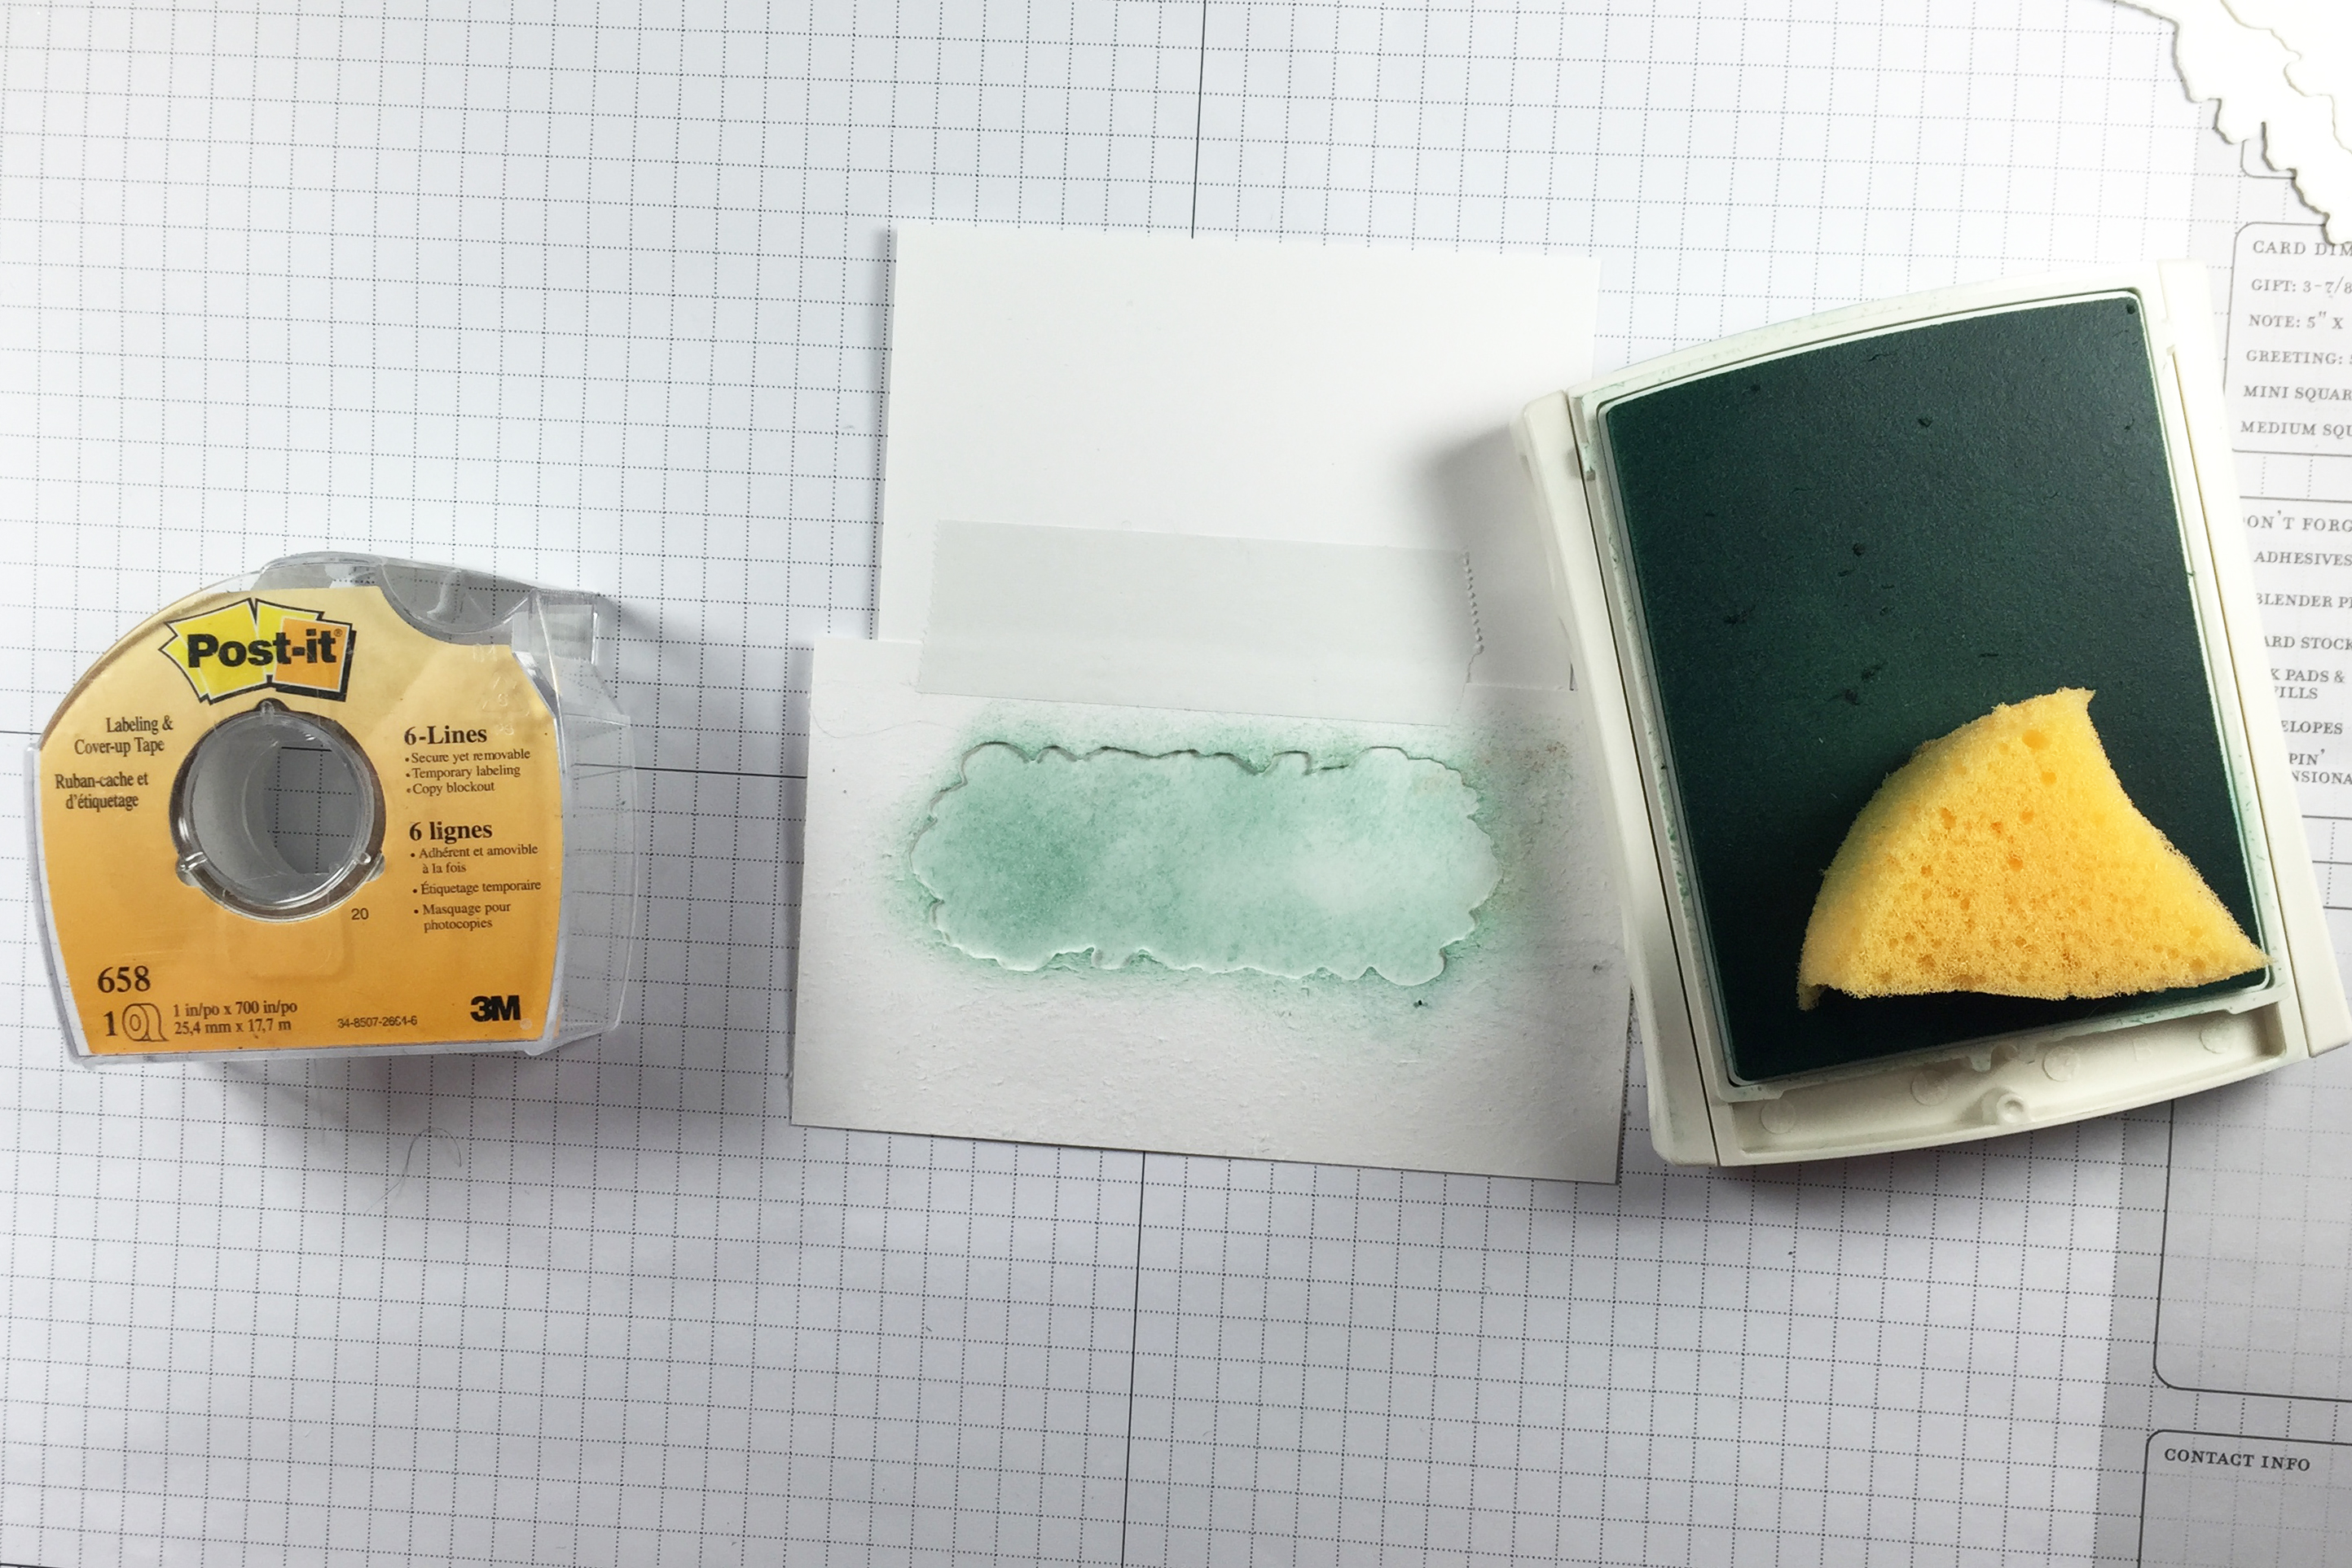
Step 2
Place the mask onto your card front and sponge a light blue ink through the opening to make the puddle/pond image.
-
Step 3
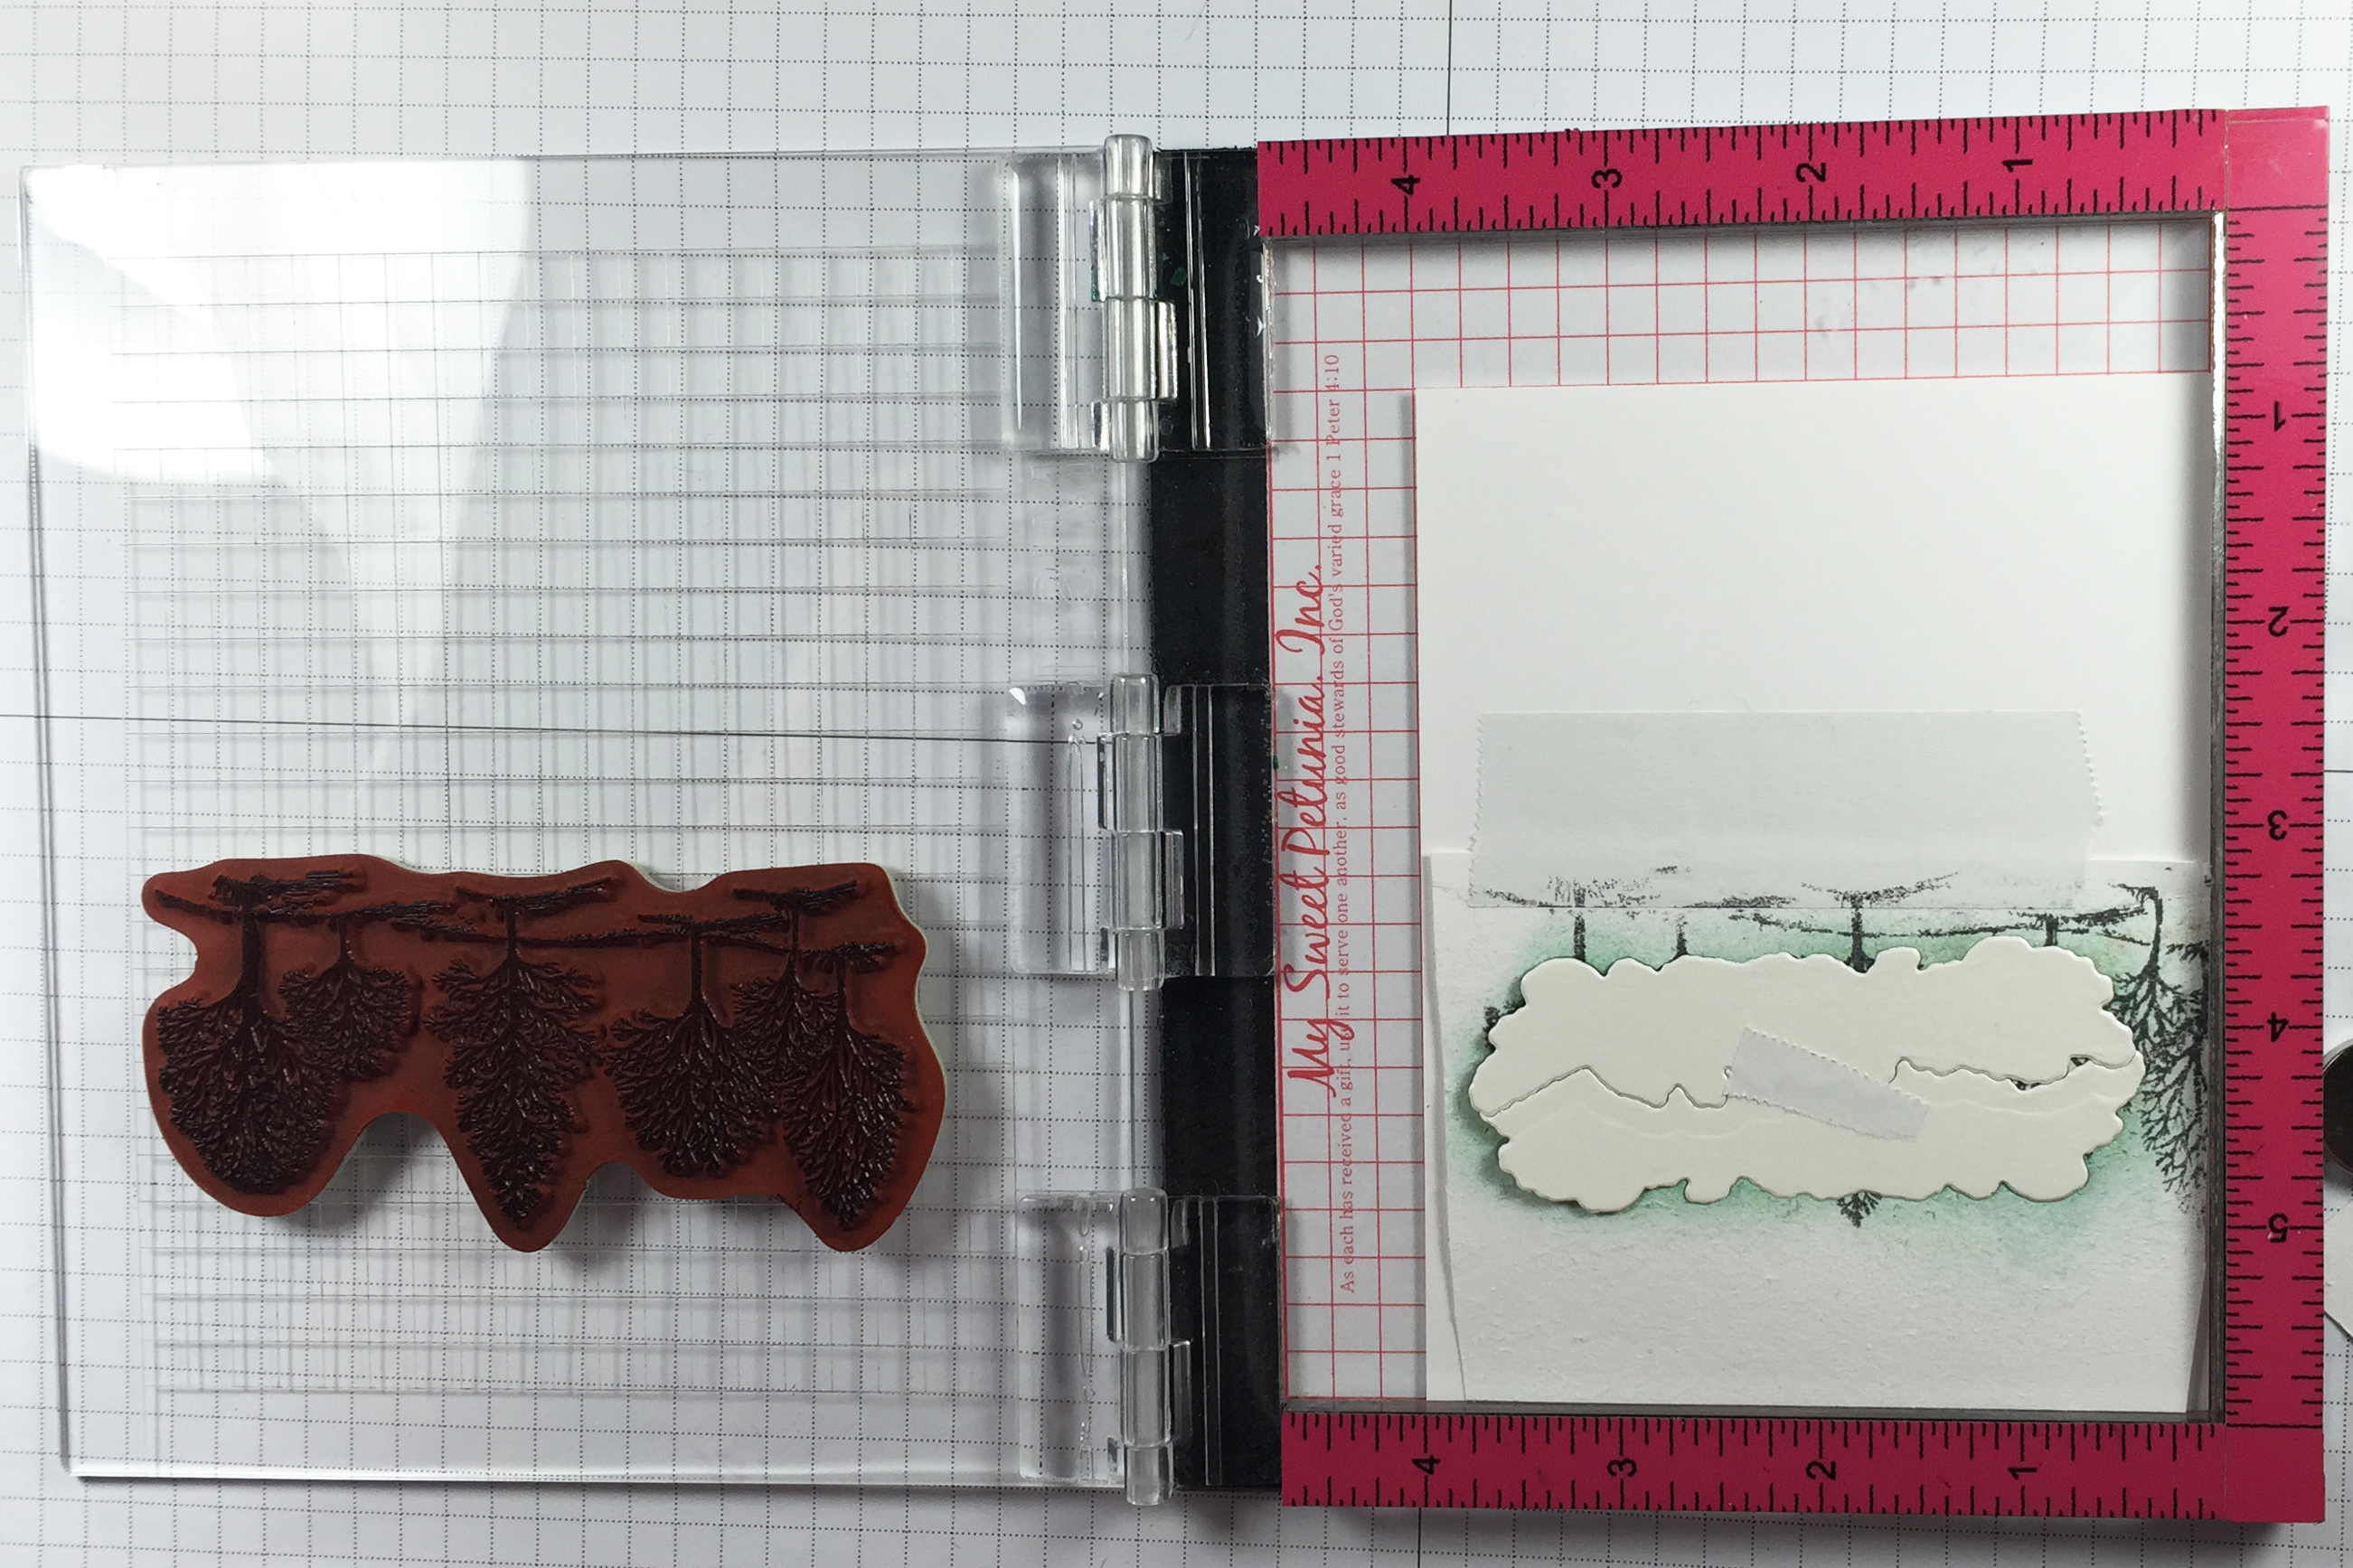
Position the stamp image you're using over the opening in the mask, and pick it up with the lid of your MISTI. If you don't have a MISTI, just position your stamp on an acrylic block or a stamp press.
-
Step 4
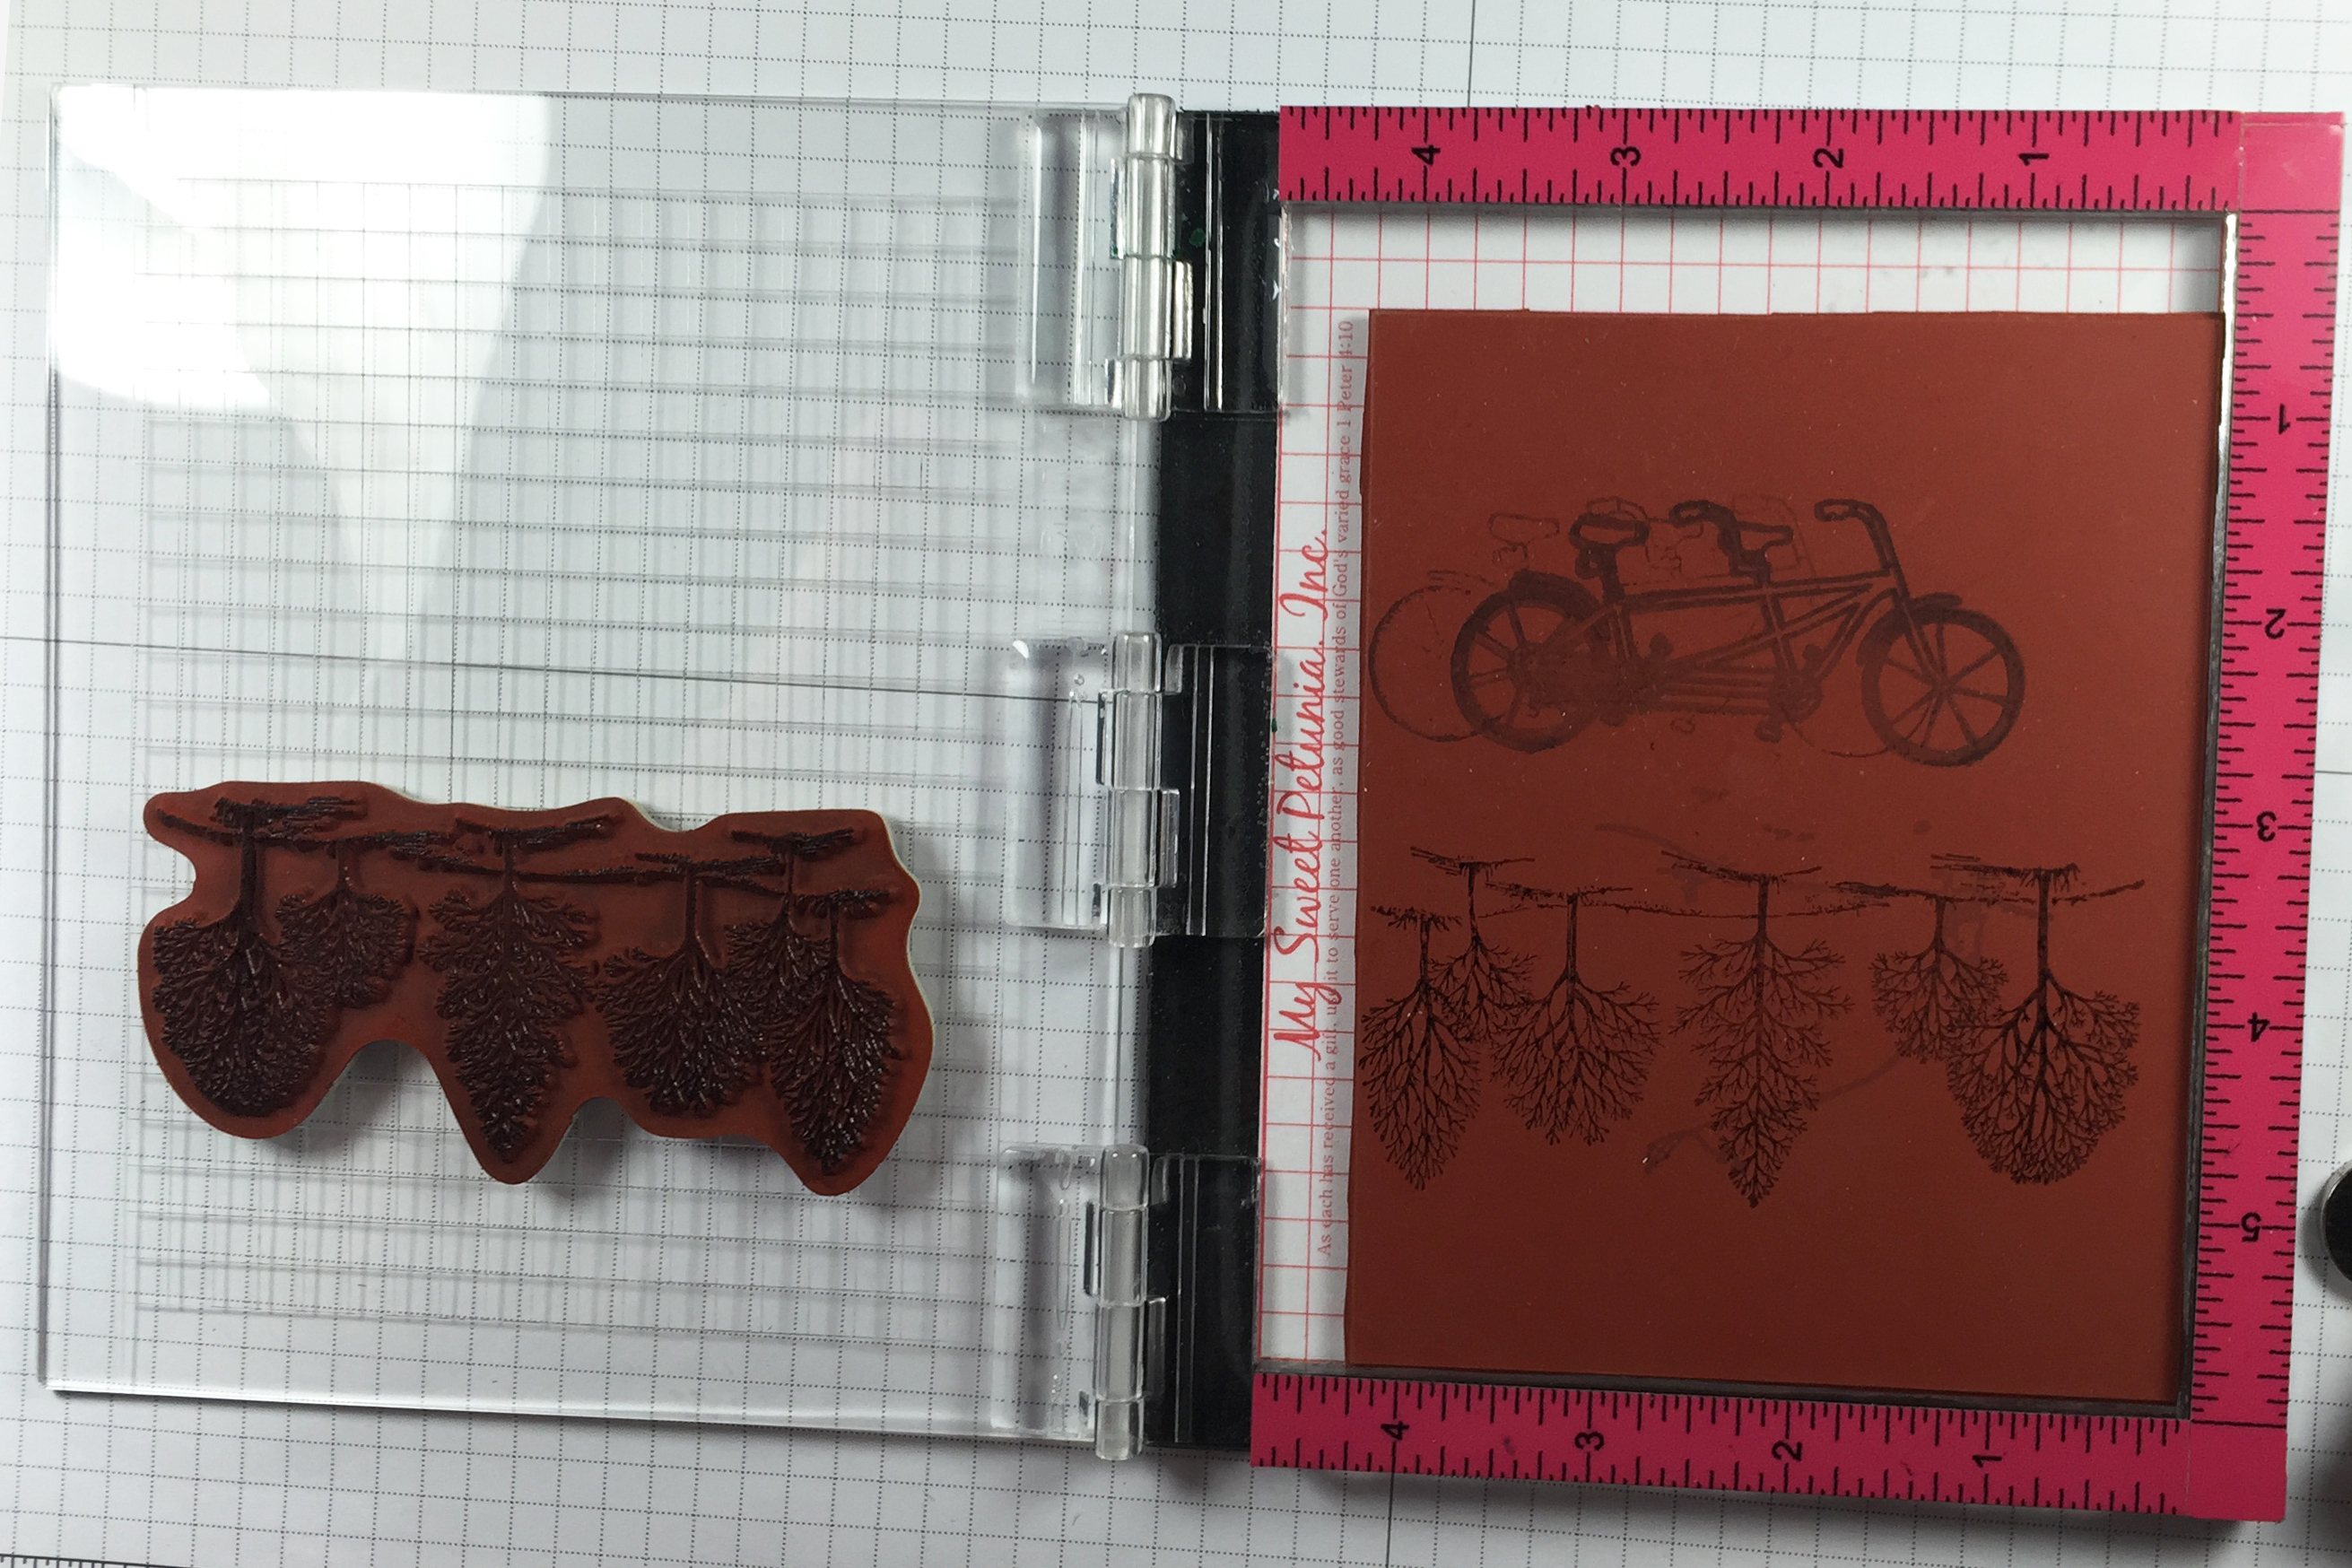
Transfer your stamp image to the mirror image rubber or photopolymer stamp with either the MISTI or your block or press. I do recommend inking and stamping the image a few times to make sure you have enough ink on the mirror image stamp to transfer a perfect image. Tip - if you don't have a dedicated mirror image stamp - try using the back of a large photopolymer stamp.
-
Here's what the stamp will look like with your image stamped on it.
-
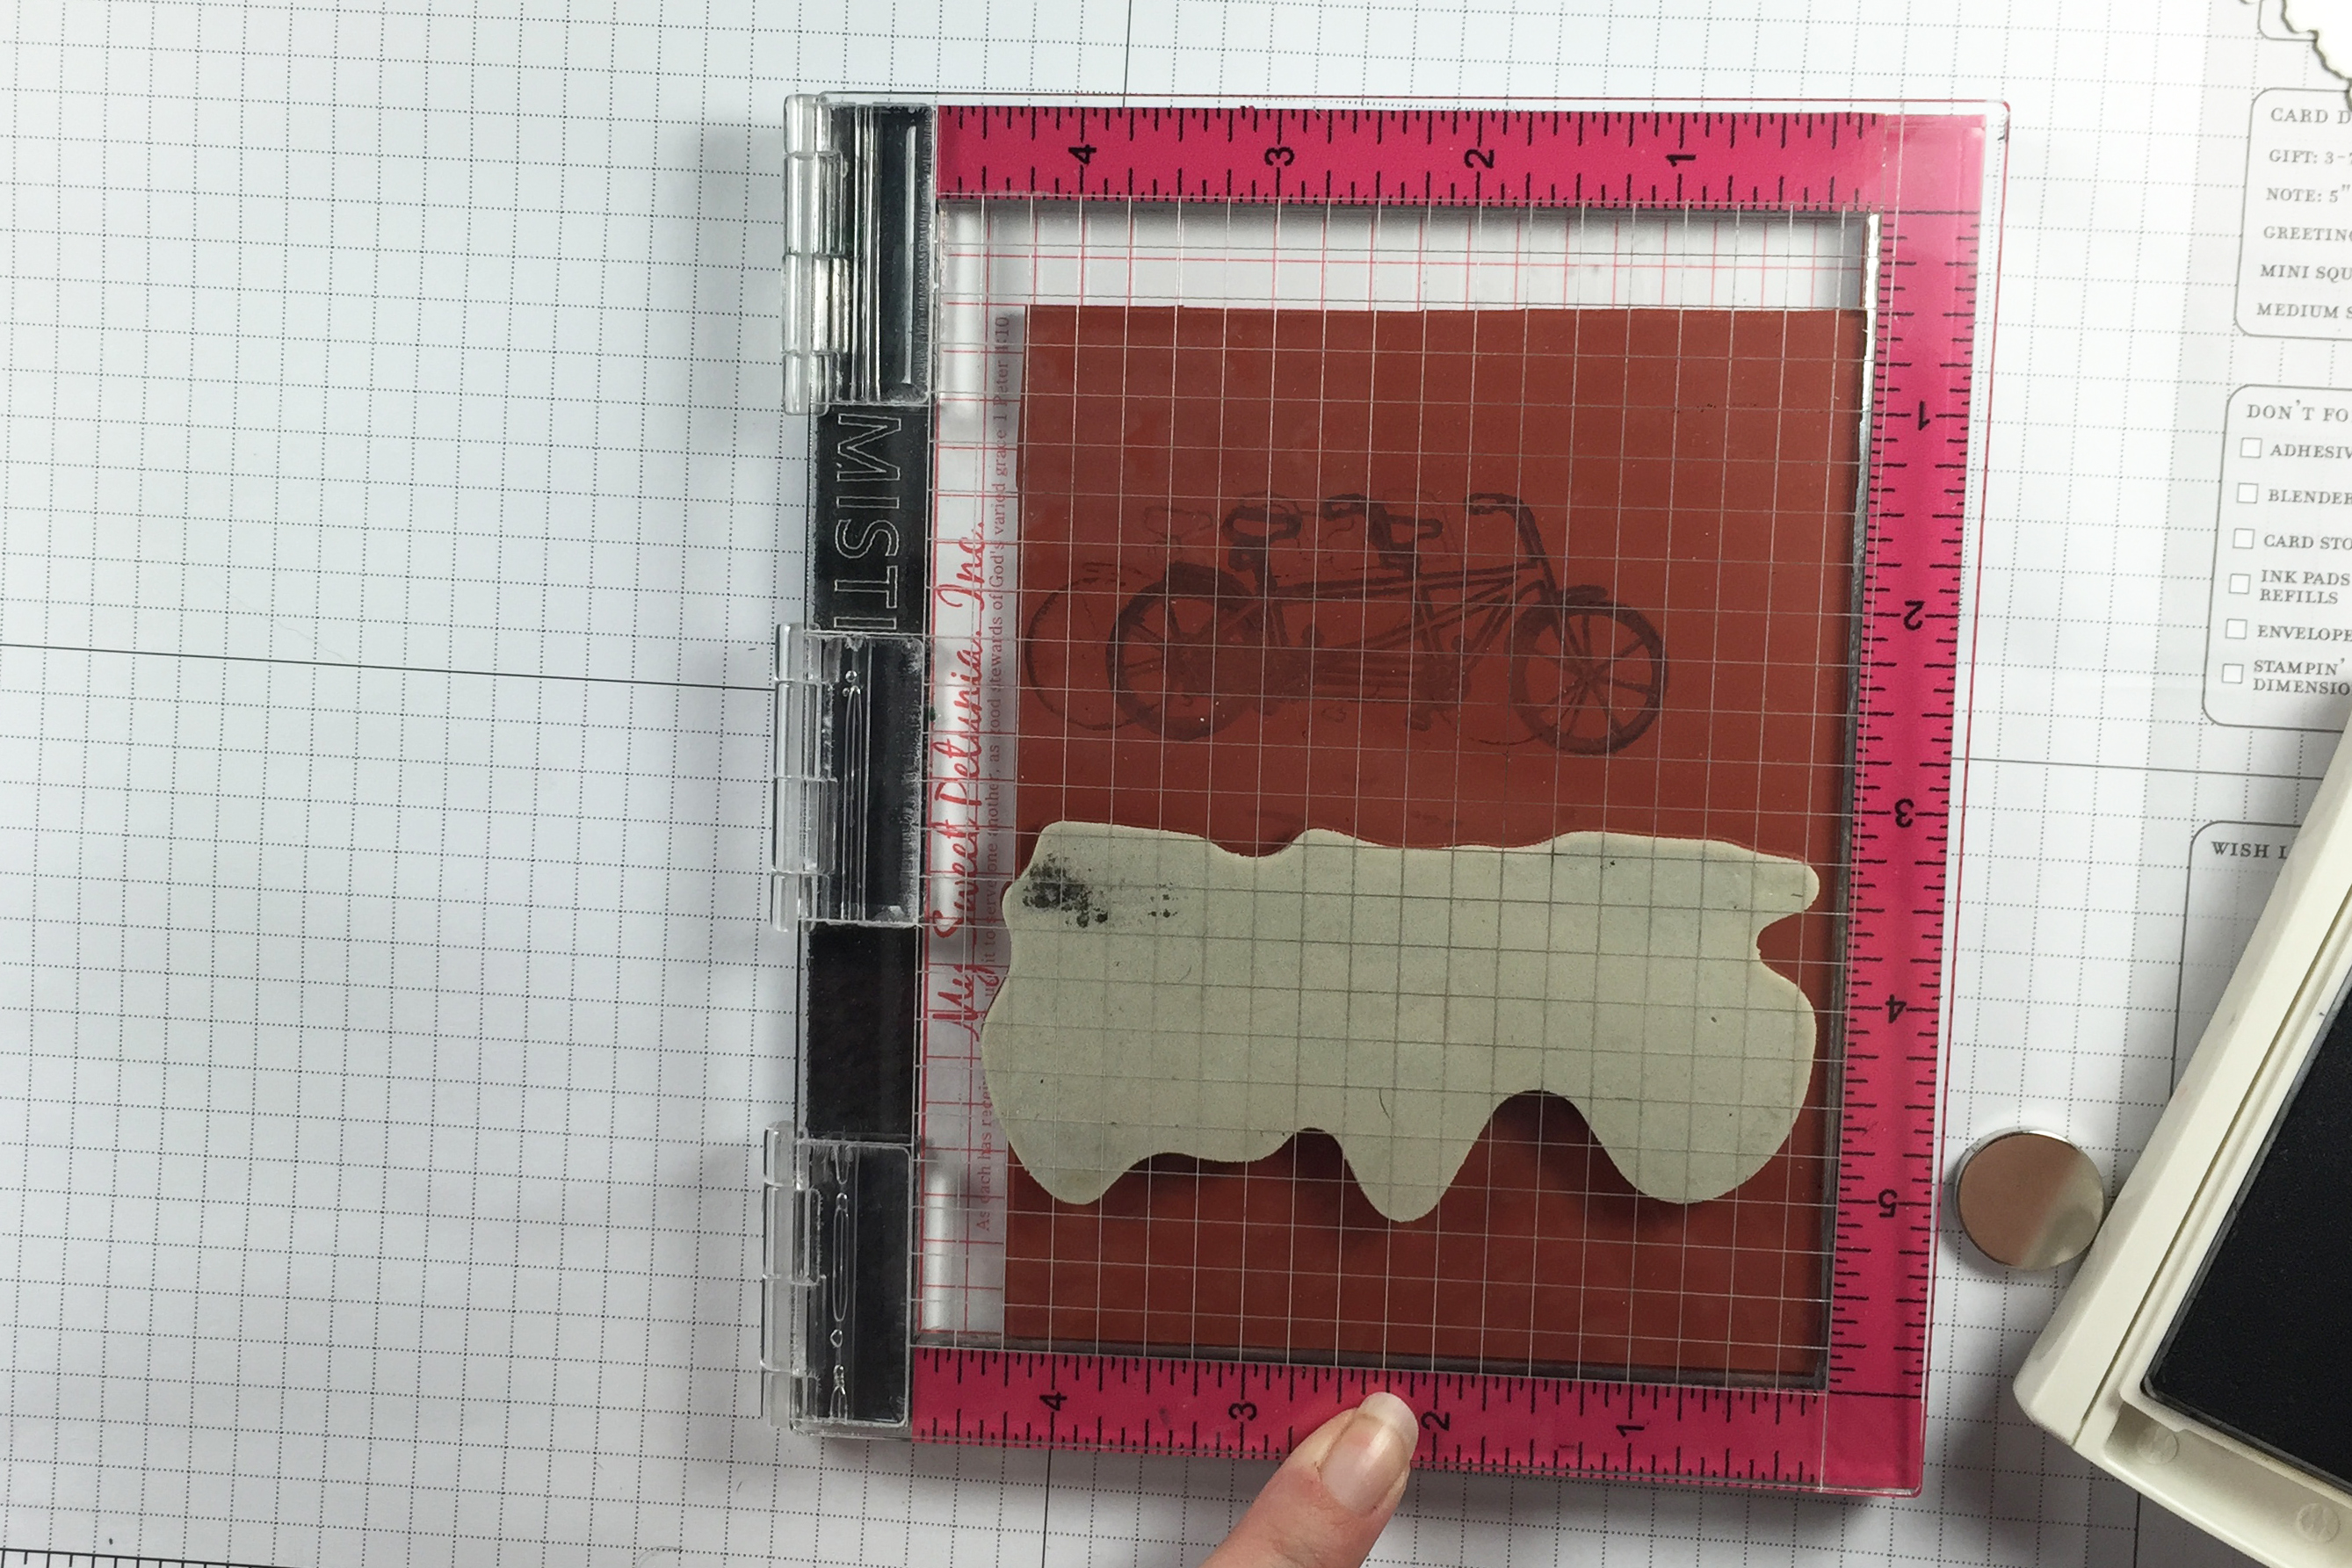
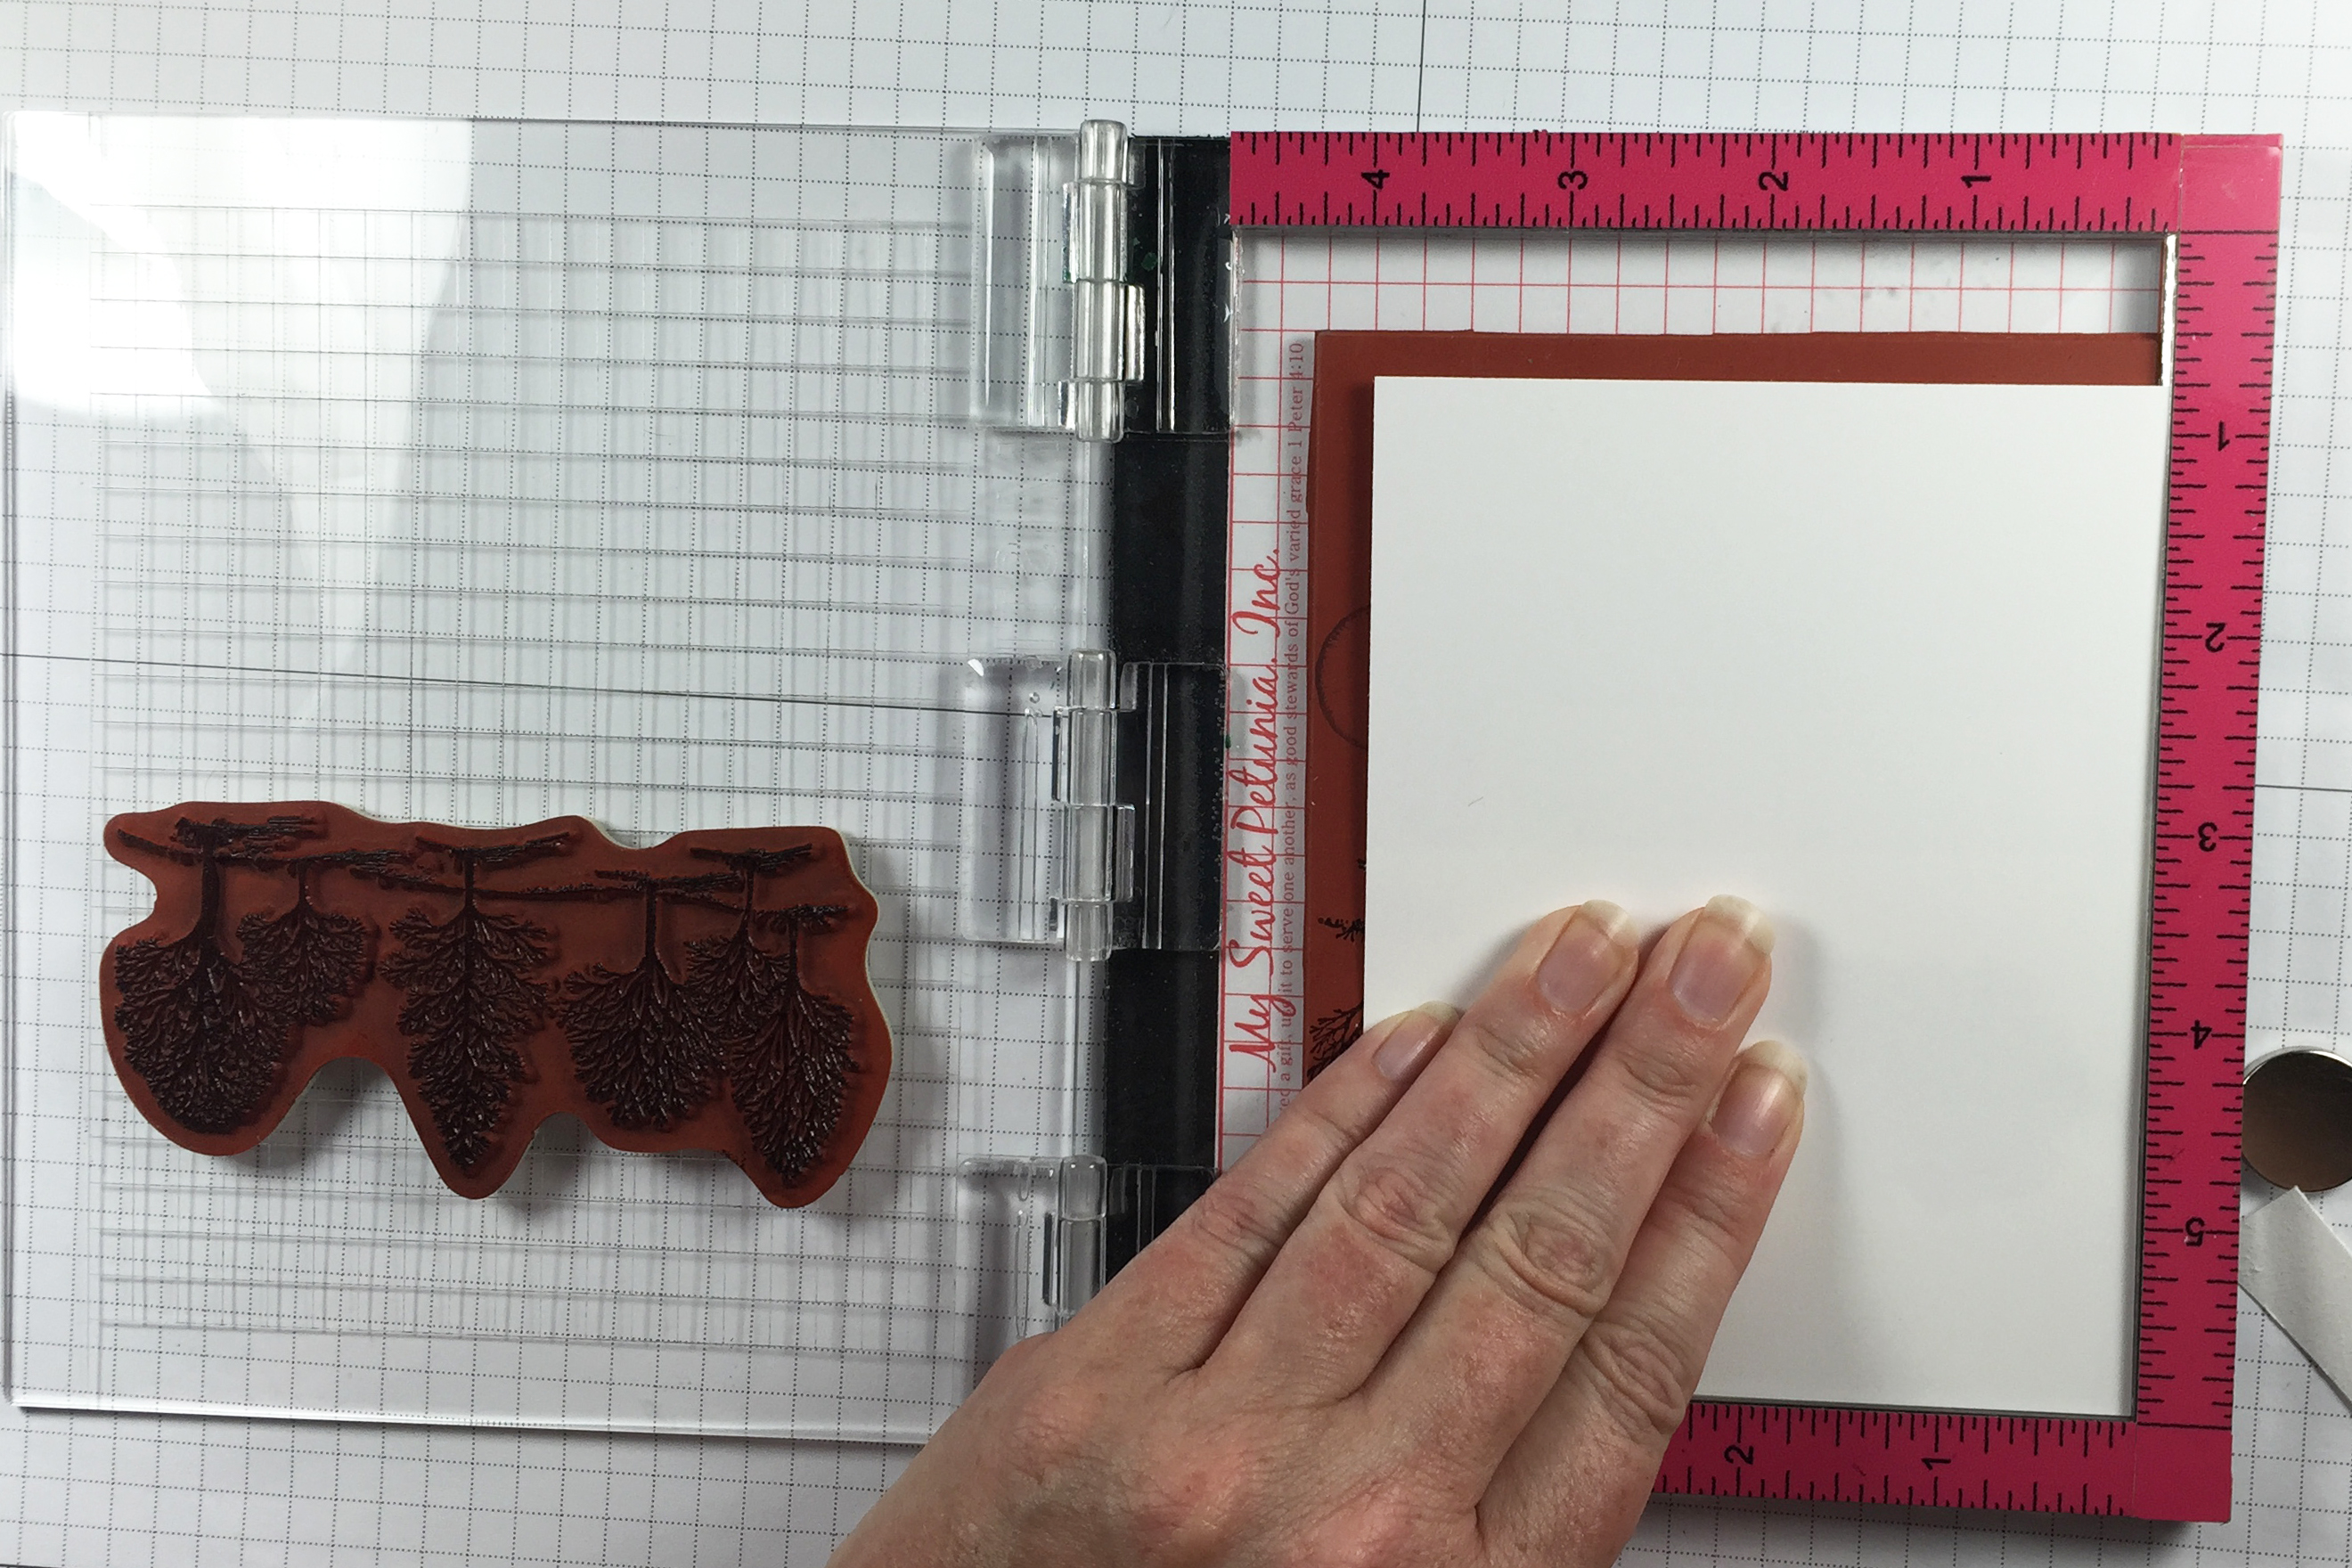
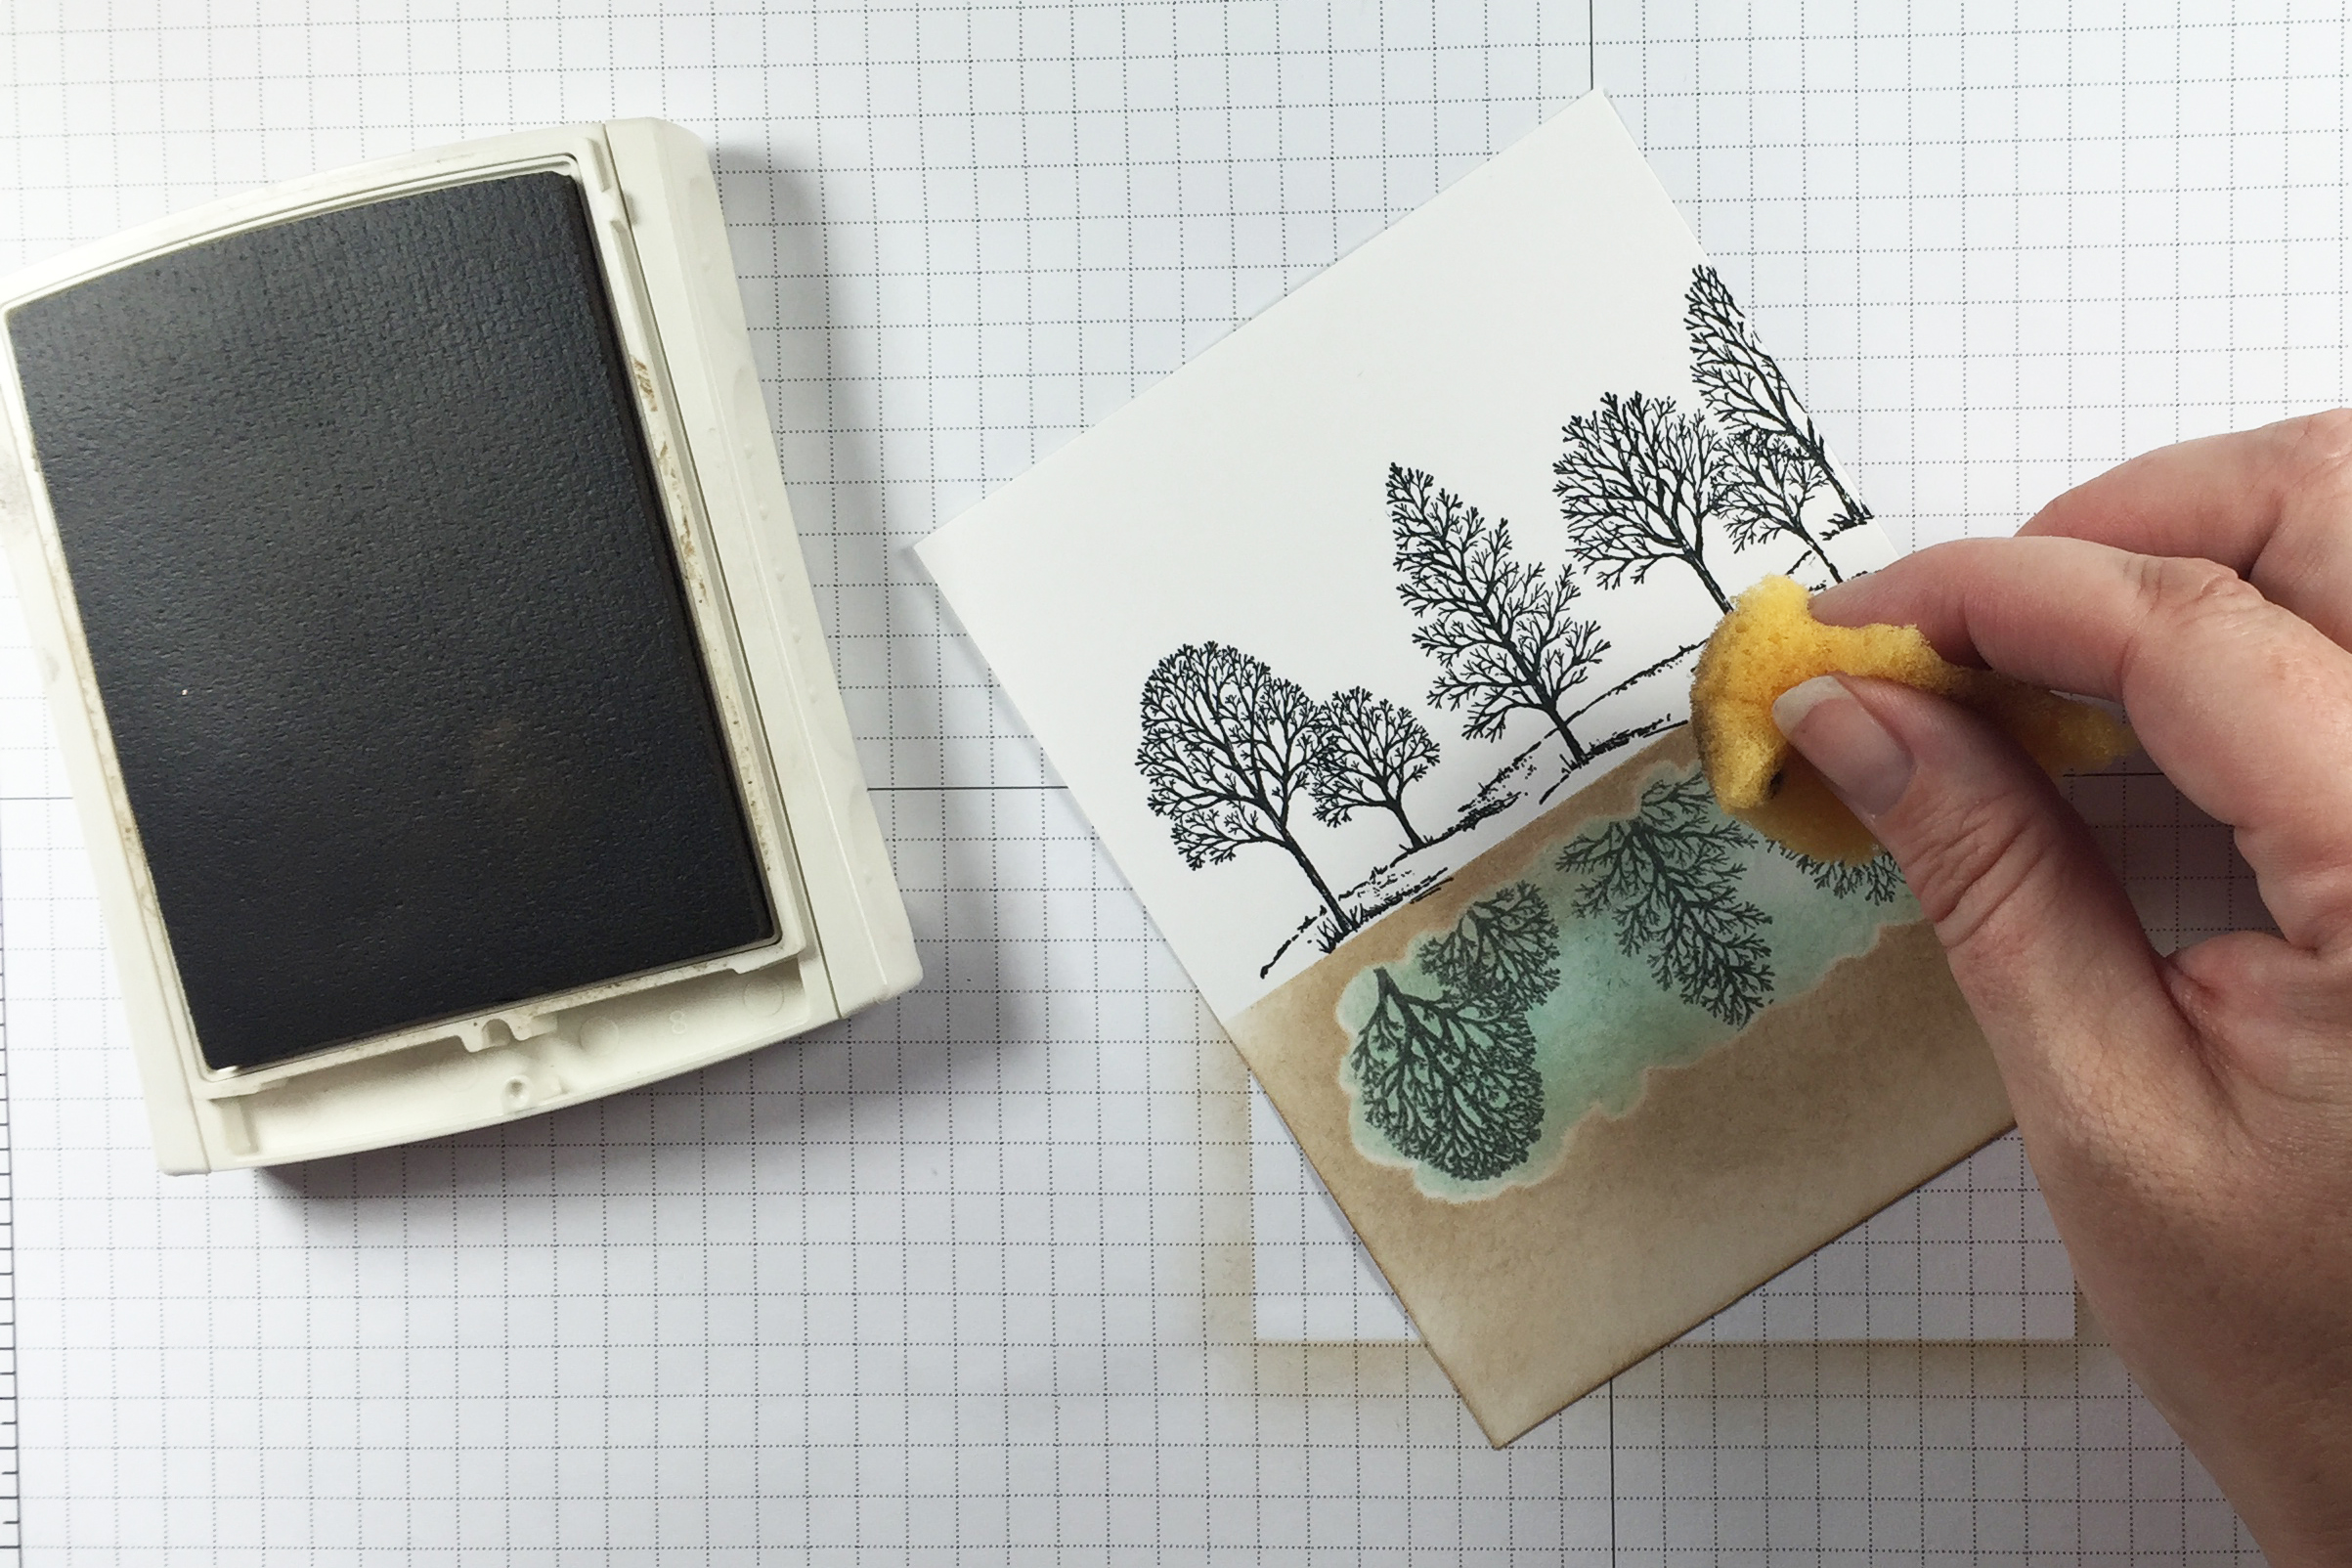
Step 5
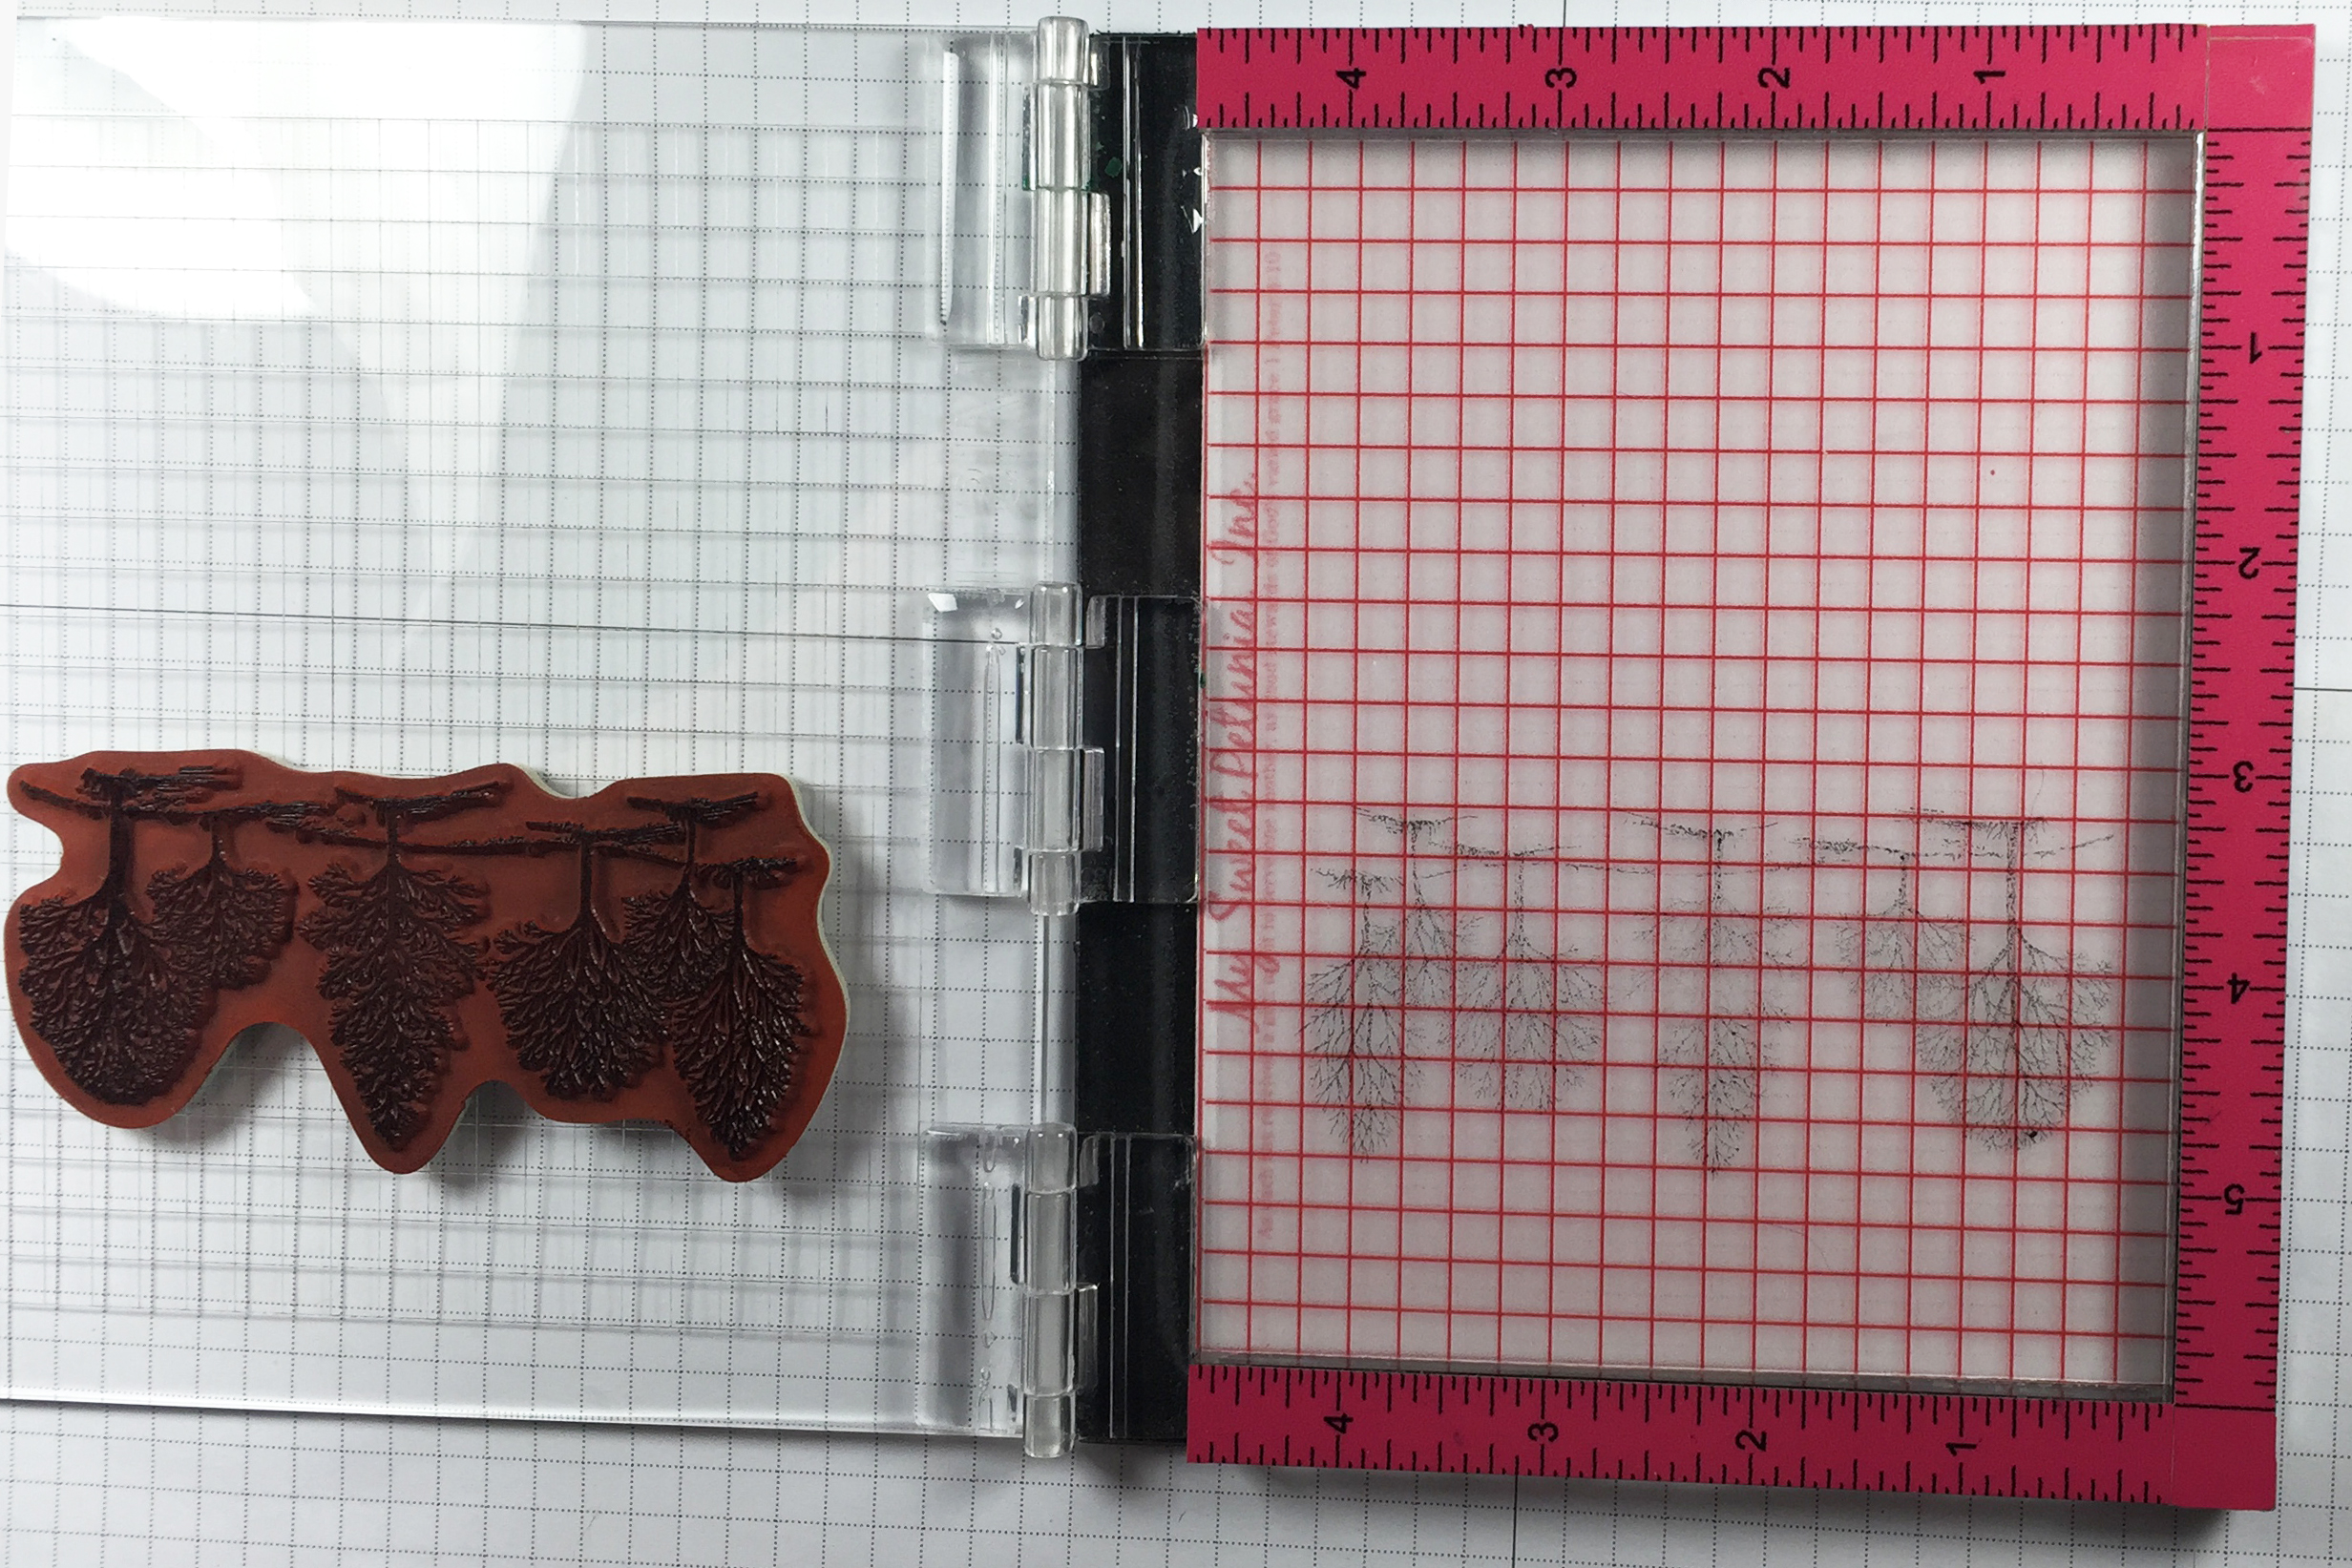
Place your card with the masked, sponged opening back into the corner of the MISTI on top of the mirror image rubber with the inked image on it. Rub the back of the cardstock, being sure to rub near the edge of the opening to transfer the image perfectly to the cardstock.
-
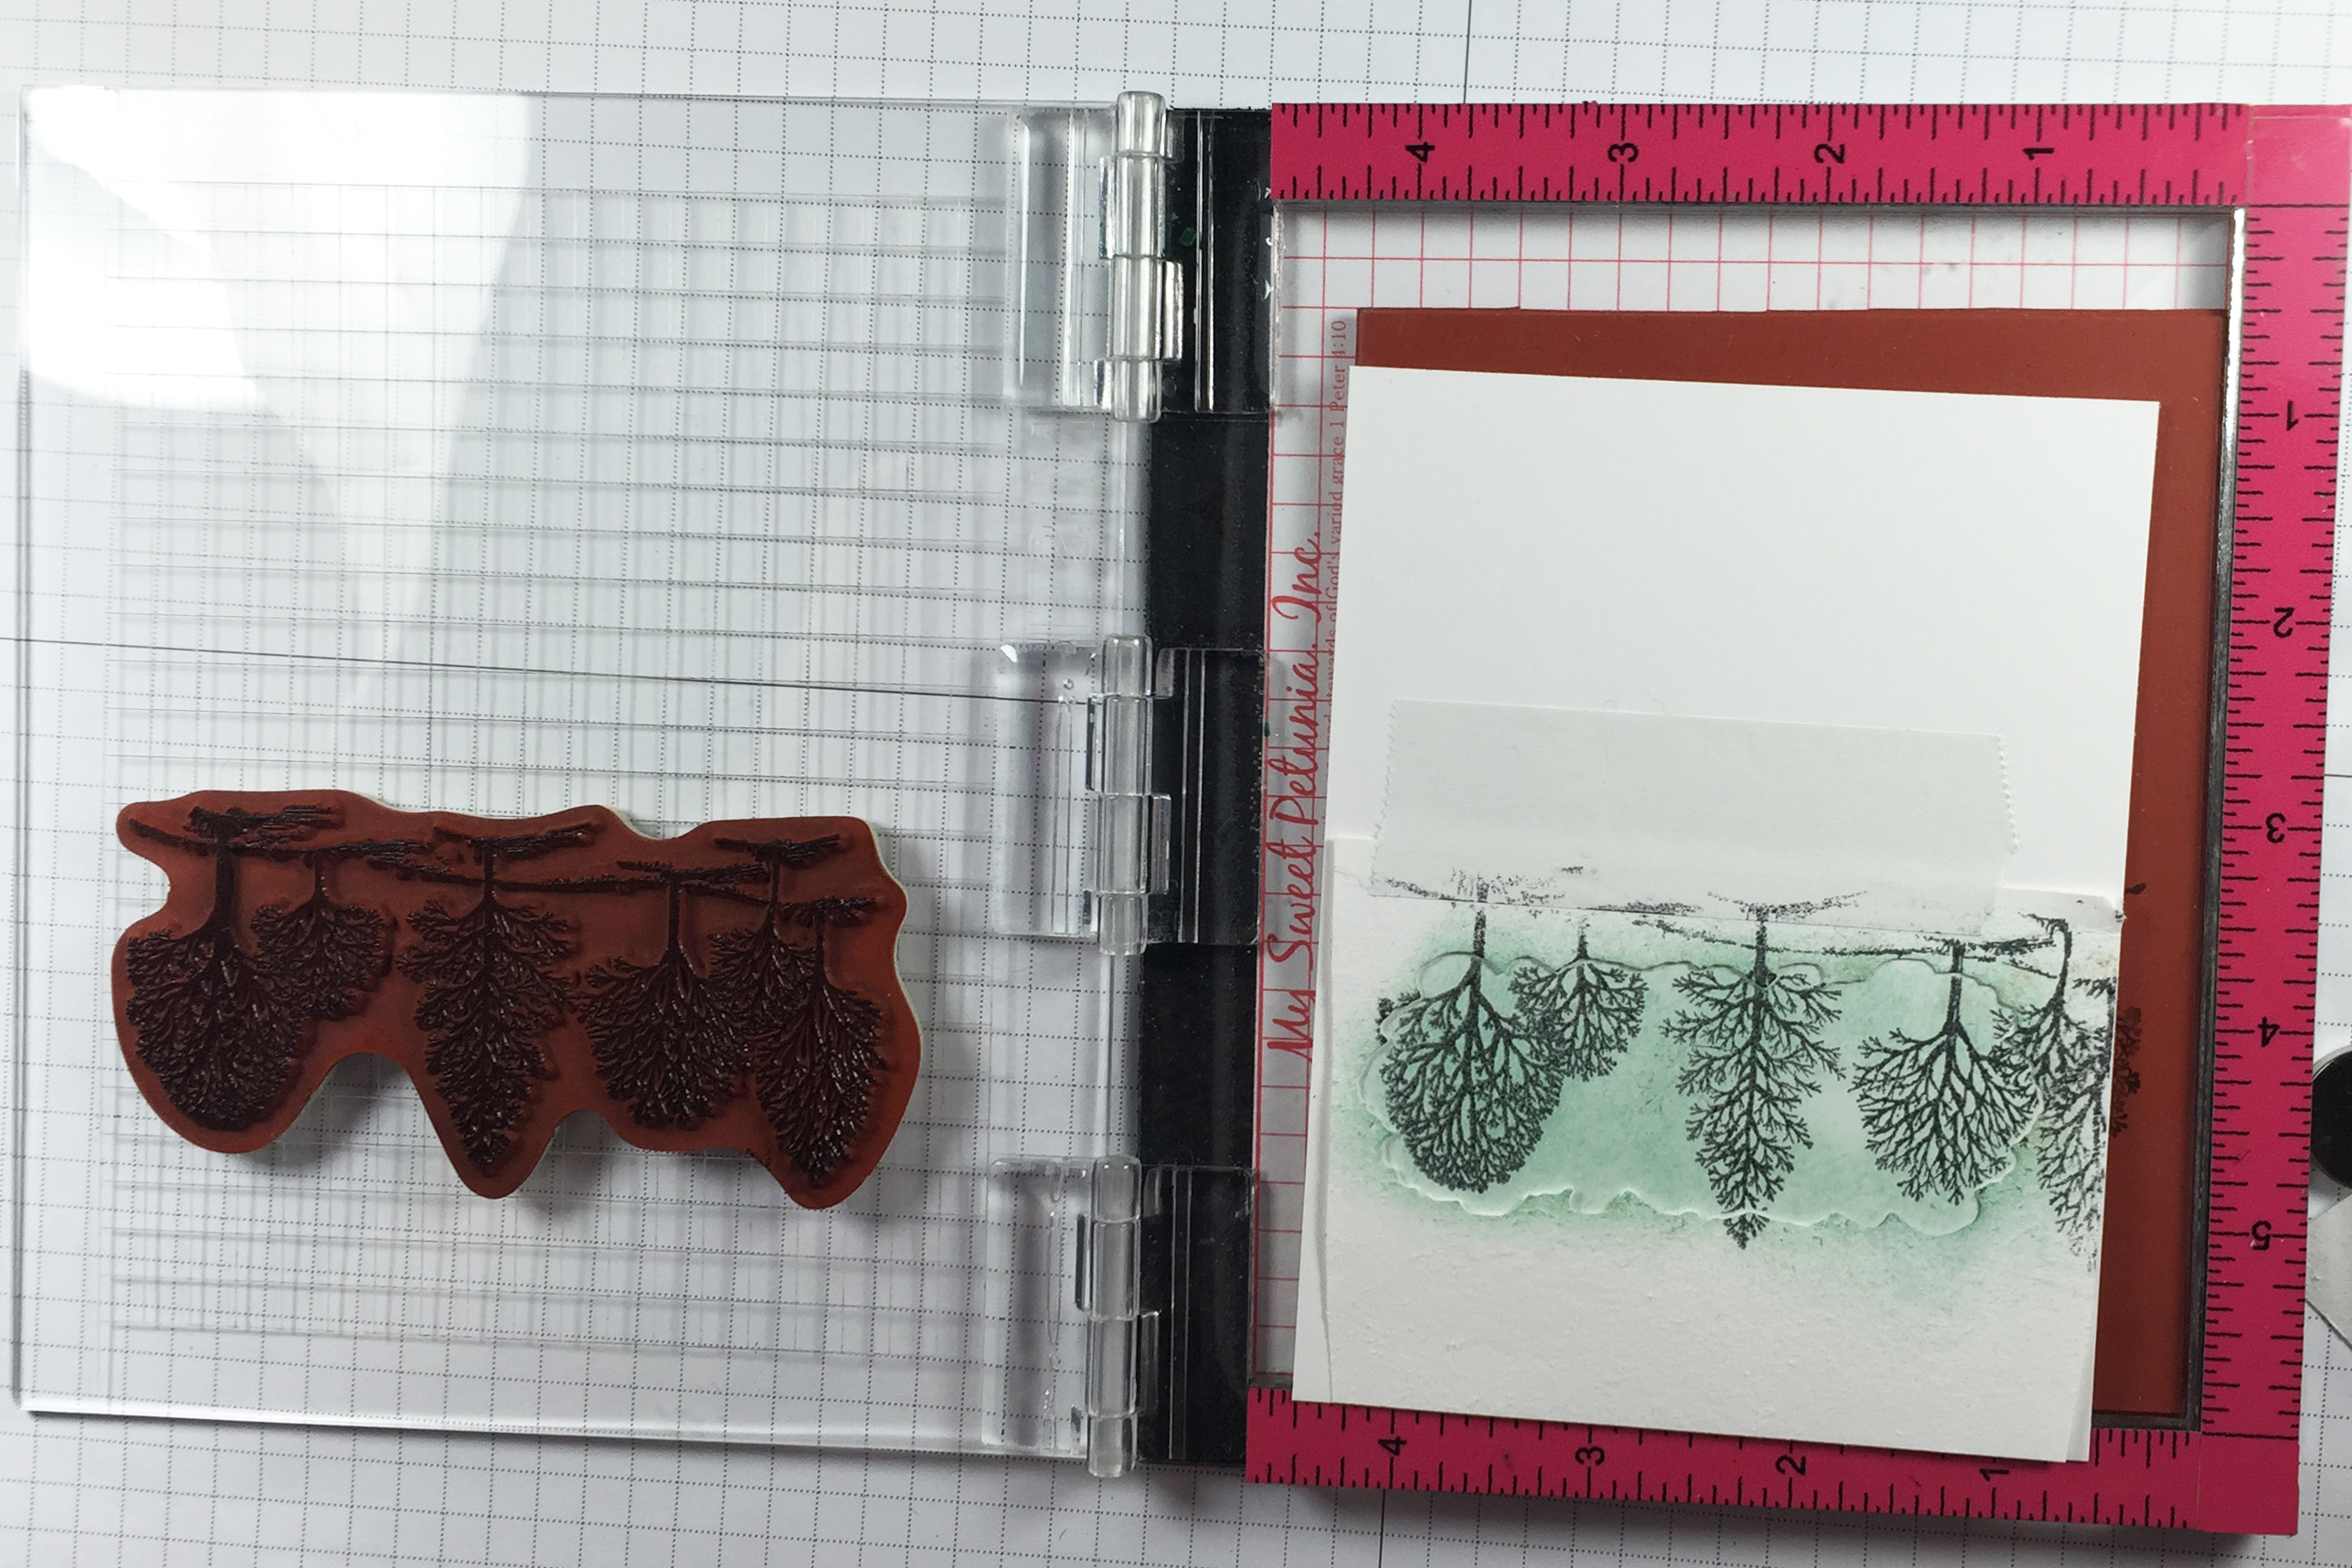
Here's what it looks like after the transfer. The difference between using mirror image rubber or photopolymer and using a transparency to create mirror images is the clarity - you get the exact same clarity of the image as you would with a stamp since you are using stamp material - no imperfect images, halos or lighter images are transferred with this method.
-
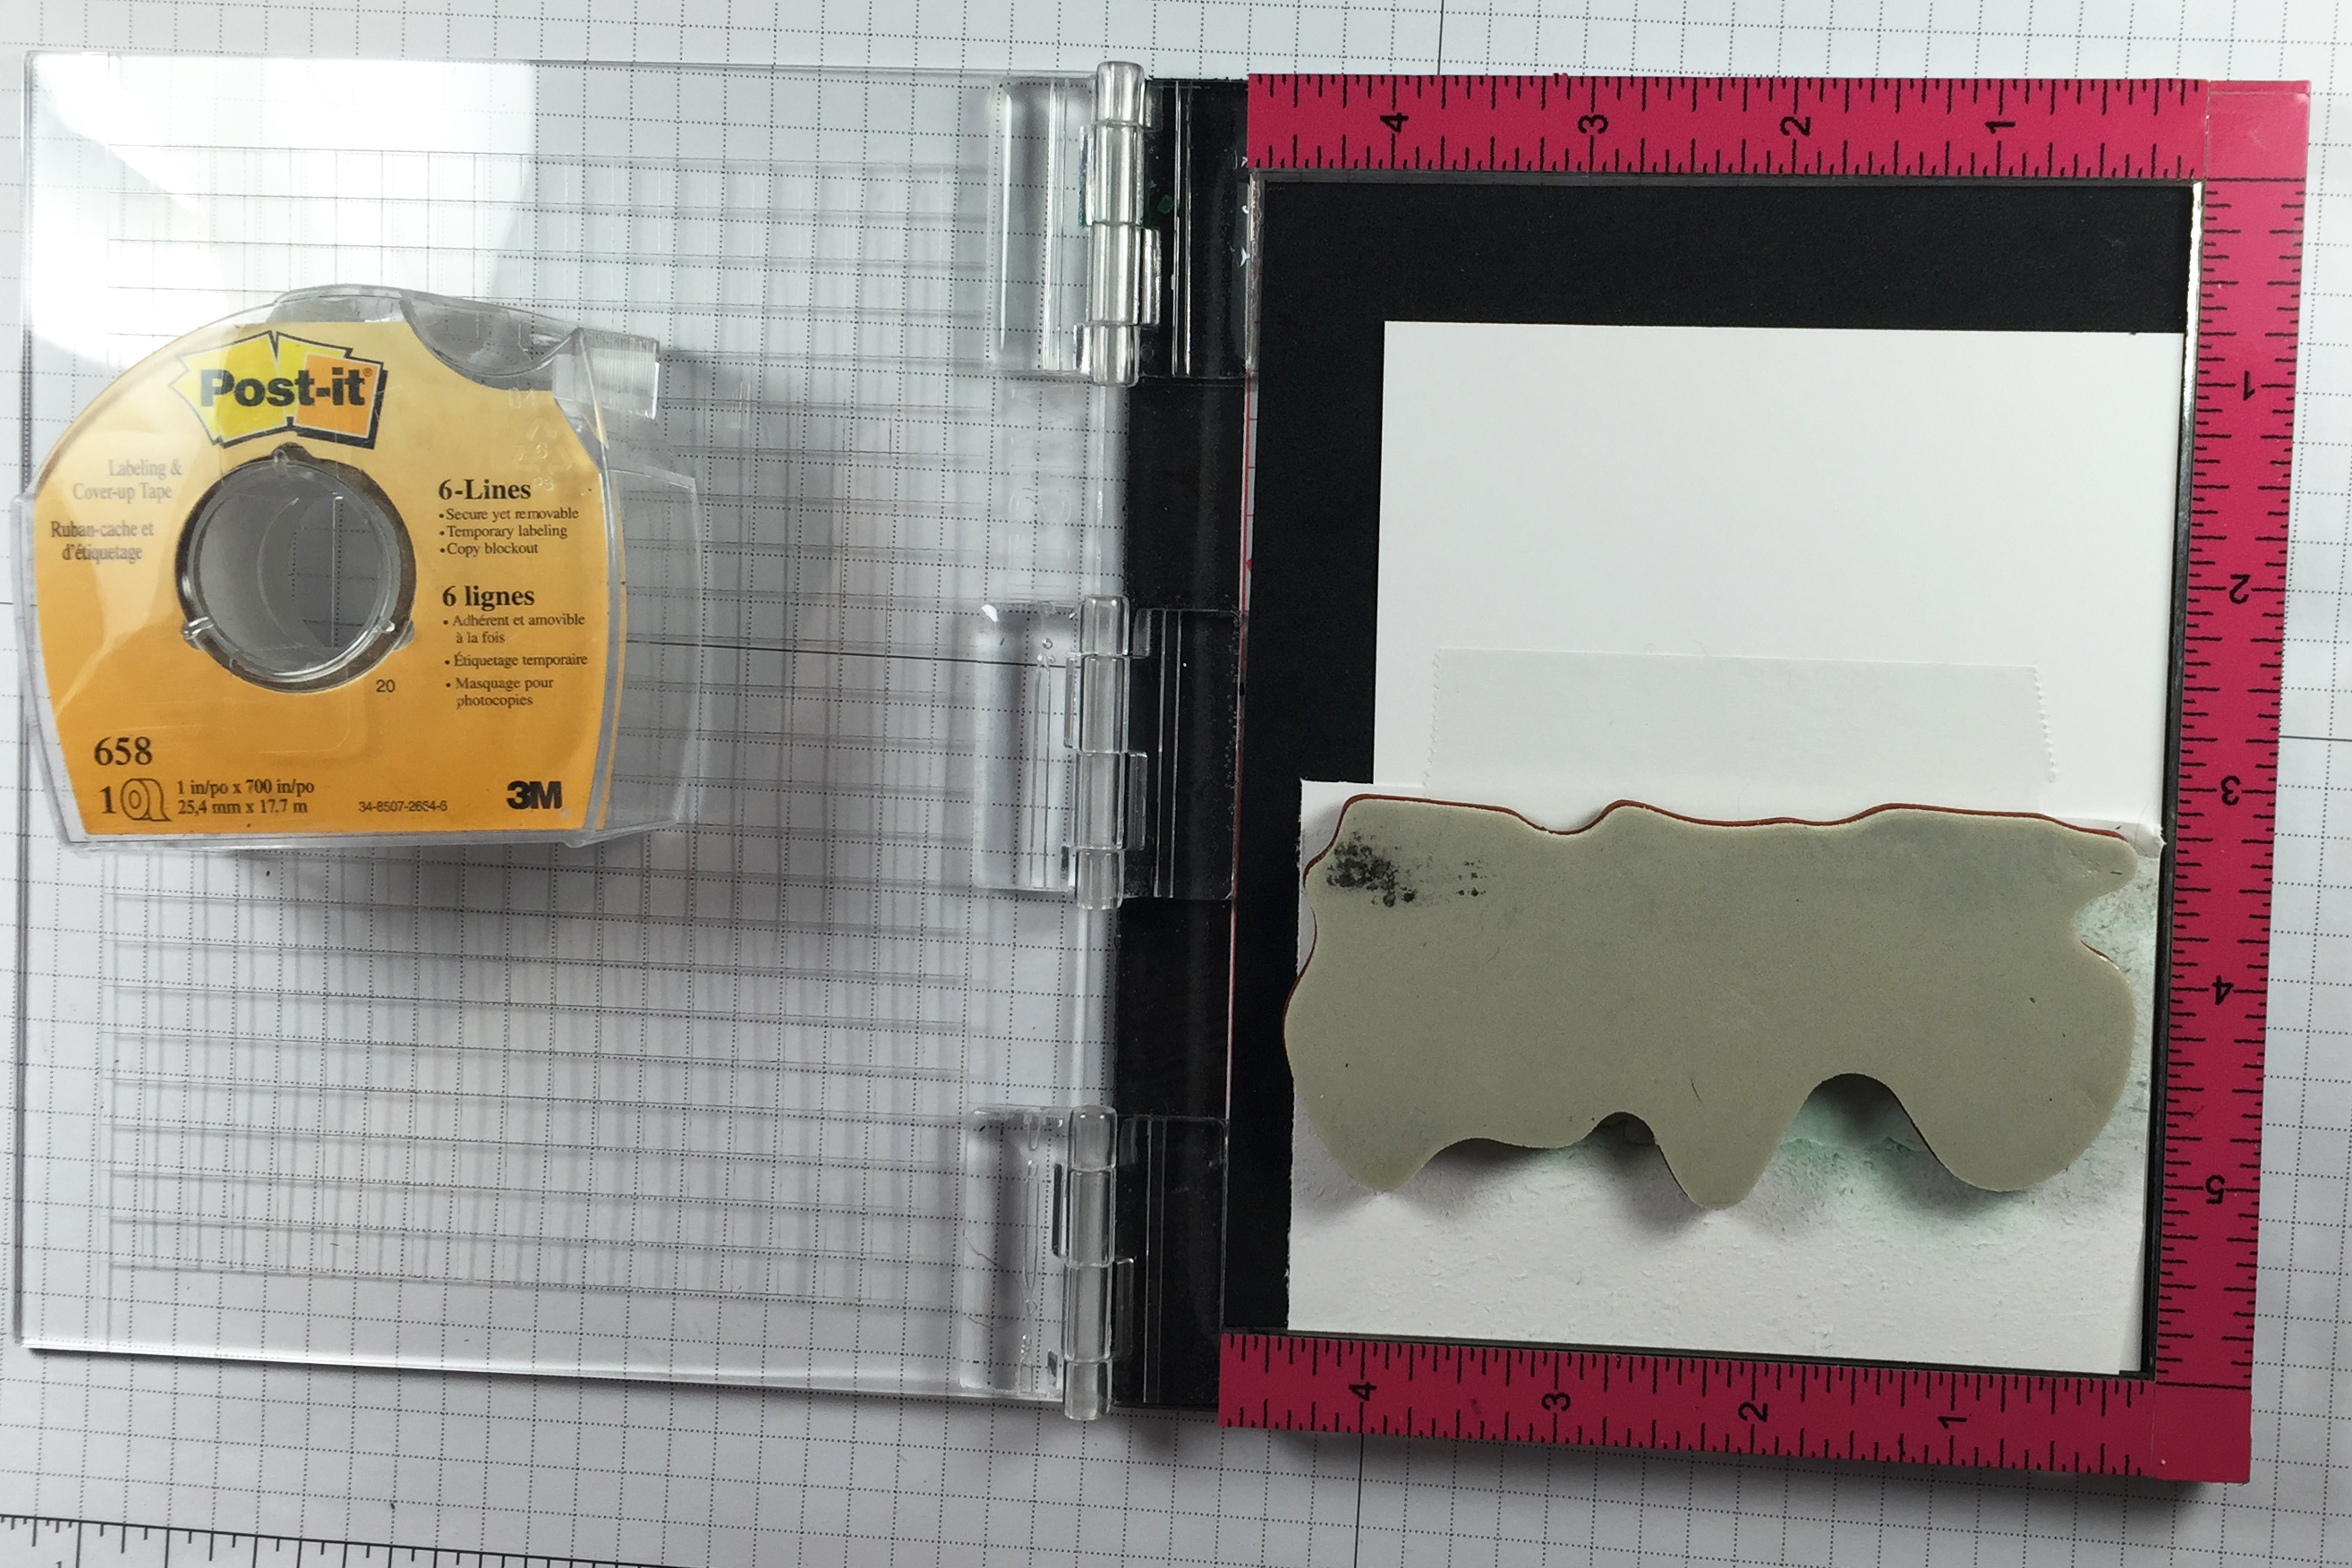
Step 6
Replace the mask into the negative space and remove the negative portion so that you can sponge a different color around the puddle or pond.
-
Add a second piece of masking paper or tape about where you'd like the horizon line to be.
-
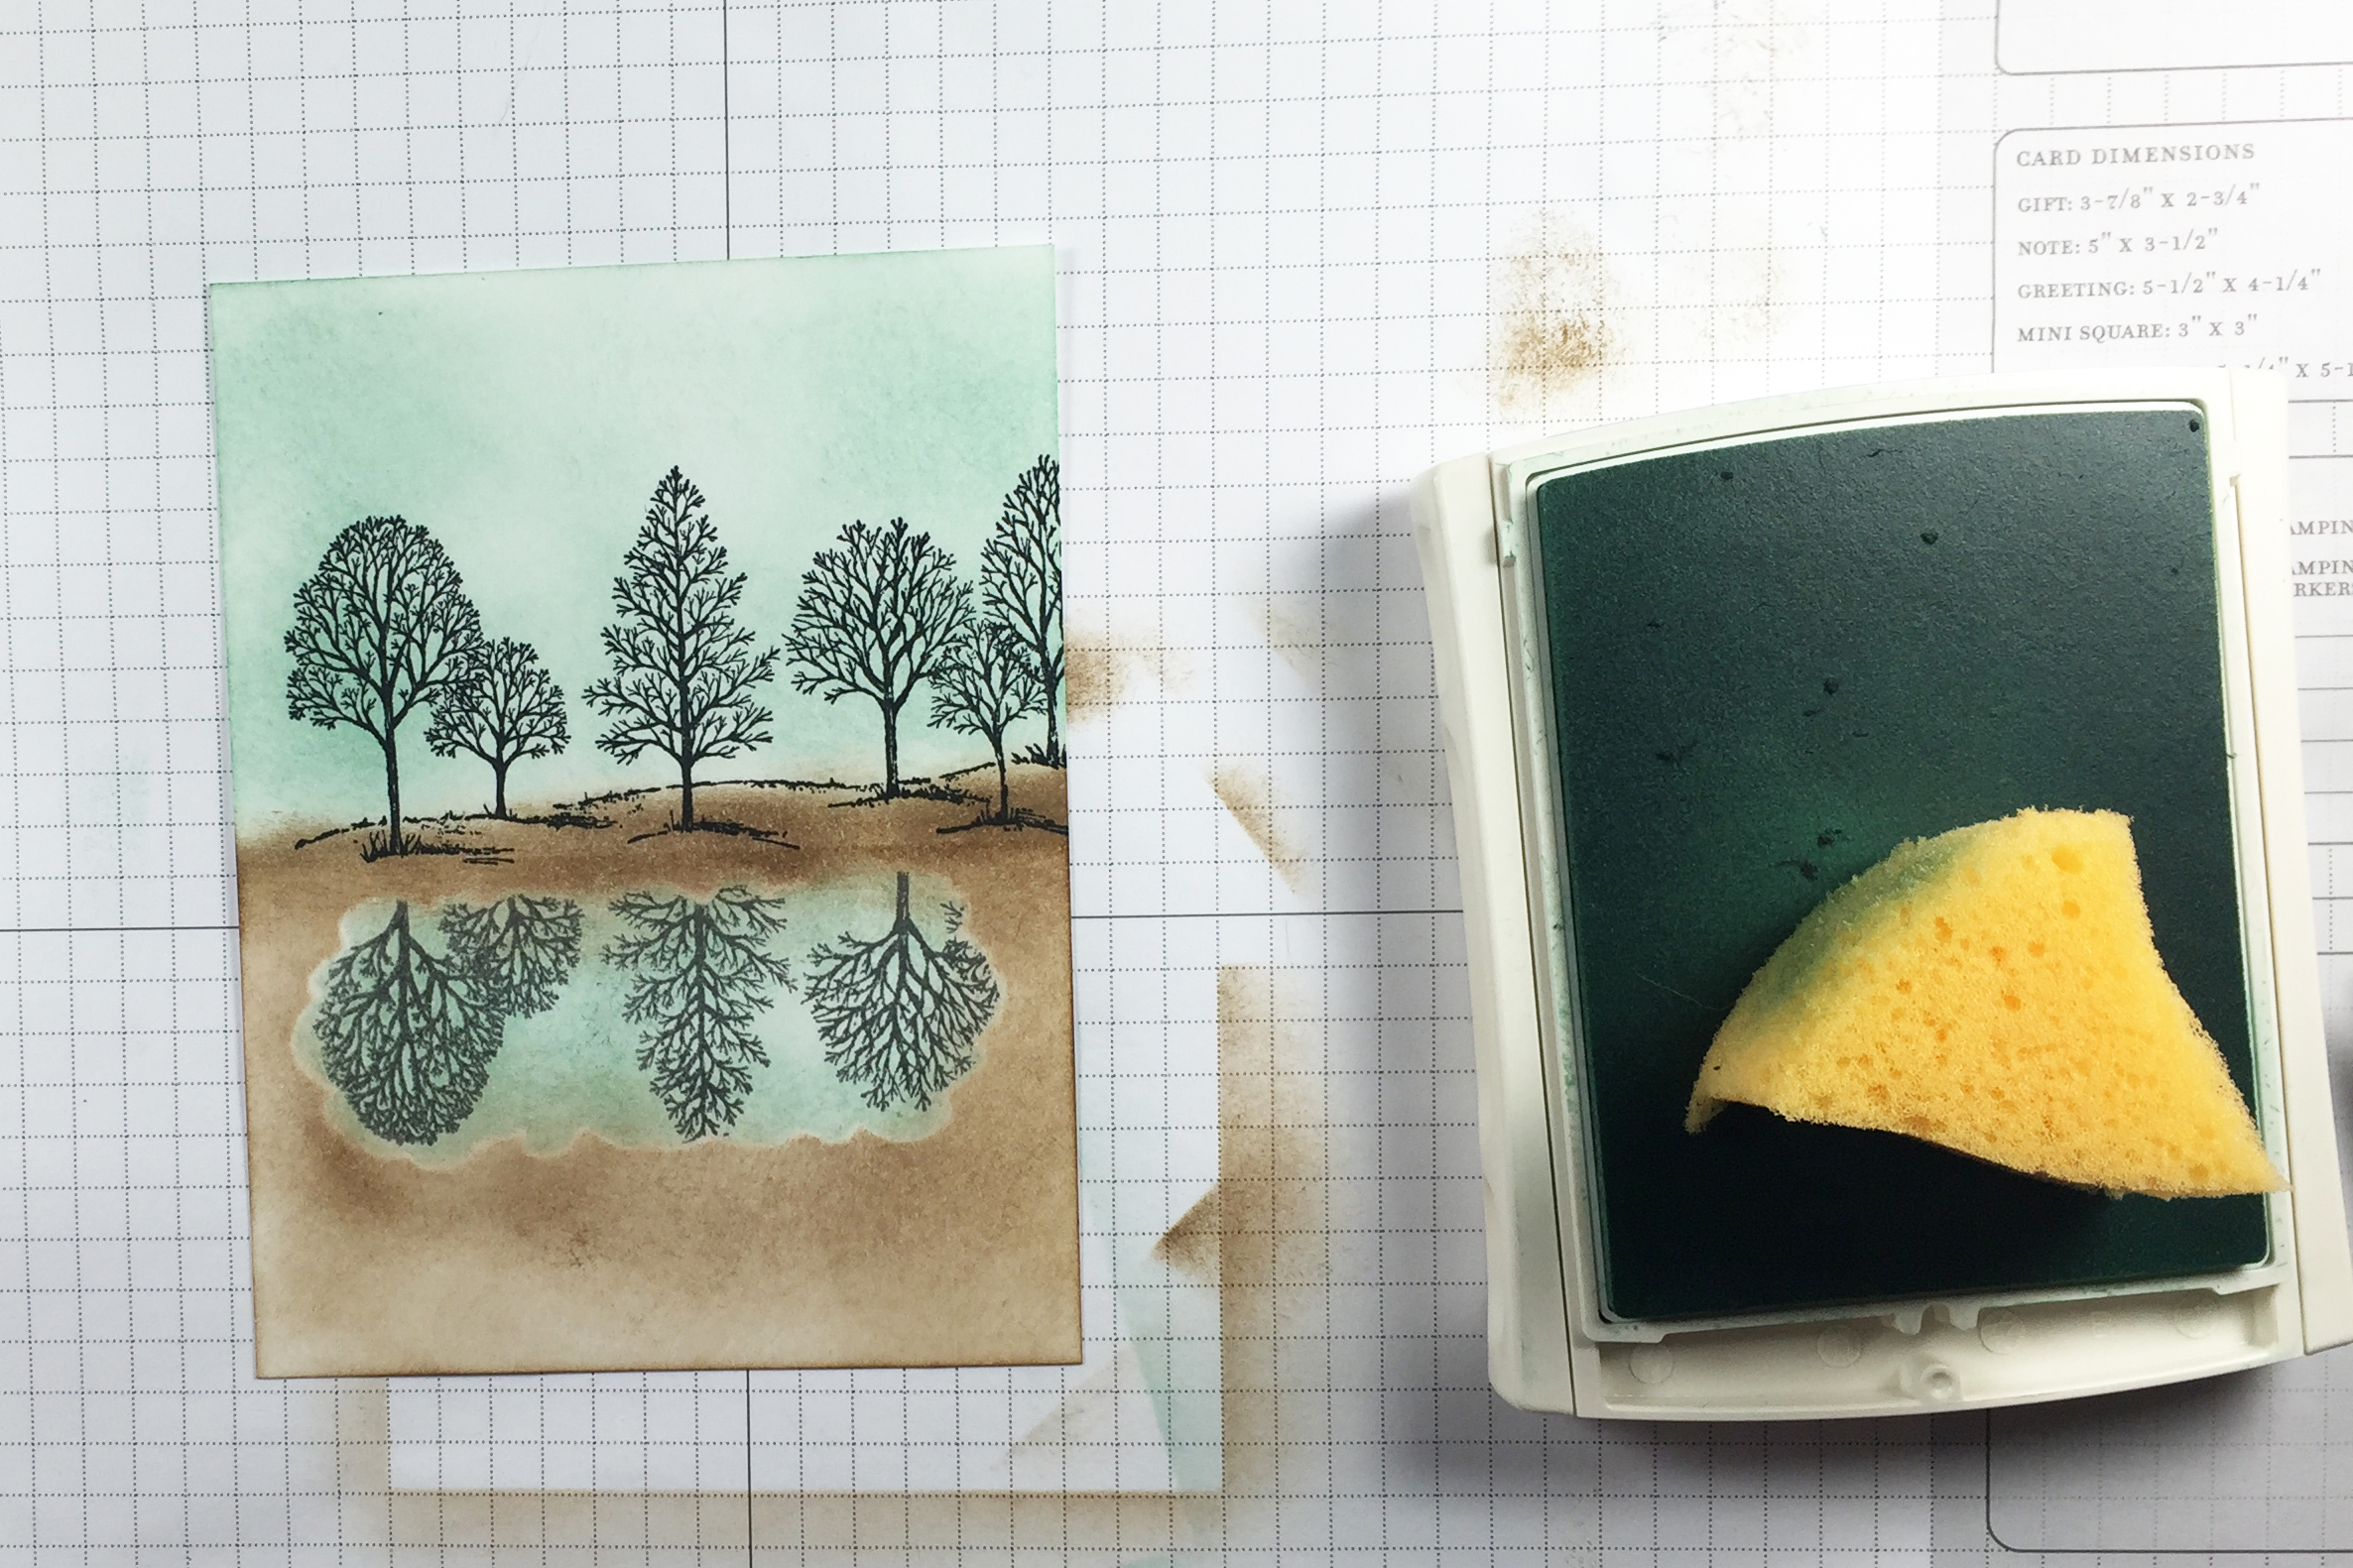
Step 7
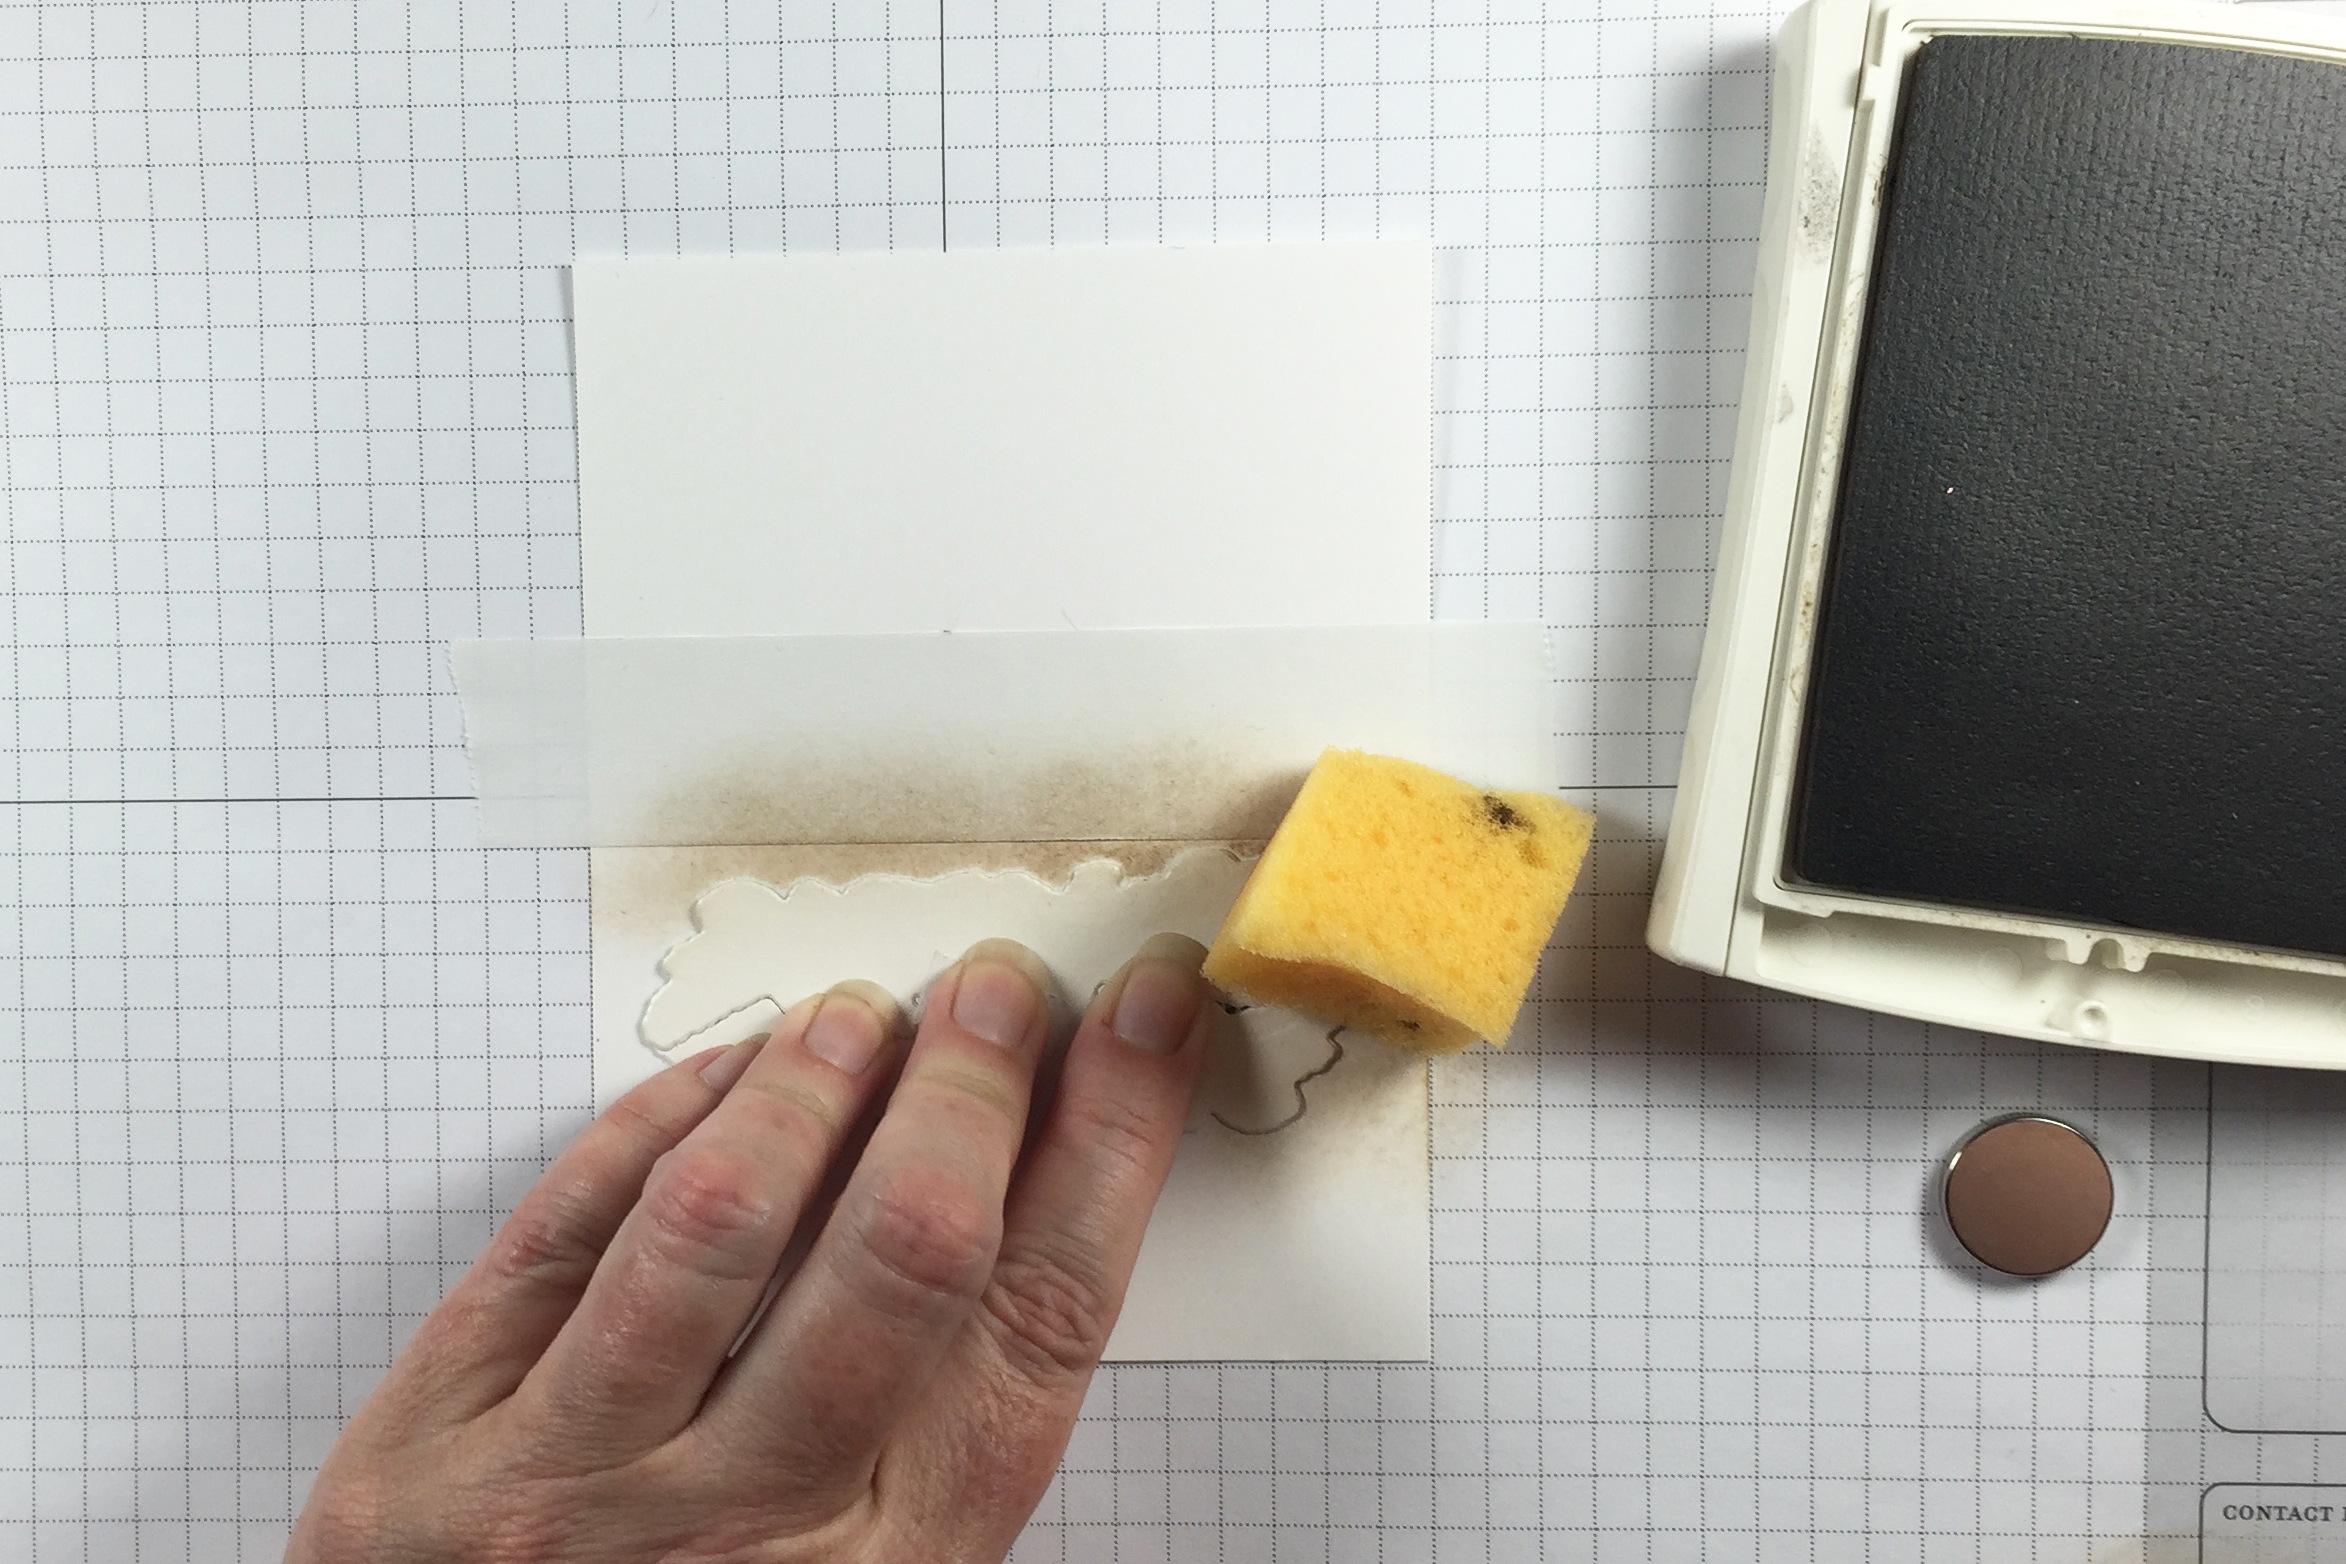
Sponge the area around the mask with a light brown or green ink to create the ground.
-
After sponging, remove all the masking.
-
Step 8
Align a piece of transparency or quilting template in the corner of the MISTI.
-
Stamp the image again onto the sheet.
-
Step 9
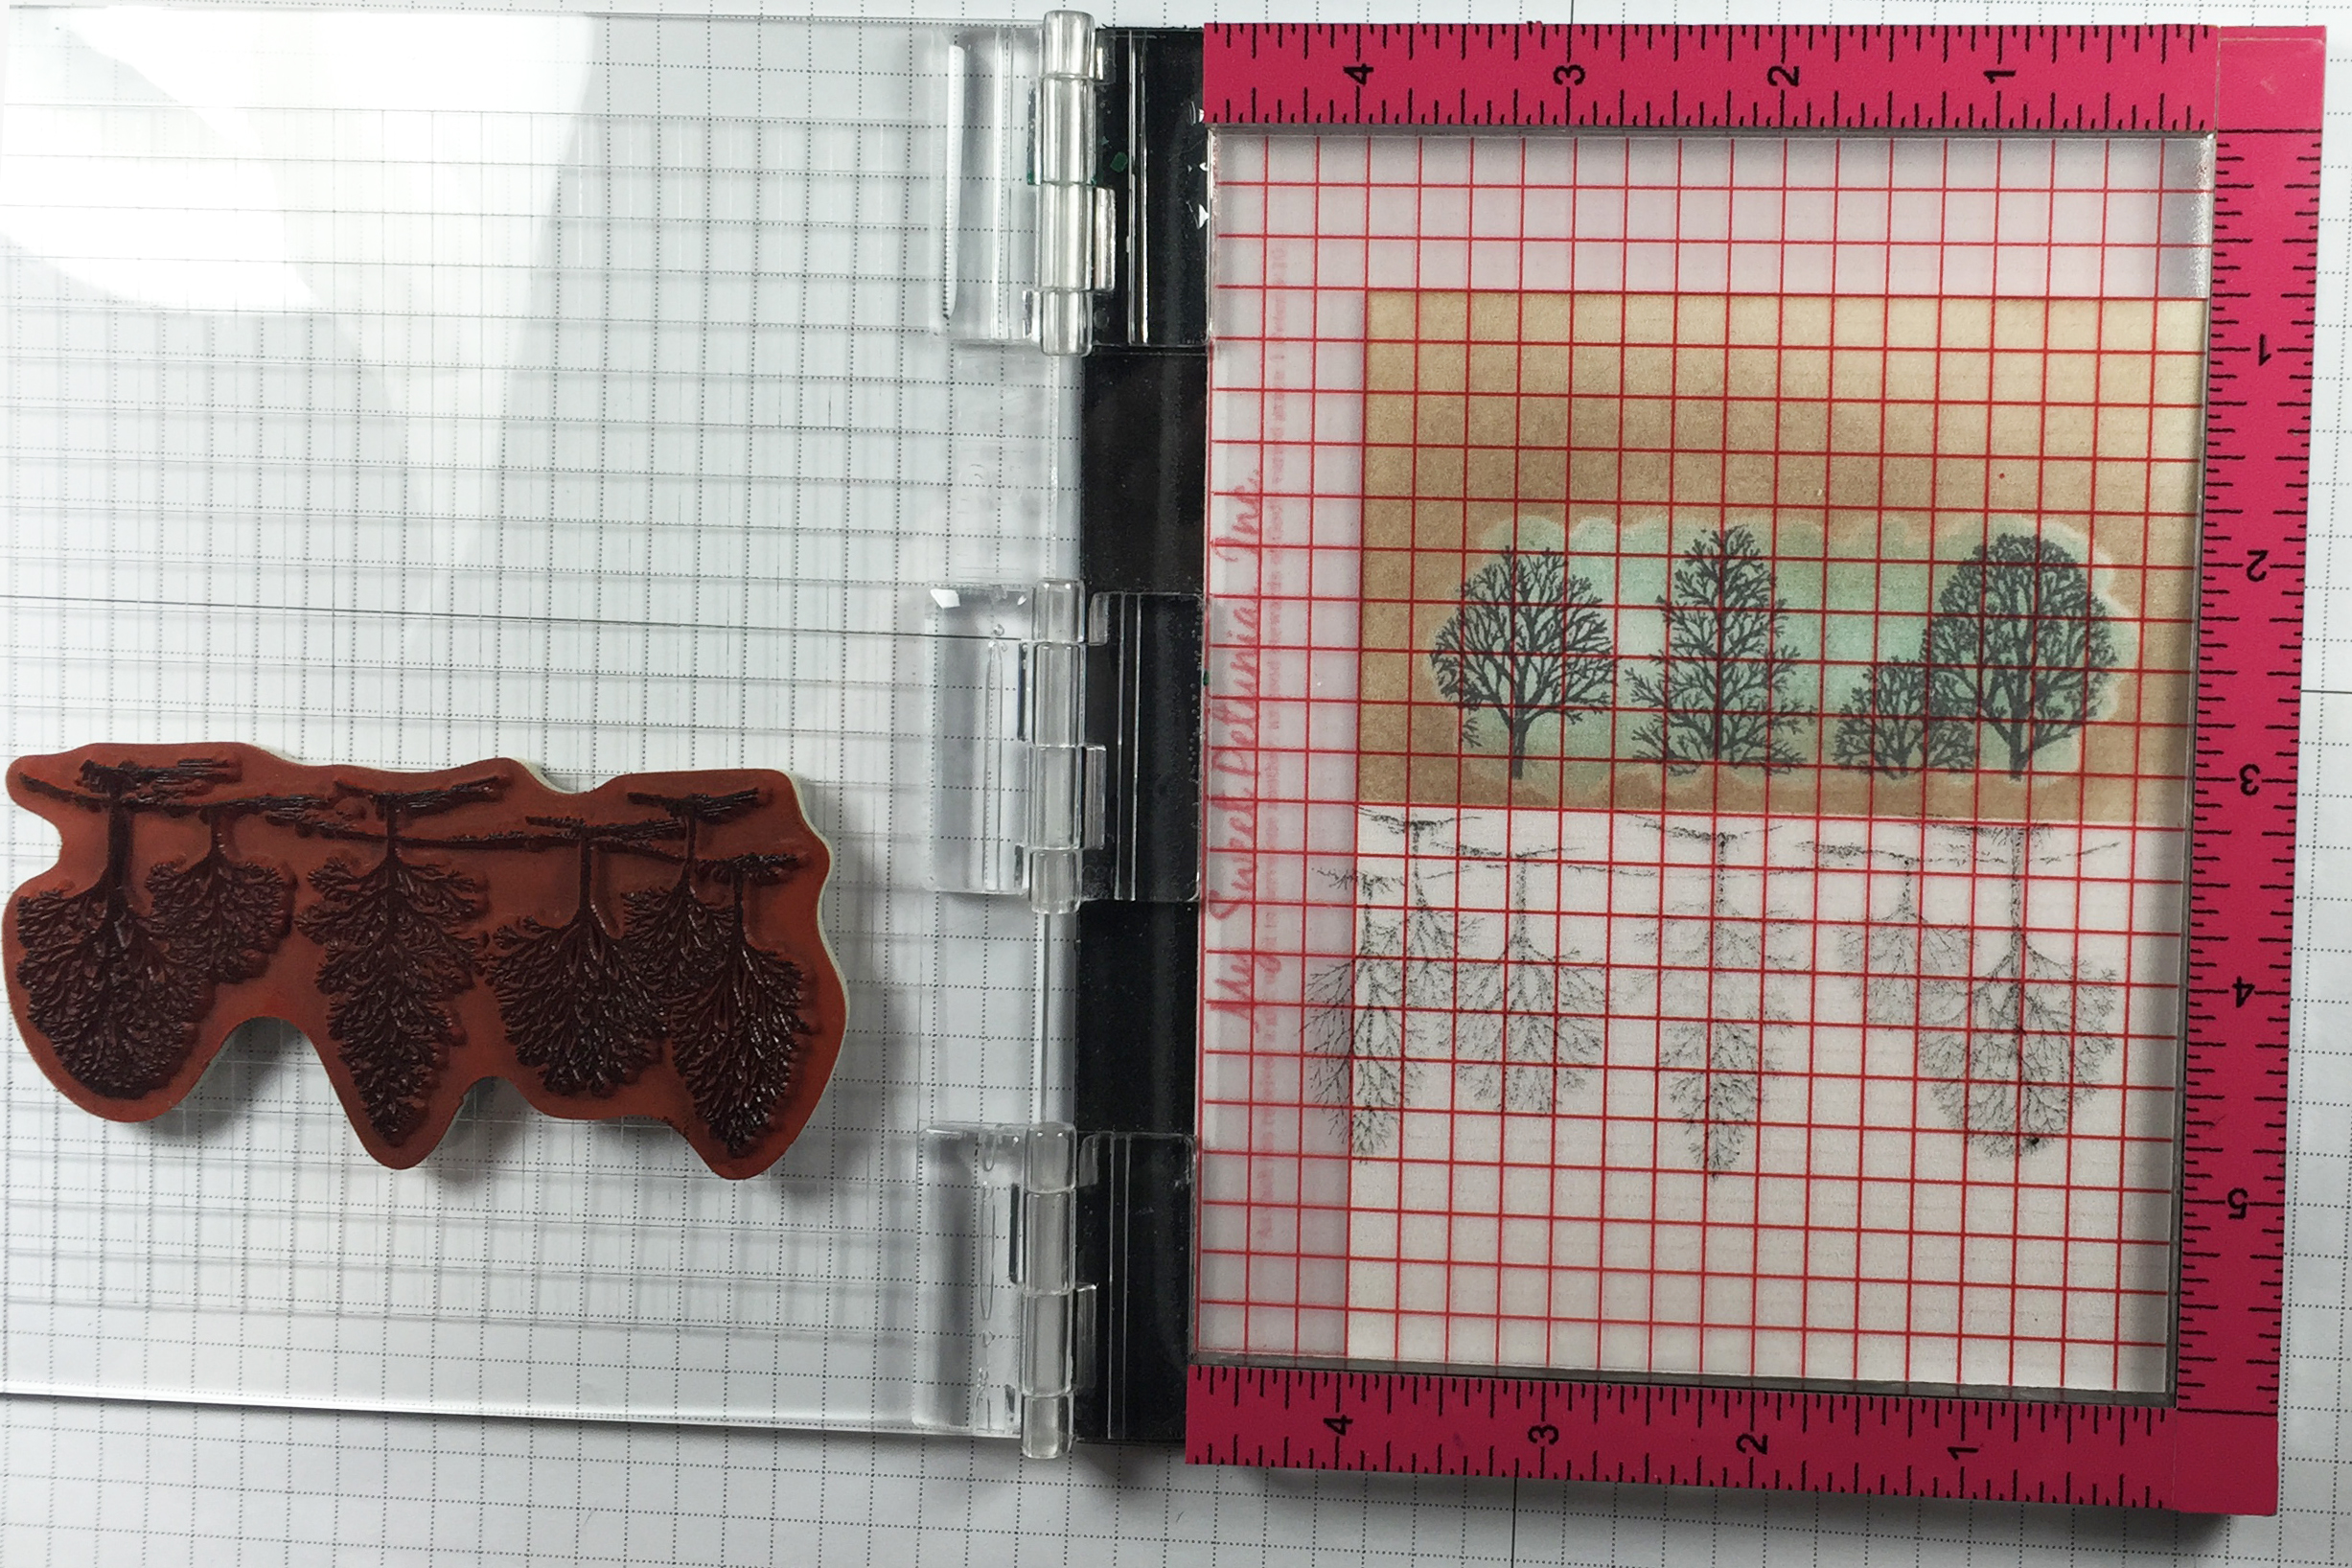
Using the image on the positioning sheet, line up the cardstock to be sure the stamp images align before stamping. Adjust cardstock as needed.
-
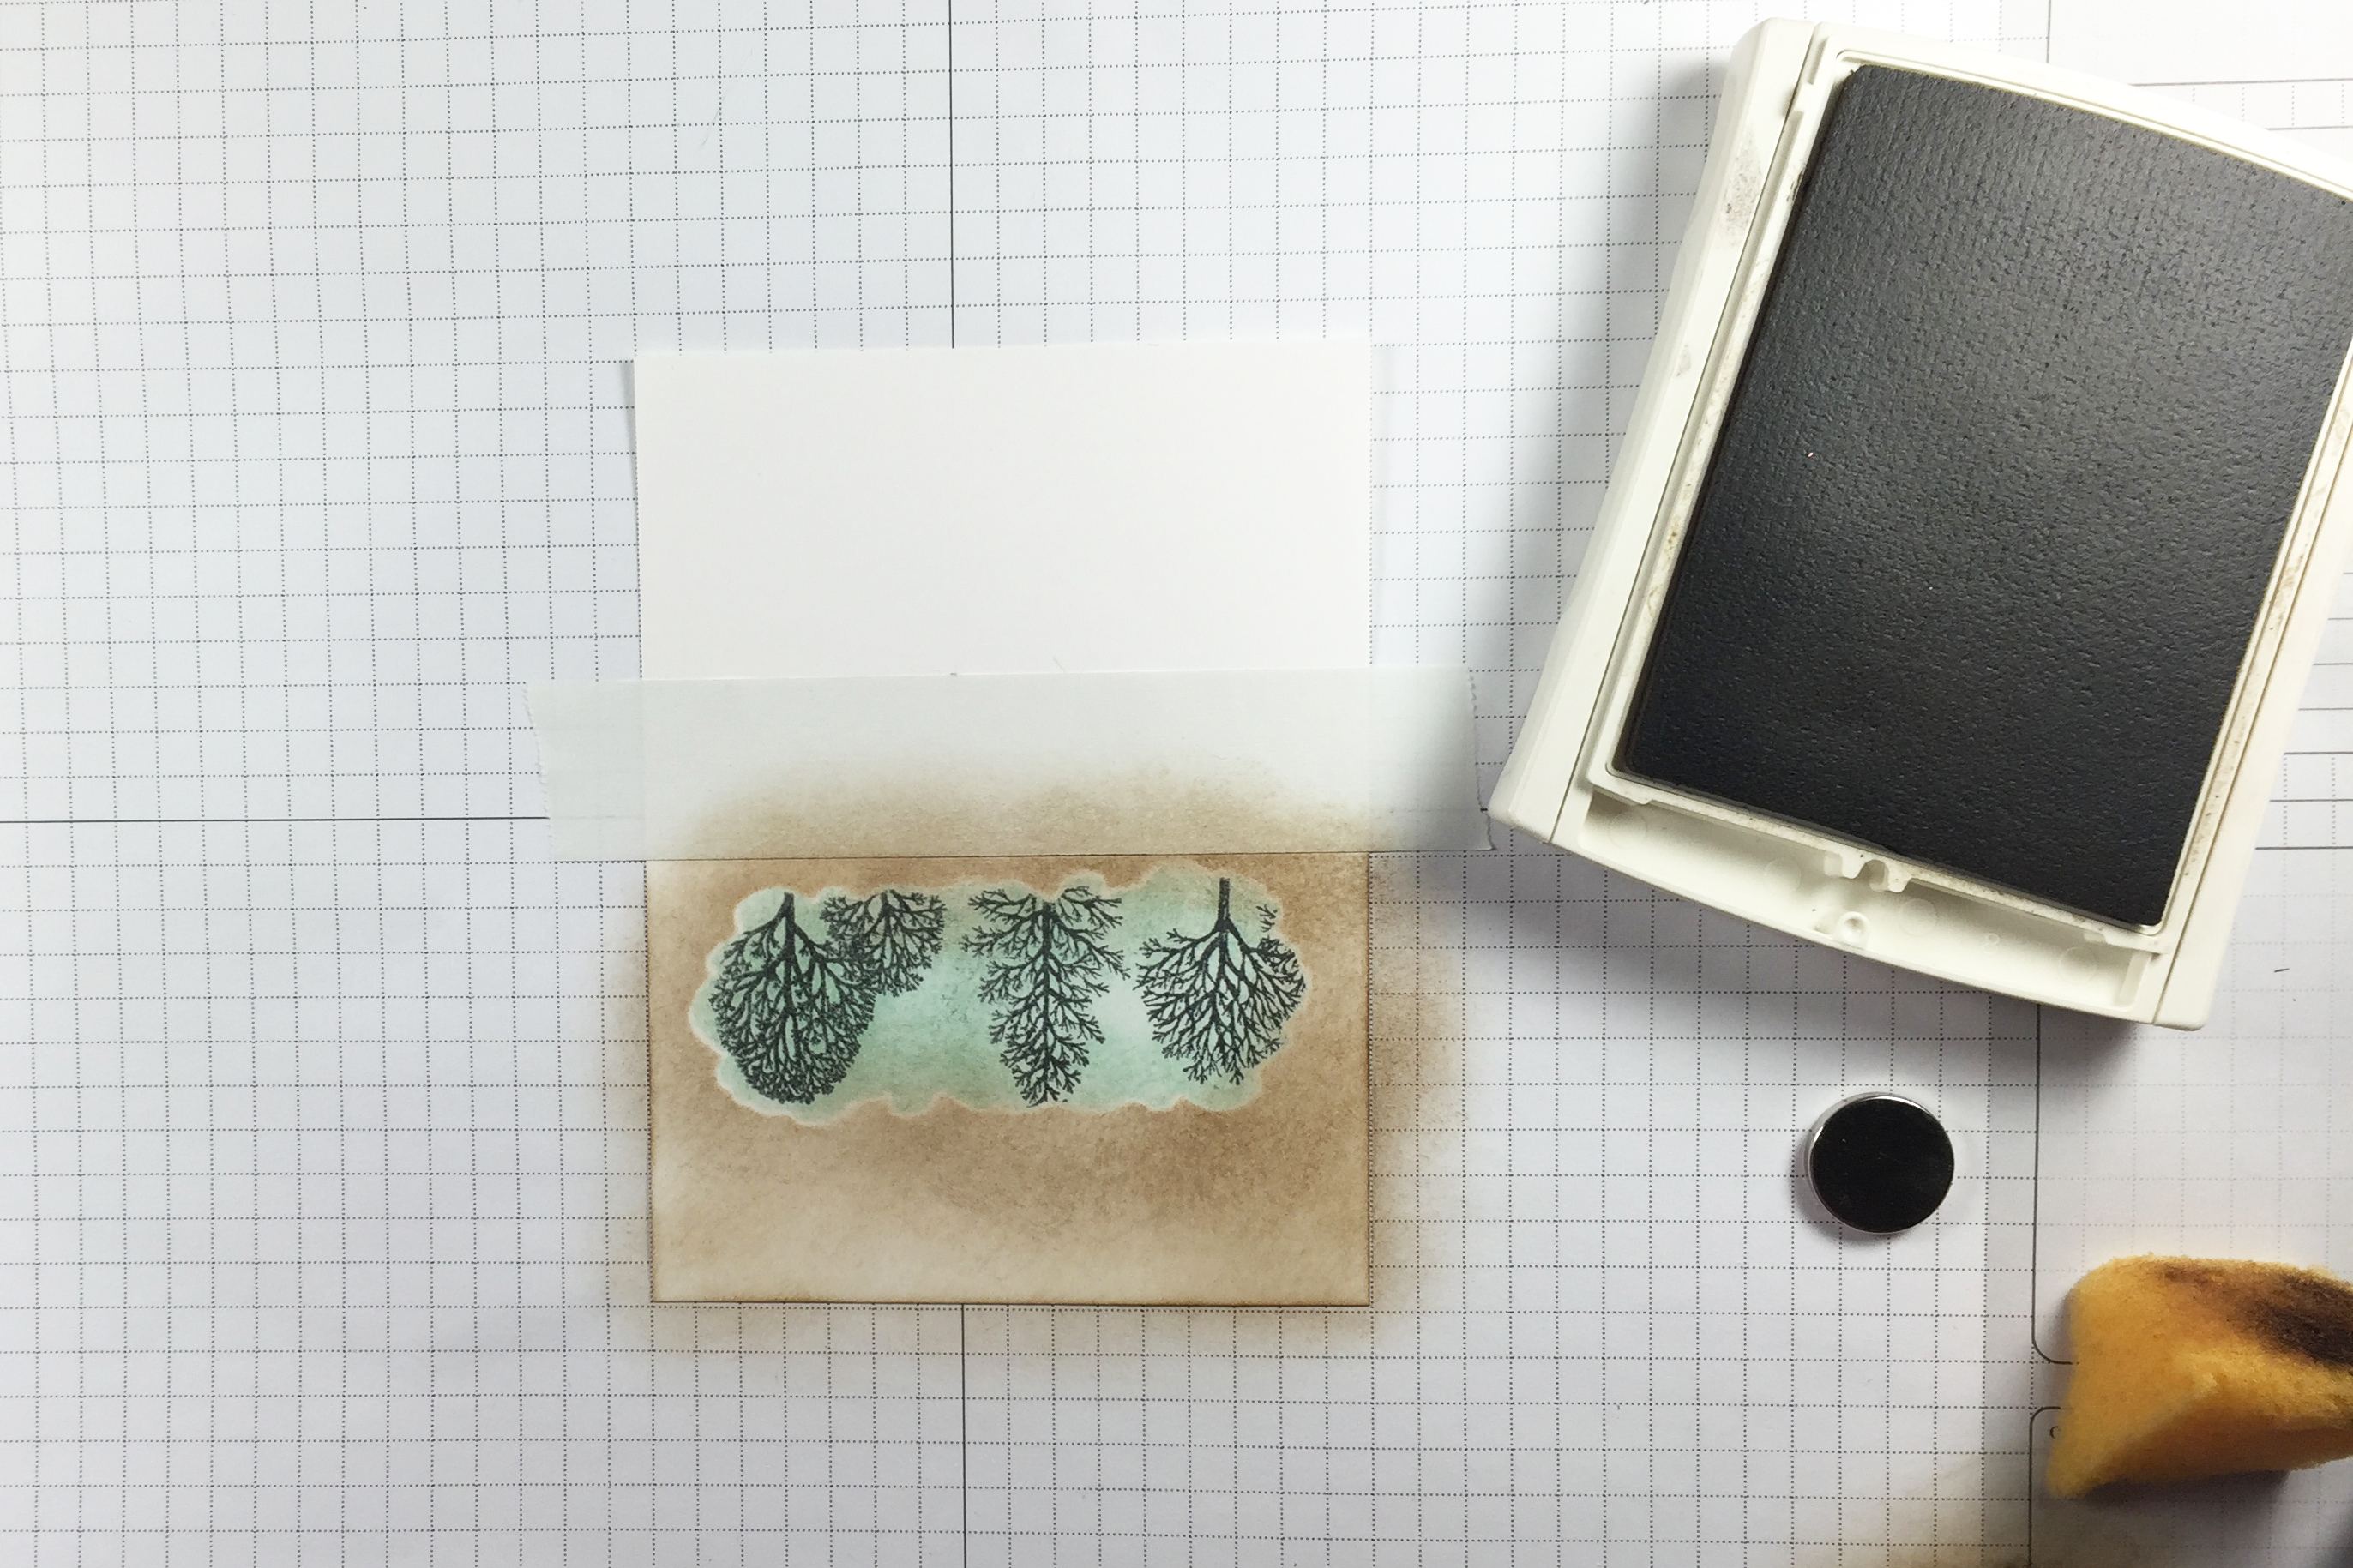
Remove the positioning sheet, put the card front back into the corner of the MISTI, and ink and stamp the image opposite the reflection.
-
Step 10
Add additional sponging above the horizon line if needed to match your image.
-
Sponge the sky if desired.
-
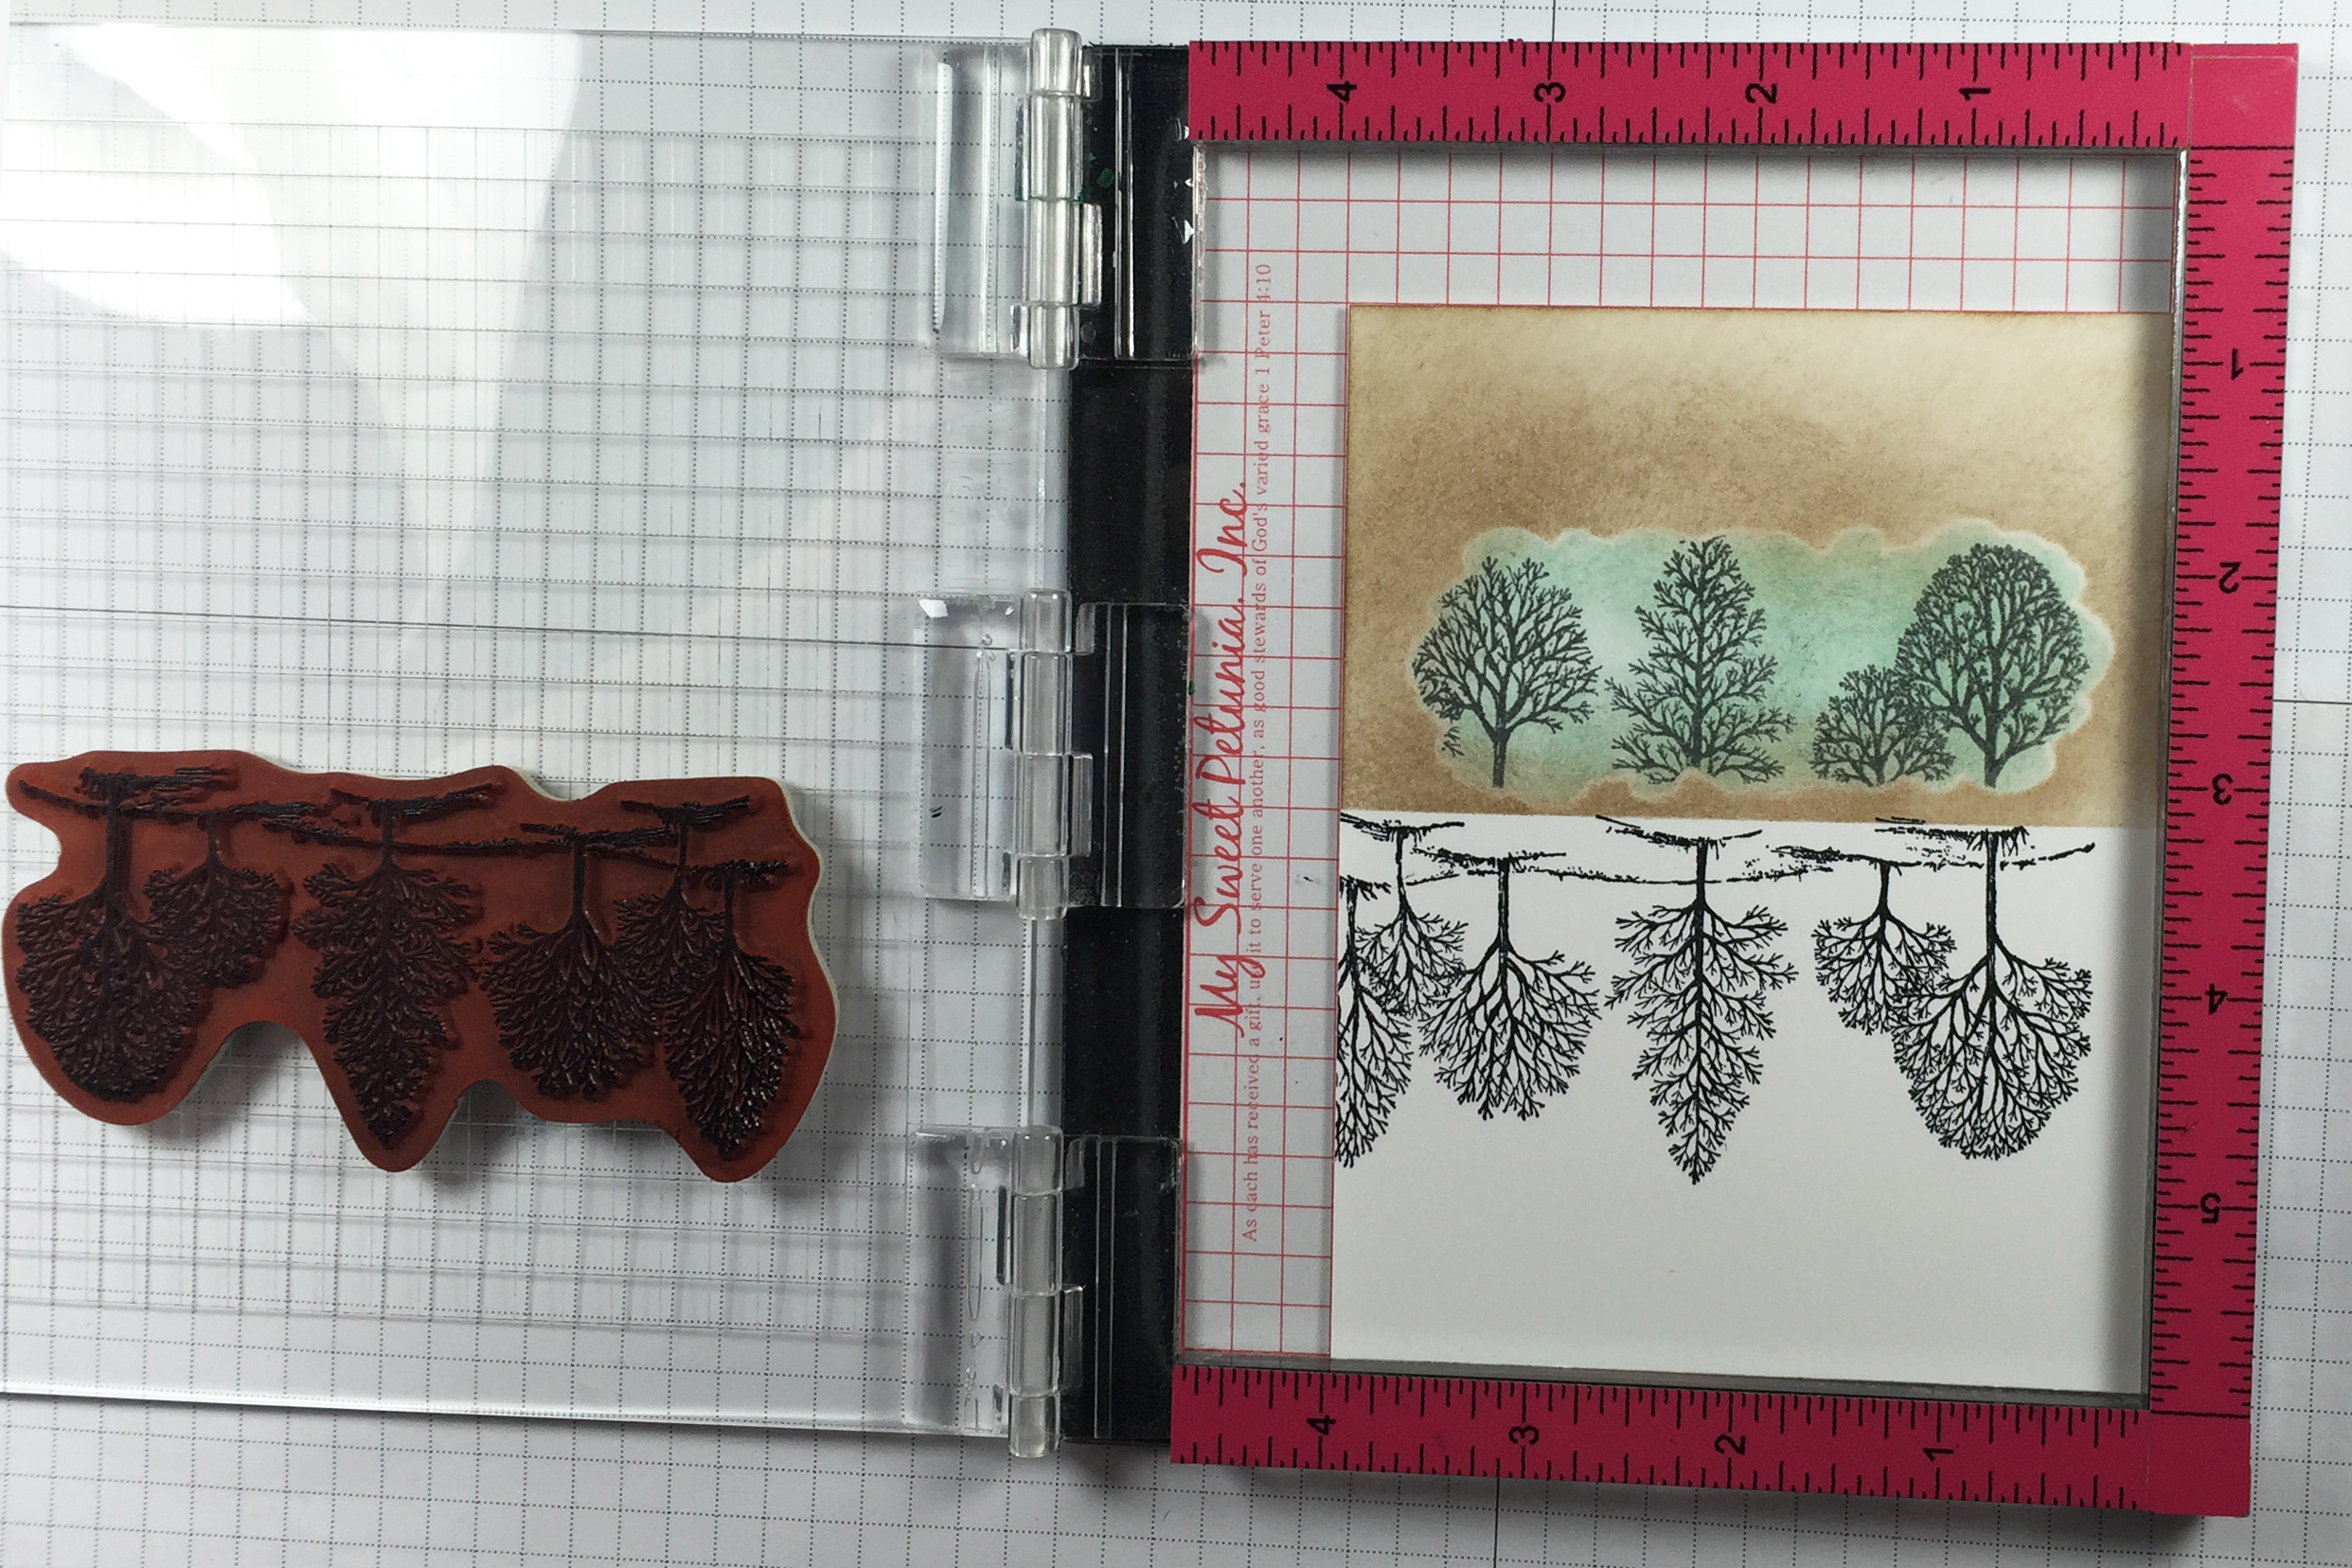
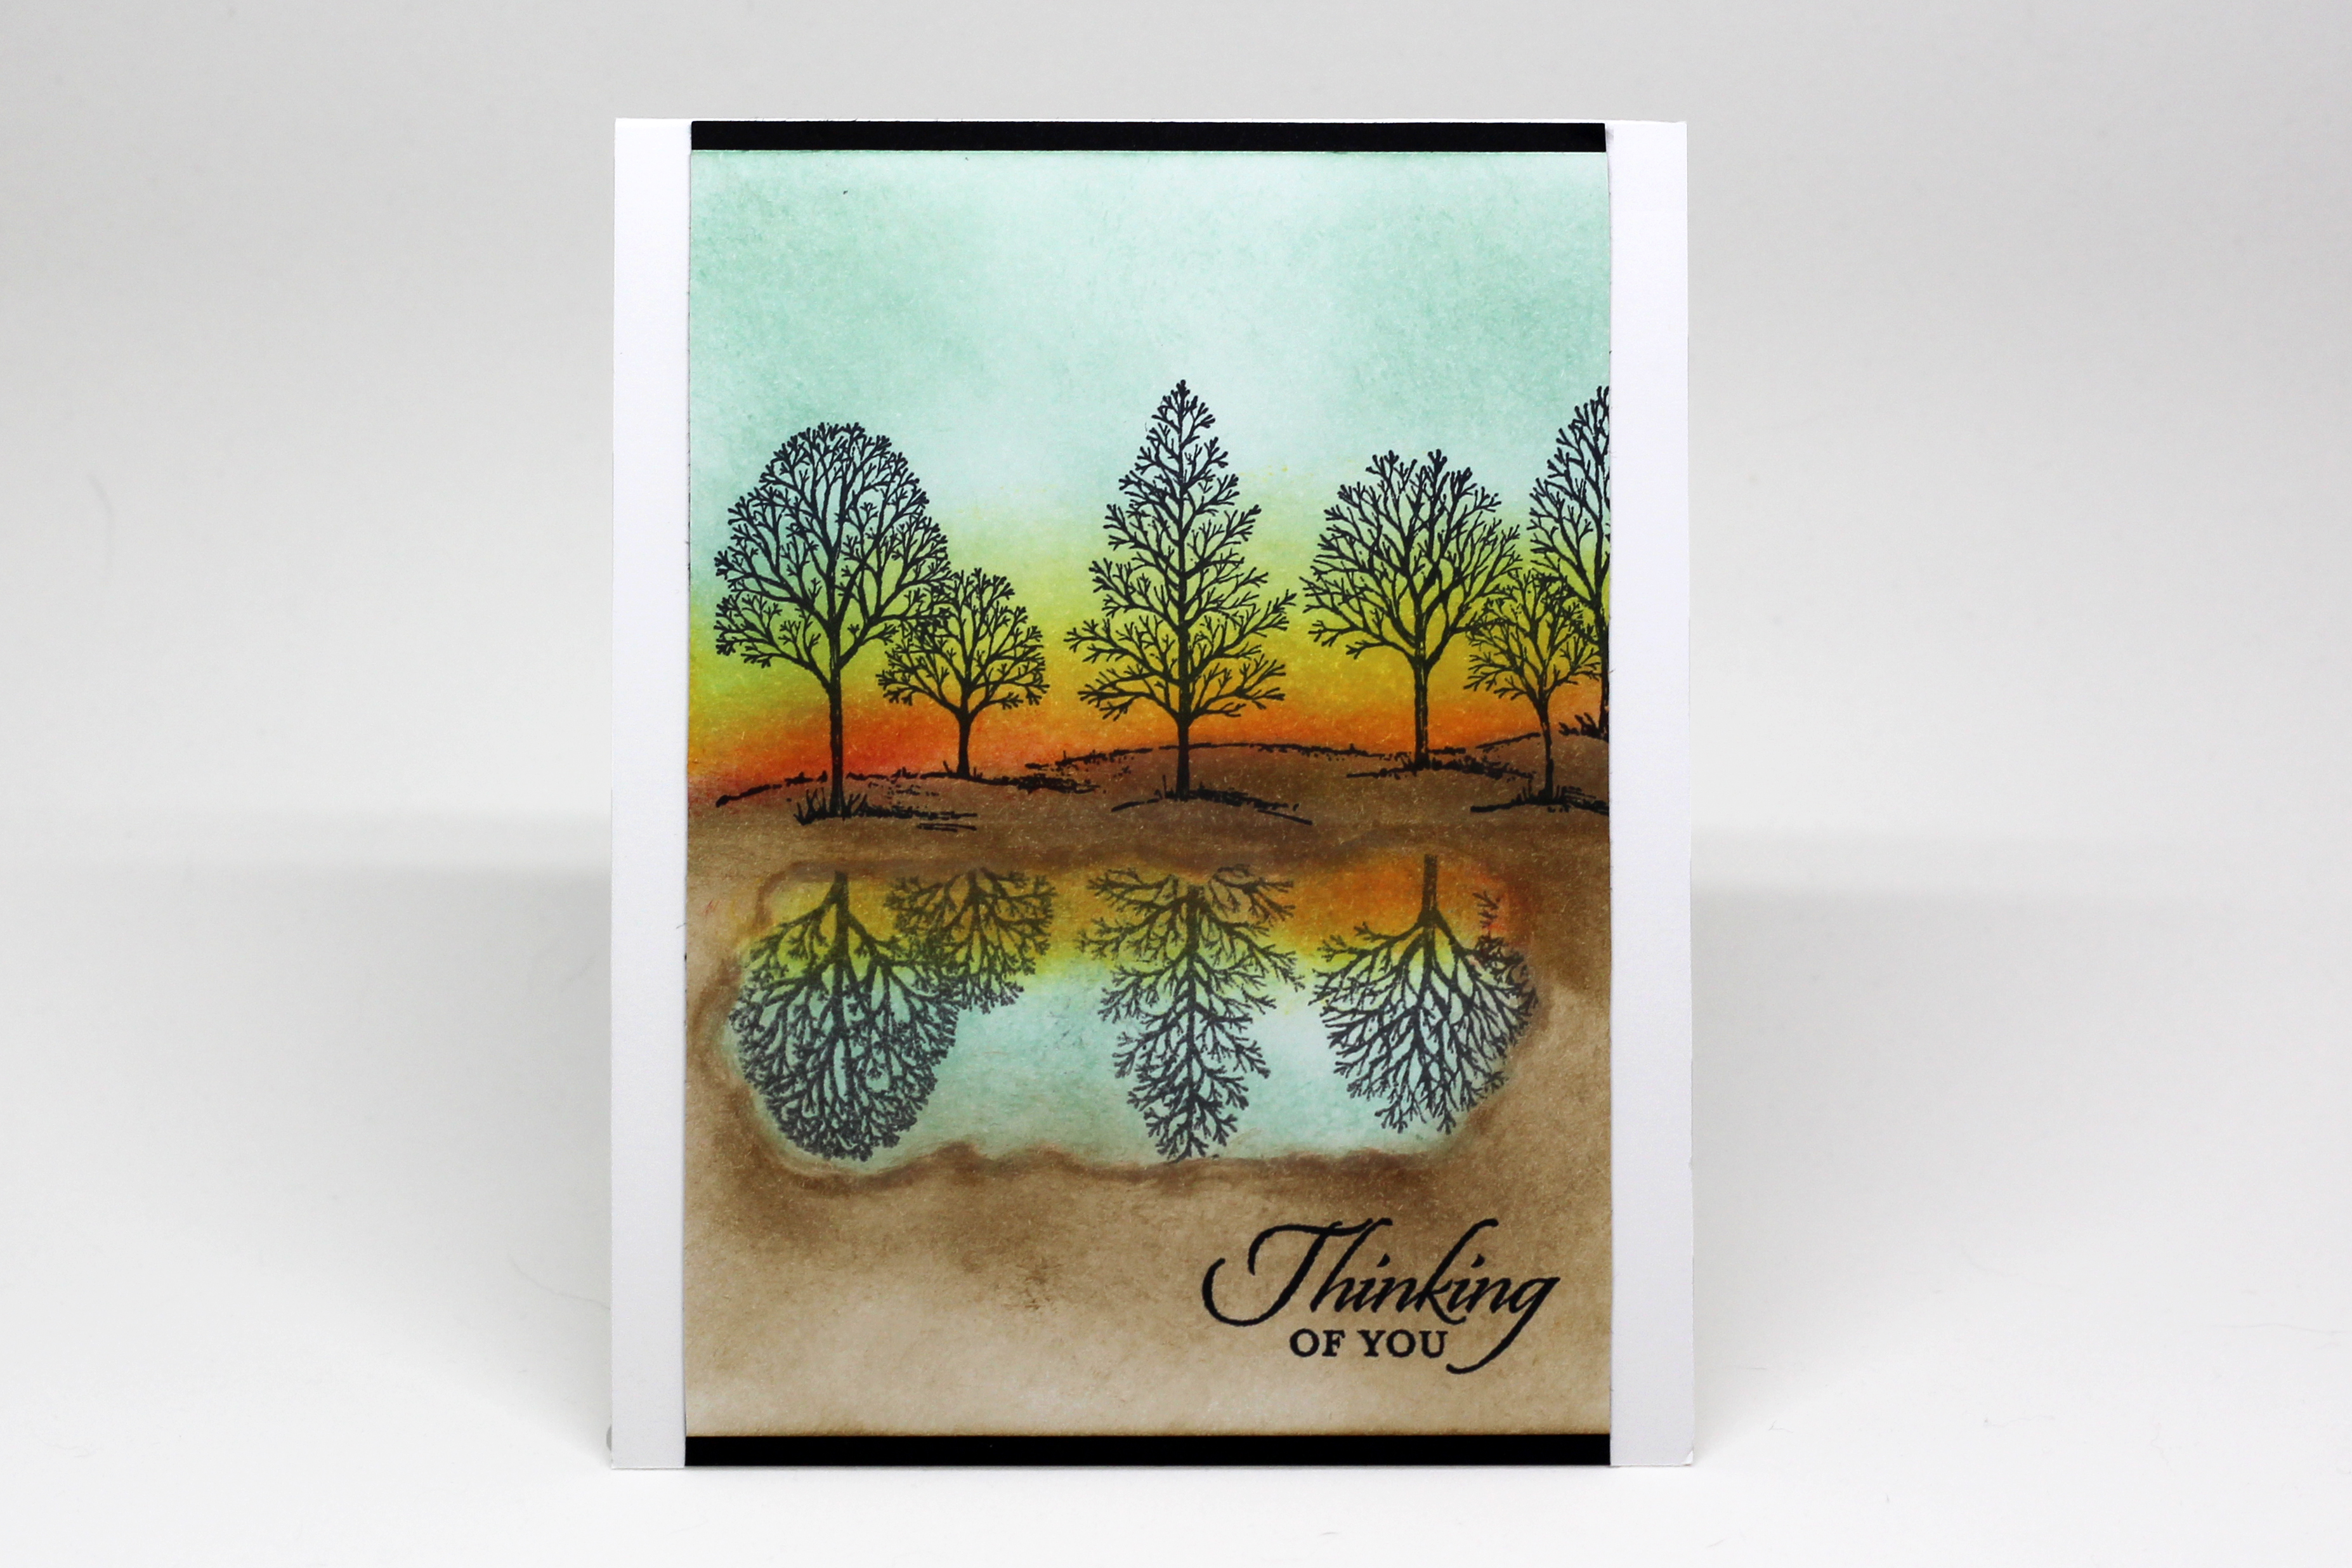
Step 11
Finish the card. I added sponging in additional colors to give a sunset effect at the horizon and on the water.
Video!
Your Turn
You've seen the tutorial, now you try it! We've got a section of the gallery set aside for Mirror Image Stamping. Try this technique, then upload your artwork to the gallery. Show us your creations!
***Please note - Internet Explorer/Edge is not a supported browser, and will not allow you to see the videos. Please use Chrome, Firefox or Safari to view our tutorial videos.

 *
*
Questions and Comments
We'd love to get your feedback or questions. Leave your comment below.
The photopolymer one in the supply photo is from Paper Smooches.
do you advise avoiding Stazon products?
Page 1 of 1 pages