Mini Bendi Card
by Gloria Plunkett
Create a single panel card with 2 pop-out features.

Supplies
- Cardstock (Stampin’ Up!® Real Red and Whisper White cardstock used here)
- Bone folder
- Trimmer
- Accent papers (SU Playful Pets Designer Series Paper used here)
- Embellishments (Pets Dies and Playful Pets Trinkets used here)
- Adhesives (Multipurpose Liquid Glue, Mini Glue Dots and Stampin’ Dimensionals used here)
- Other supplies as needed to complete the project (SU products used here: Tuxedo Black Memento Ink, Pampered Pets stamp set, Stampin’ Cut & Emboss Machine, scissors)
Step-by-Step
-
Step 1
Cut base cardstock to at 4 1/4” x 5 1/2”, and score at 2 3/4”.
Cut center piece to 2” x 4 1/2”, and score at 1/2”, 2 1/4”, and 4”.
Cut front strip to 1 1/4” x 6 1/2”, and score at 1/2” on both ends.
Cut layering panels at 4 1/8” x 5 3/8”, 1 7/8” x 3 1/2”, and 1 1/8” x 5 3/8”. -
Step 2
Adhere the 4 1/8” x 5 3/8” layering panel over the 4 1/4” x 5 1/2” base. Using a bone folder, press the cardstock in half and burnish the score line again.
-
Step 3
Adhere the 1 7/8” x 3 1/2” layering panel over the 2” x 4 1/2” center piece. Using a bone folder, press the cardstock in half and burnish the score line again.
-
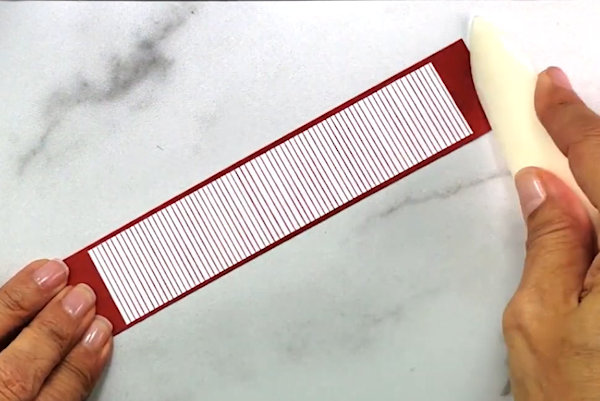
Step 4
Adhere the 1 1/8” x 5 3/8” layering panel over the 1 1/4” x 6 1/2” strip.
-
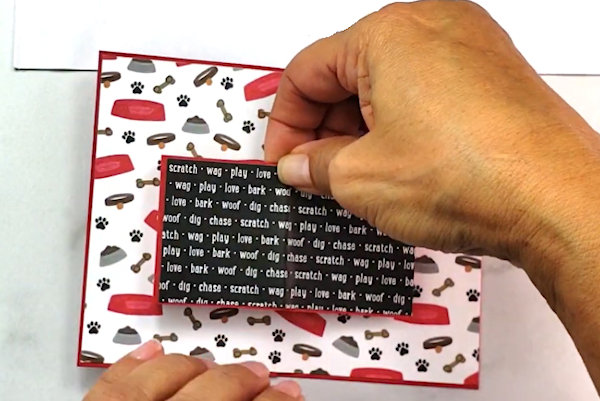
Step 5
Add adhesive to the tabs on either side of the center panel, and center it on the card base.
-
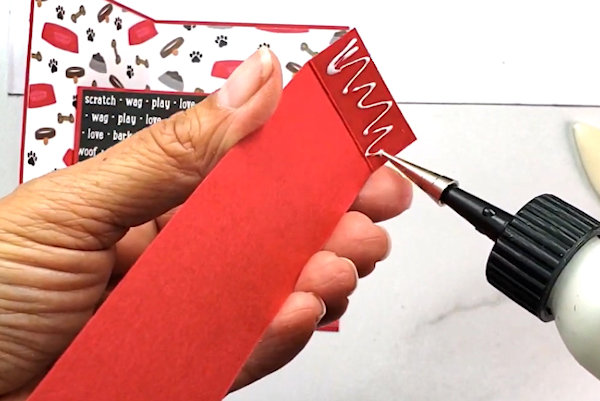
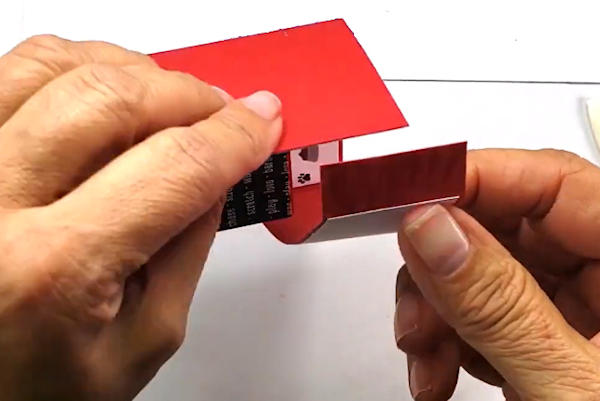
Step 6
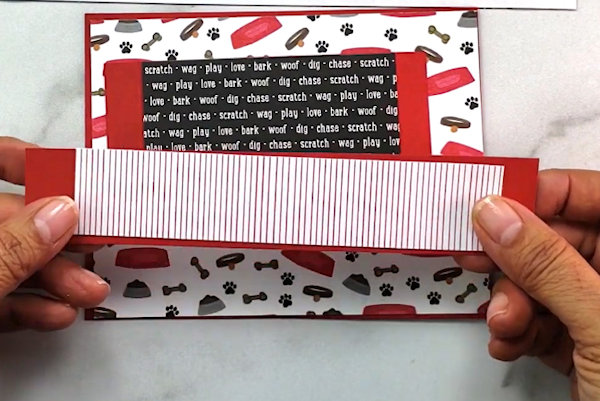
Add adhesive to the tabs on either side of the bottom strip as shown.
-
Center the strip at the bottom of the card base, wrapping the tabs to the back.
-
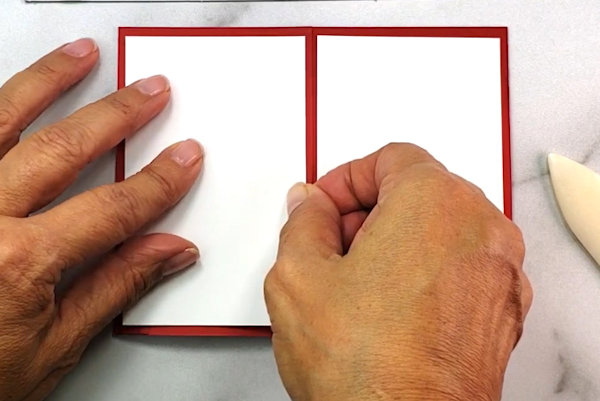
Step 7
adhere the two 2 1/2” x 4” pieces of white cardstock to the back of the project so you can write your message.
-
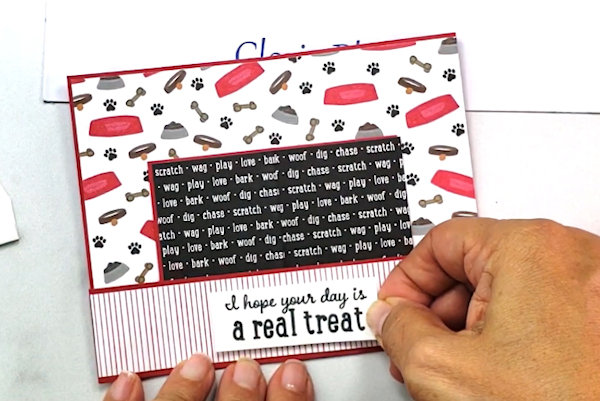
Step 8
Stamp a sentiment and adhere it to the bottom panel.
-
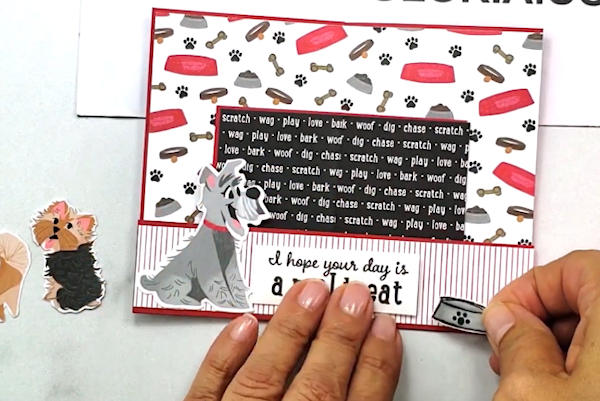
Step 9
Embellish to your heart's content.
-
Step 10
Complete the project.
The card presses flat to mail in a standard A2 envelope.


Video!
Your Turn
You've seen the tutorial, now you try it! We've got a section of the gallery set aside for Mini Bendi Card. Try this technique, then upload your artwork to the gallery. Show us your creations!
***Please note - Internet Explorer/Edge is not a supported browser, and will not allow you to see the videos. Please use Chrome, Firefox or Safari to view our tutorial videos.

Questions and Comments
We'd love to get your feedback or questions. Leave your comment below.
This is so cute and I can’t wait to make a few.
Thanks for sharing!
I called you Diane and I, so sorry. It’s early and I’m low on coffee.
Have an awesome day!
Love your cards and tutorial. So clear to understand. I am glad you left your mistakes in the video, because those are things I would probably do and it points them out so we will remember what not to do. Thank you for that! We are all human and make little mistakes. They did not take away from your projects, but helped us for when we try this card!
hugs from Texas!
Page 1 of 1 pages