Mica Powder Techniques
by Shannon Smith
Explore different uses for mica powder in card design.

Supplies
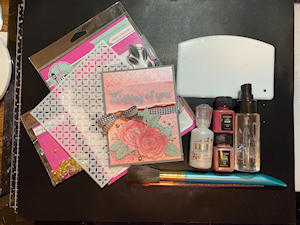
- Glossy white cardstock or photo paper
- Glaze or paste (Nuvo Ivory Seashell Crystal Drops used here)
- Spatula or scraping tool (Thermoweb/Deco-Foil Stencil Pal used here)
- Mica powders (Arteza Flamingo Pink and Rose Pink powders used here)
- Stencil (Pink & Main Deco Stencil used here)
- Stencil spray adhesive (Pixie Spray used here)
- Large brush (Royal &Langnickel-LG. Menta used here)
- Shadow brush (cheap dollar store eyeshadow brush used here)
- Embossing powder tray (FSJ brand used here)
- Small spray bottle of water
- Other supplies as needed to complete the project (used here: cardstock for base and layering, Pink & Main Fantastic Florals stamp set, Distress Oxide Ink - Hickory Smoke, Simon Hurley Minty Fresh ink, Versamark ink, tracing paper, silver embellishments (Pink & Main), ribbon, MISTI)
Step-by-Step
-
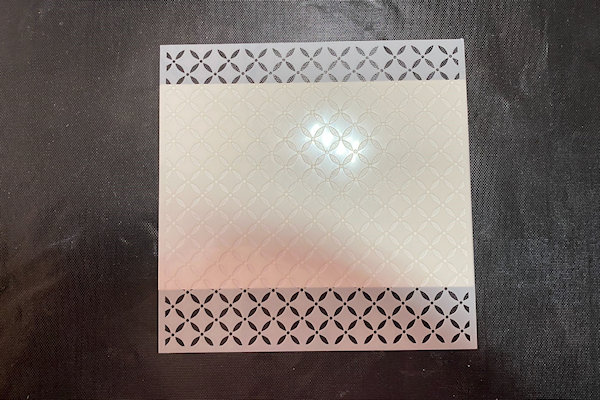
Step 1
Spray a card panel with stencil spray adhesive (this will give the mica powder something to stick to later). Place a stencil over the panel.
-
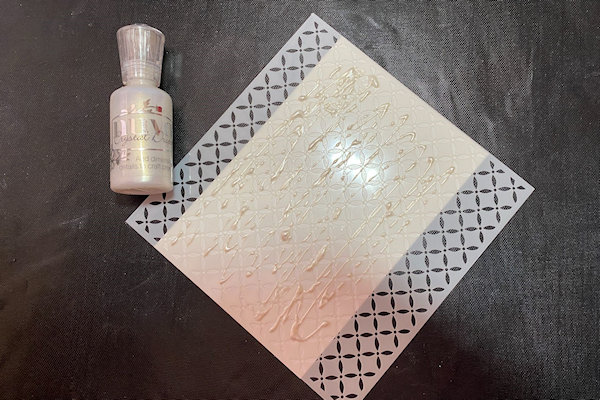
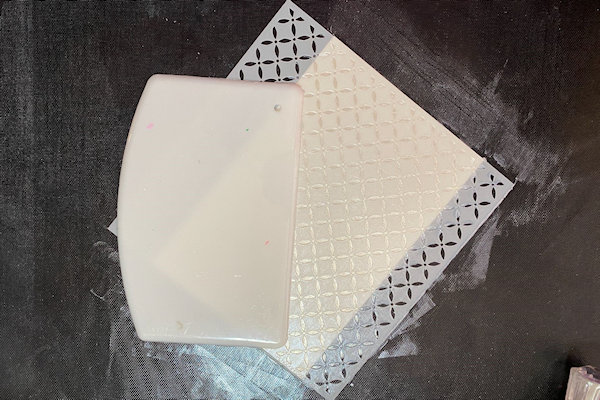
Step 2
Add glaze or paste medium through the stencil and scrape off the excess. Allow to dry.
-
-
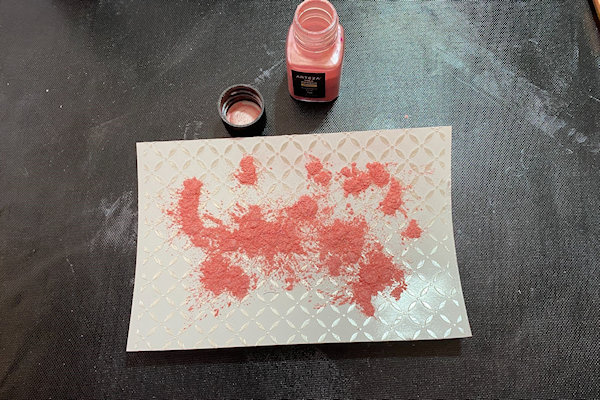
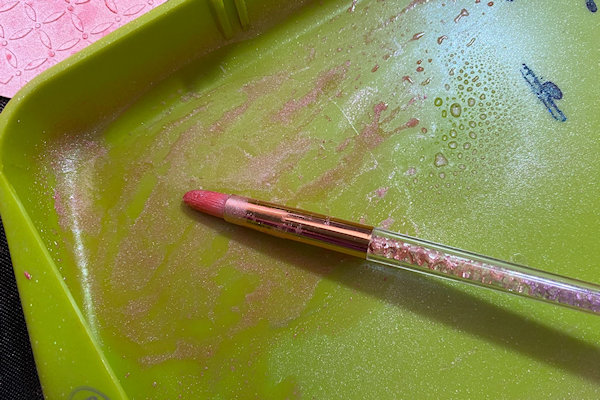
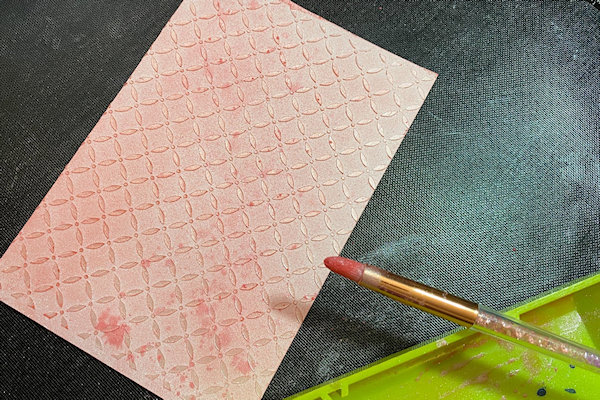
Step 3
Sprinkle lightest mica powder onto the card panel.
-
Use the large brush to cover the surface and dust excess into an embossing powder tray. Use the brush to burnish the mica in a bit.
-
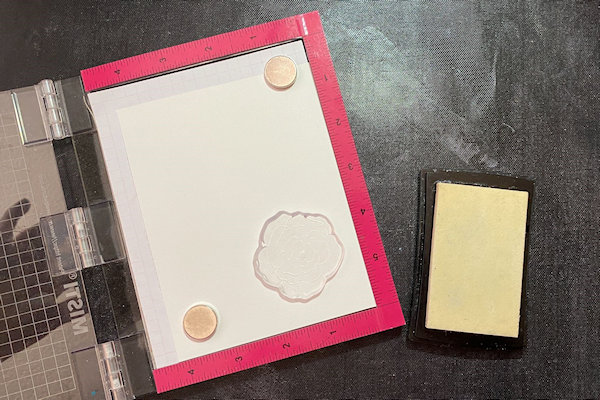
Step 4
Stamp a solid image with embossing ink on white cardstock.
-
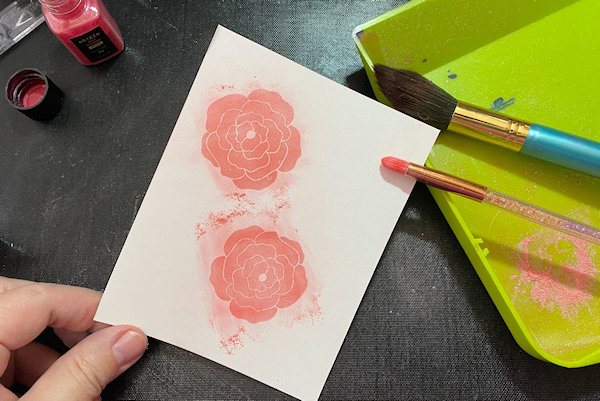
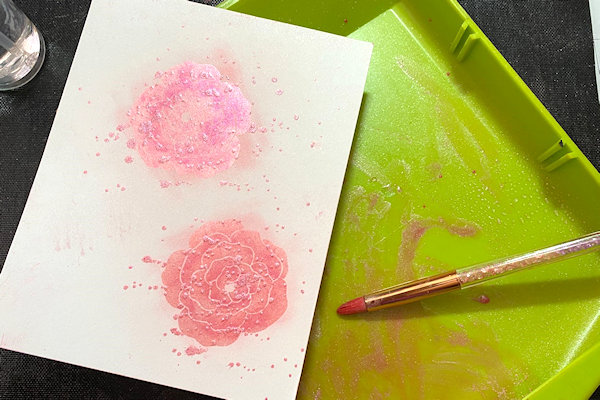
Step 5
Use a shadow brush to apply mica from the tray onto the stamped image.
-
Step 6
Dip brush into darker mica and tap in to create darker shading for depth.
-
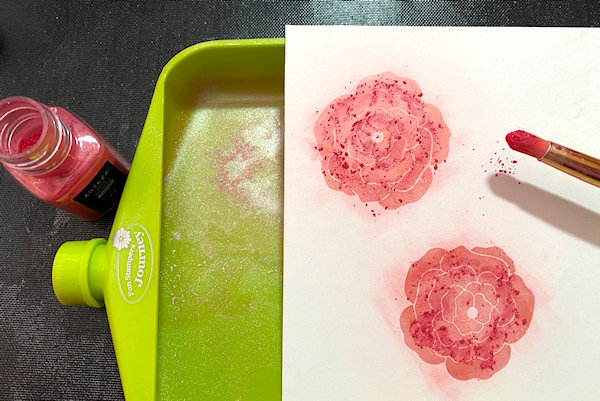
Step 7
Return excess mica powder to its bottle, leaving a small amount behind in the tray. Add a little bit of water and mix using a shadow brush.
-
Step 8
Use shadow brush to flick mica mixture onto stenciled card panel.
-
Add some splatters to the stamped images as well.
-
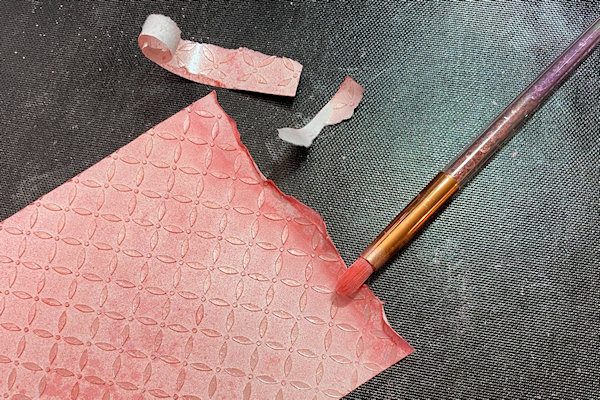
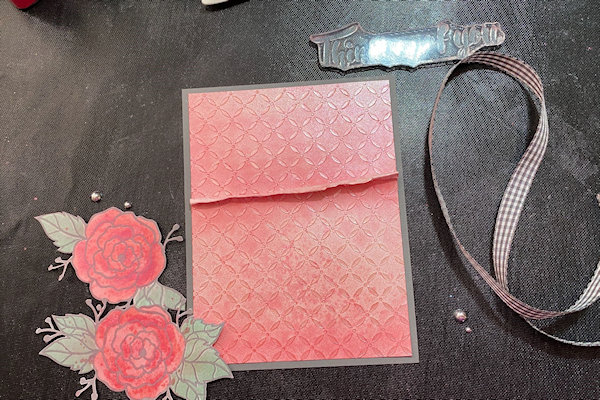
Step 9
Tear along one of the short ends of the stenciled panel. (For the sample, the card panel was trimmed down to about 3 1/4” X 4”.) Curve the torn edge over to give it an aged look. Brush mica mixture along the top and bottom edges of both panels.
-
Step 10
Assemble and embellish the project as desired. For the sample, the smaller card panel was adhered to the top of the card base, leaving a border along the top and sides. The torn panel was attached with the same border, overlapping the top panel.
-
Step 11
Complete the project.

Video!
Your Turn
You've seen the tutorial, now you try it! We've got a section of the gallery set aside for Mica Powder Techniques. Try this technique, then upload your artwork to the gallery. Show us your creations!
***Please note - Internet Explorer/Edge is not a supported browser, and will not allow you to see the videos. Please use Chrome, Firefox or Safari to view our tutorial videos.

Questions and Comments
We'd love to get your feedback or questions. Leave your comment below.
Page 1 of 1 pages