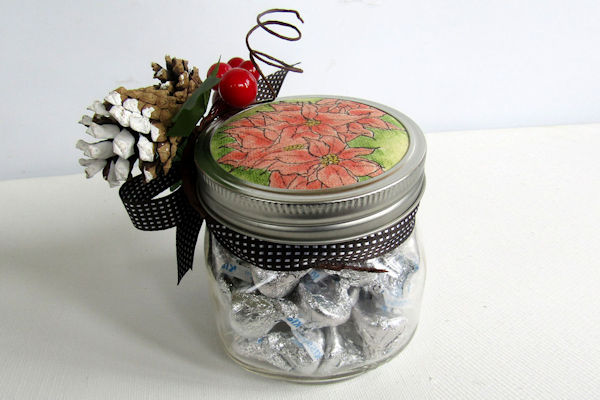
Mason Jar Topper
by Dina Kowal
Make a custom canvas topper for a canning jar.
Supplies
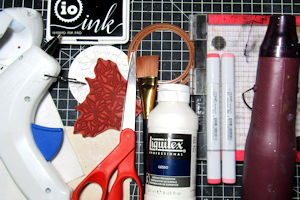
- Canvas fabric
- Gesso (clear or white – Liquitex brand used here)
- Wide paintbrush
- Heat tool, craft iron
- Craft sheet
- Circle dies
- Cardstock for template
- Scissors
- Stamp positioner (MISTI used here)
- Stamps (Impression Obsession H13603 Poinsettia Corner used here)
- Ink that can be heat set on fabric (pigment, hybrid, Versafine, or craft ink – Impression Obsession hybrid ink used here)
- Coloring medium compatible with your ink (possibilities – Copic markers, Inktense pencils, acrylic paint, colored pencils with odorless mineral spirits, Distress/watercolor markers)
- Felt
- Two-piece canning jar lid, regular or wide-mouth size
- Glue gun
- Other supplies as needed to complete the project
Step-by-Step
-
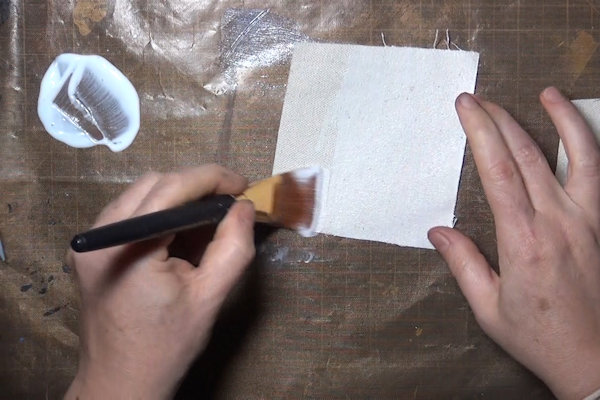
Step 1
Cut canvas into a 4” square. Brush the canvas with at least 2 coats of clear or white gesso, allowing the gesso to dry slightly in between coats. Dry the canvas completely before proceeding.
NOTE:
Work on a craft sheet, as some gesso may seep through the canvas. -
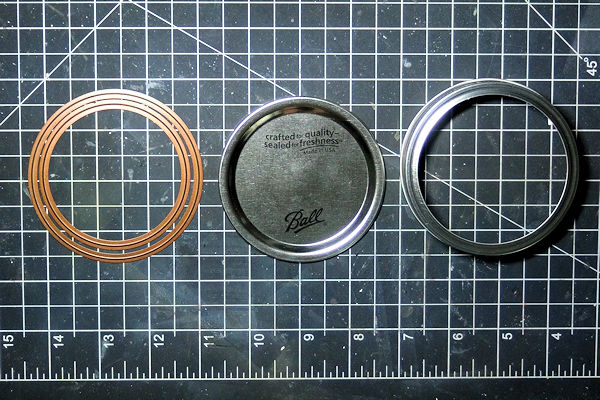
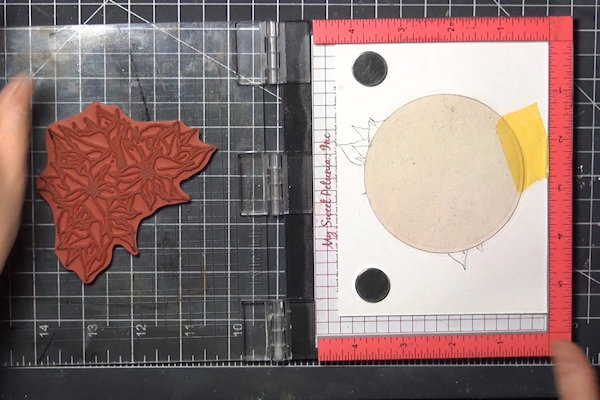
Step 2
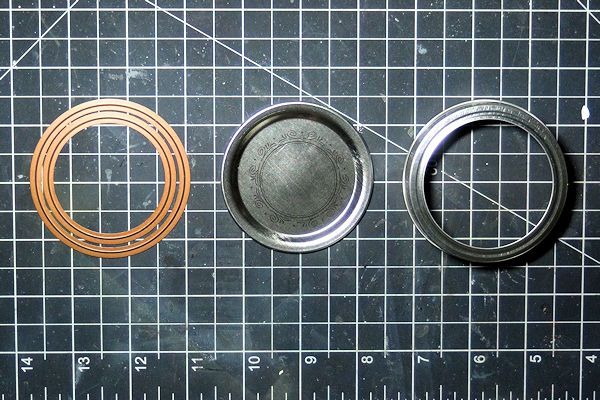
Choose 2 nesting circle dies to fit your jar lid. One should be just smaller than the width of the ring, and one should be just smaller than the opening.
For a wide mouth lid, the dies should be about 3 1/4" and 2 3/4". -
For a regular size lid, the dies should be about 2 1/2" and 2 1/8".
-
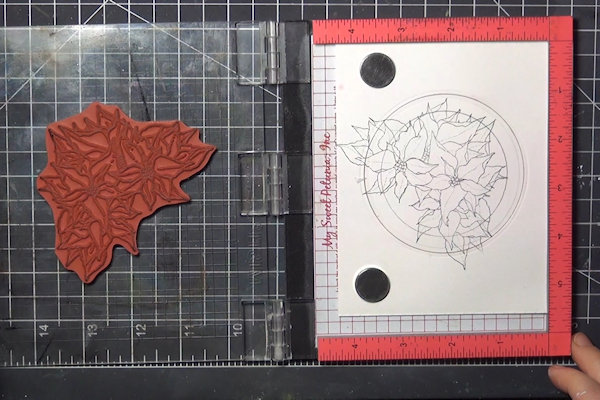
Step 3
Use the larger die to cut a template from cardstock. Trace inside the smaller die, centered on the cutout.
-
Use the template to help with stamp placement in your stamp positioner.
-
Step 4
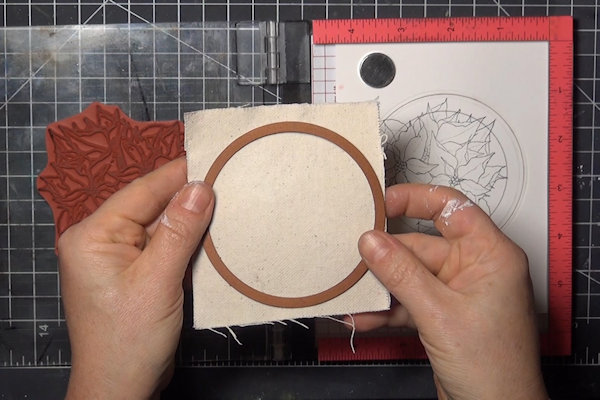
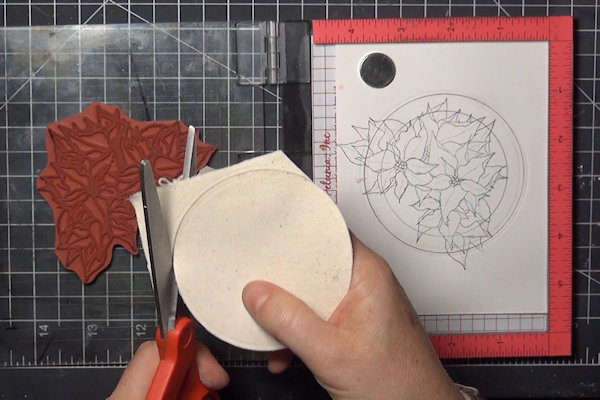
Cut the gessoed canvas with the larger circle die once it has dried completely.
-
If the die does not cut through the fabric, cut along the impression with scissors.
-
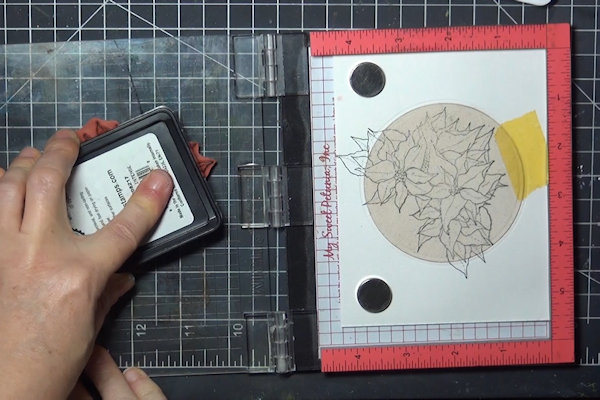
Step 5
Replace the circle template with the canvas cutout. Tape in place if needed.
-
Stamp with an ink that will be permanent when heat set.
-
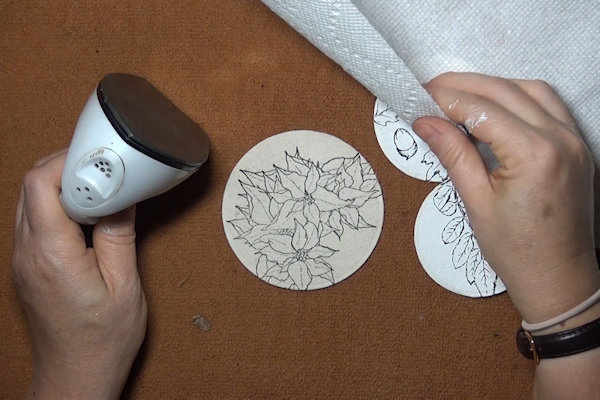
Step 6
Heat set the stamped canvas cutouts using a hot, dry iron.
-
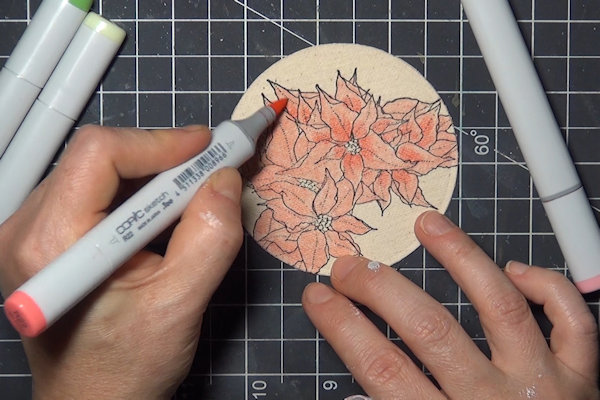
Step 7
Color the canvas cutout, using a compatible coloring medium. (Several other options are shown in the video.)
Allow to dry, or heat set if needed. -
Step 8
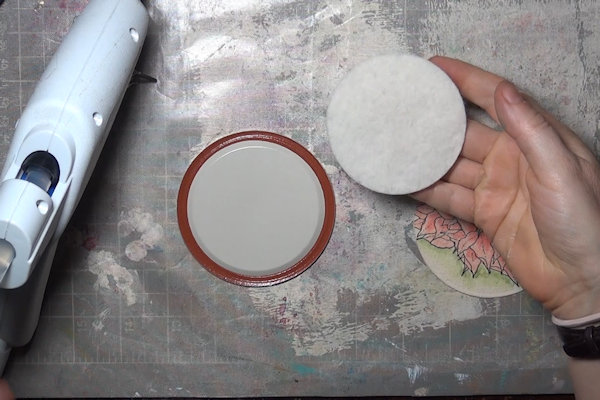
Cut a felt circle with the smaller die.
-
Use hot glue to adhere the felt to the inside of the canning jar lid.
-
Step 9
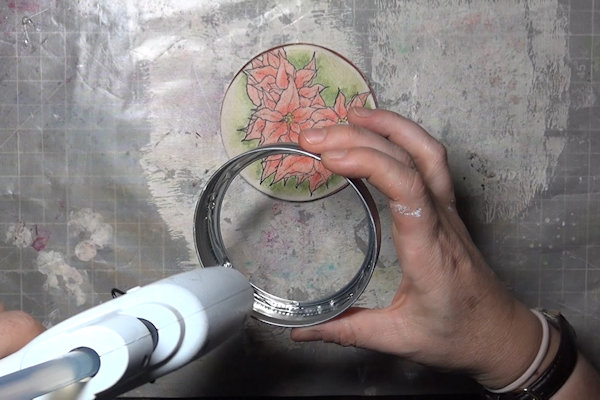
Use hot glue to adhere the canvas over the felt, centering it over the lid.
-
Add a few spots of glue around the edge of the lid to hold the edges of the canvas down.
-
Step 10
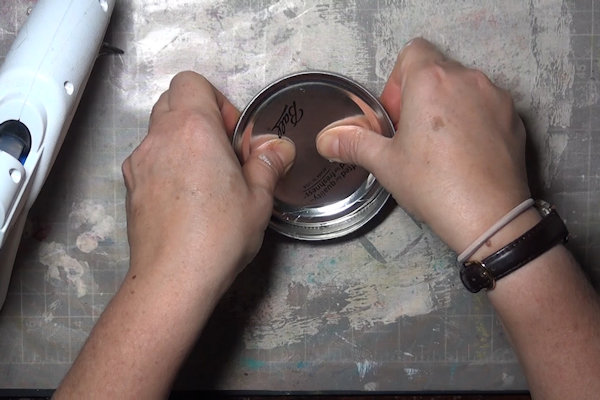
Line the ring of the lid with hot glue.
-
Press the canvas-topped lid into the ring.
-
Step 11
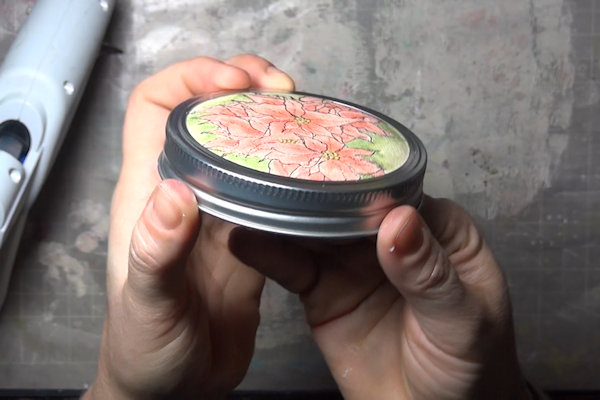
The finished topper will be slightly raised.
The topper can be used alone as a jar lid or placed over a sealed lid. -
Step 12
Complete the project, embellishing the jar as desired.


Video!
Your Turn
You've seen the tutorial, now you try it! We've got a section of the gallery set aside for Mason Jar Topper. Try this technique, then upload your artwork to the gallery. Show us your creations!
***Please note - Internet Explorer/Edge is not a supported browser, and will not allow you to see the videos. Please use Chrome, Firefox or Safari to view our tutorial videos.

Questions and Comments
We'd love to get your feedback or questions. Leave your comment below.
Page 1 of 1 pages