Marquee Board Card
by Becky Roberts
Use a card front as a mini marquee board.

Supplies
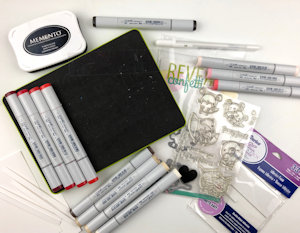
- Stamps (Reverse Confetti Huggable Stamp Set and Dies used here)
- Alphabet dies (Journey Serif Dies by Spellbinders/FSJ used here)
- Ink pads (Memento Tuxedo Black used here)
- Cardstock (white, black and red used here)
- Acetate
- Adhesive (Tombow Multi-Purpose Liquid Glue, Foam Squares, Foam Adhesive Strips, Mini Glue Dots used here)
Step-by-Step
-
Step 1
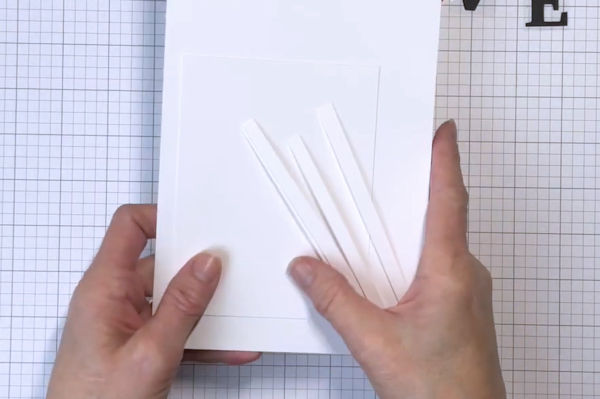
Cut cardstock to 5-1/2” x 8-1/2” for the card base. Score at 4-1/4” and fold in half.
Cut a quarter sheet of white and trim to 4” x 5-1/4”.
Cut 4 strips of 1/4” x 4-1/4 or 5”.
TIP: cut the strips to hang over a little to make measuring easier. -
Step 2
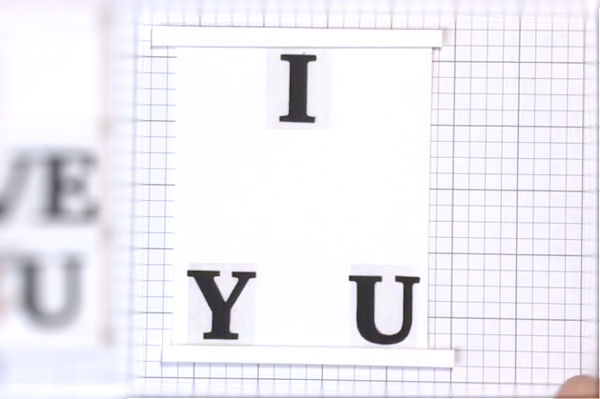
Die cut the alphabet in black cardstock.
Cut window sheet pieces to 1-1/4” x 1” (you may need to adjust this measurement, depending on the size of your dies).
Adhere the letters to the front of the window sheets and set aside to dry. -
Step 3
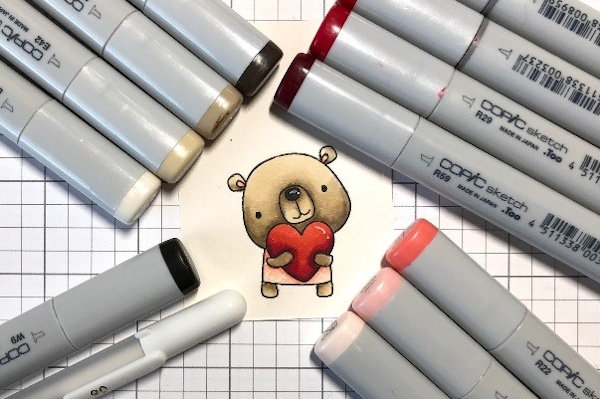
Stamp an accompanying image and color as desired.
-
Step 4
Add foam tape to the back of the four 1/4”pieces of white cardstock. Adhere one strip flush to the top and one flush to the bottom of the card.
-
Using mini glue dots, adhere the ‘I’ on the top and the ‘Y’ and ‘U’ to the bottom.
-
Step 5
Add the next 1/4” strip above and below those letters, spacing as evenly as possible, approximately 1-3/4” apart. Adhere the ‘L’, ‘V’ and ‘E’ to the center section and add in any stamped or die cut images you may have prepared.
Turn the card over and trim any strips that might be hanging over. -
Step 6
Mount the marquee panel to a card base to complete the project.


Video!
Your Turn
You've seen the tutorial, now you try it! We've got a section of the gallery set aside for Marquee Board Card. Try this technique, then upload your artwork to the gallery. Show us your creations!
***Please note - Internet Explorer/Edge is not a supported browser, and will not allow you to see the videos. Please use Chrome, Firefox or Safari to view our tutorial videos.

Questions and Comments
We'd love to get your feedback or questions. Leave your comment below.
Page 1 of 1 pages