Marbled Smooch™
by Lydia Fiedler
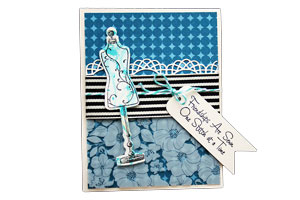
Create a marbled background with Smooch and water.
Supplies
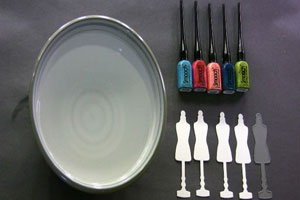
- Colored Smooch™ Pearlized Accent Ink
- Bowl of water
- Watercolor paper
Step-by-Step
-
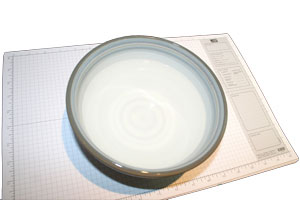
Step 1
Fill a bowl or container with tap water.
-
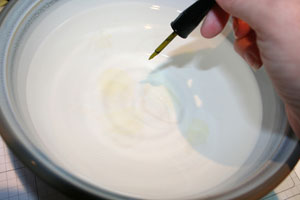
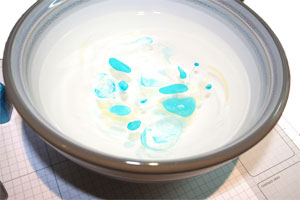
Step 2
With a light color of Smooch Pearlized Accent Ink, touch the applicator to the water's surface to create circles of pigment.
-
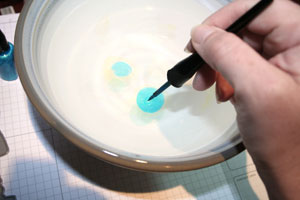
Step 3
With a bolder color of smooch, touch applicator to the water's surface, both inside and outside the circles of lighter pigment. The longer you hold the brush in the water, the larger your circle will be.
-
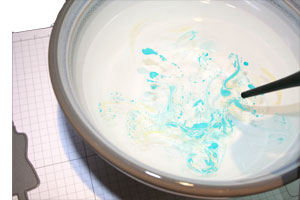
Step 4
Fill up an area larger than the shape you intend to marbleize with Smooch in a pattern you like.
-
Step 5
Close the Smooch and use the lid of the container to swirl the pigments into a marbled pattern.
-
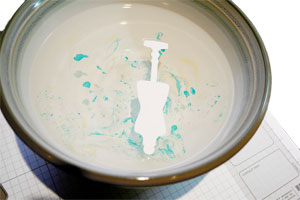
Step 6
Place a piece of die cut watercolor paper face down onto the surface of the water.
-
Step 7
Immediately remove paper and set on mat to dry - do not blot.
-
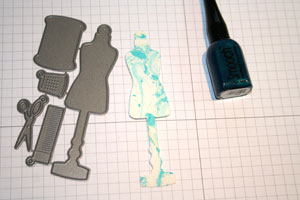
Step 8
Use marbled paper on finished project
Video!
Your Turn
You've seen the tutorial, now you try it! We've got a section of the gallery set aside for Marbled Smooch™. Try this technique, then upload your artwork to the gallery. Show us your creations!
***Please note - Internet Explorer/Edge is not a supported browser, and will not allow you to see the videos. Please use Chrome, Firefox or Safari to view our tutorial videos.

 *
*
Questions and Comments
We'd love to get your feedback or questions. Leave your comment below.
can't wait to try this one.
keep feeding us ideas please!!!
You can a Faux Marbled look with different mediums as well. Try alcohol inks or even adding shaved pastels into your water. Use a tooth pick to swirl.
This reminds me of a technique I have not used in years. With that technique I used shaving cream. This is a softer look and does not leave the smell. Will give it a try soon.
Craft smiles
Die-namics Sew Nifty and Stamp set
We do have a tutorial for the shaving cream technique as well. But it's always nice to show different variations and slightly different techniques with different products.
Page 1 of 3 pages 1 2 3 >