Luminaria
by Beate Johns
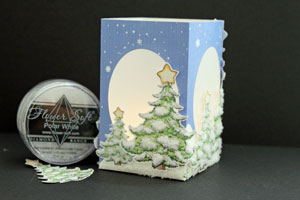
Create a luminaria out of one piece of cardstock.
Supplies
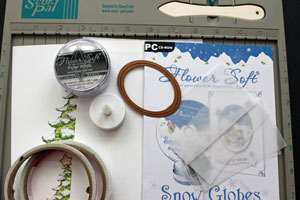
- 5 1/2" x 10 3/8" piece of cardstock, here it was printed with Snow Globes and Other Fun Projects Booklet and CD from Flower Soft
- Die cut or printed images, Images printed from Snow Globes and Other Fun Projects
- Four pieces of 2 3/8" x 3 7/8" pieces of Vellum
- Shape Cutting Tool, Spellbinders Nestabilities™ Ovals used here
- Scor-Pal™ or other scoring tool
- Flower Soft™ Glue, optional
- Flower Soft™ Polar White , optional
Step-by-Step
-
Step 1
Place your 5 1/2" x 10 3/8" piece of cardstock on your Scor-Pal.
Score at 2 1/2", 5", 7 1/2" and 10".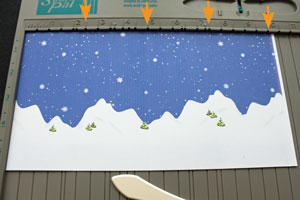
-
Step 2
Turn your cardstock and score at 1 1/2".
-
Step 3
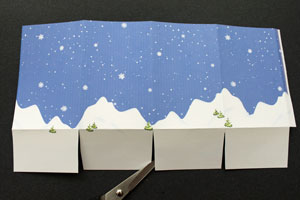
Prefold all your score lines.
-
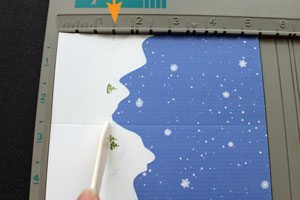
Step 4
Cut your score lines as shown.
-
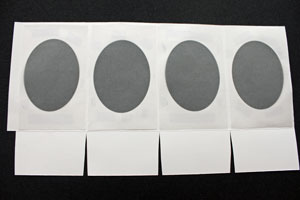
Step 5
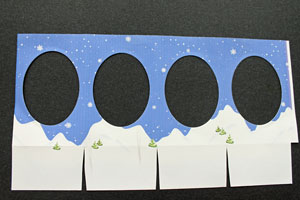
Use the shape cutting tool to cut a window in each panel.
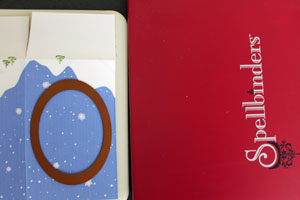
-
Cut a window in each panel.
-
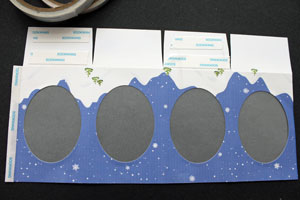
Step 6
Turn your cardstock around and tape one of your vellum pieces behind the window.
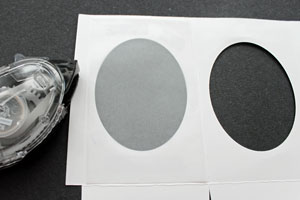
-
Repeat on each panel.
-
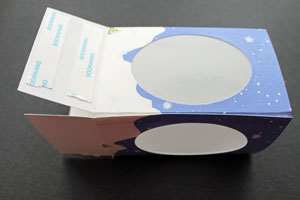
Step 7
Add Scor-Tape to the glue tab on the side and two of the bottom panels.
-
Take off tape liner from the glue tab and adhere panels together to form the walls of the luminaria.
-
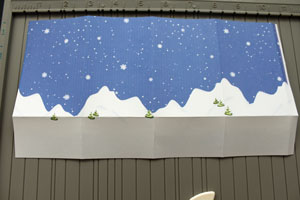
Step 8
Place another strip of Scor-Tape on the inside of one of the bottom panels.
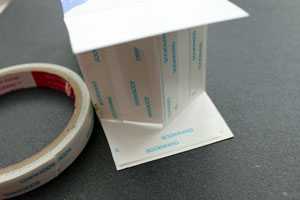
-
Peel backing off all the tape and place the panels with Scor-Tape facing out on the bottom, then fold over the panel with no tape.
Last, tape down the panel with one strip of adhesive.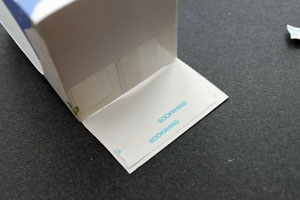
-
Step 9
Trim all printed images.
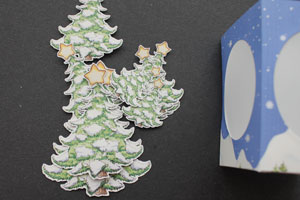
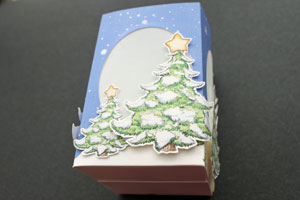
-
Adhere images all around the luminaria with Scor-Tape and dimensionals.
-
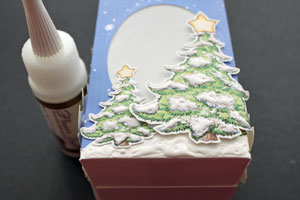
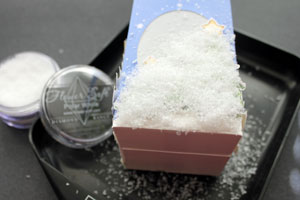
Step 10
Apply Flower Soft Glue over the spots you would like to add Flower Soft Polar White.
-
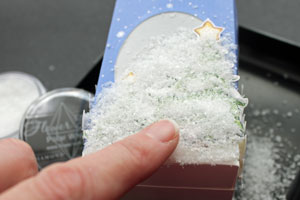
Step 11
Sprinkle Flower Soft Polar White all over the glue.
-
Press Flower Soft down.
-
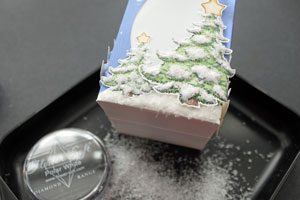
Step 12
Tap off excess Flower Soft.
-
Step 13
Place a flameless tealight into the luminaria.
Video!
Variations
-
Softer Glow
For an even softer glow, brayer or sponge your vellum with a light color before placing it behind your window.
Stamp it
Instead of placing cut out images in front of your window, try stamping images directly on the vellum.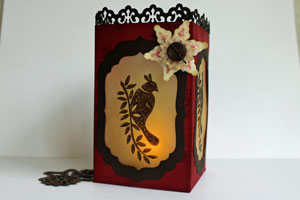
Your Turn
You've seen the tutorial, now you try it! We've got a section of the gallery set aside for Luminaria. Try this technique, then upload your artwork to the gallery. Show us your creations!
***Please note - Internet Explorer/Edge is not a supported browser, and will not allow you to see the videos. Please use Chrome, Firefox or Safari to view our tutorial videos.
 *
*
Questions and Comments
We'd love to get your feedback or questions. Leave your comment below.
Check our Product Focus Page on these new Holiday Flower Soft Products.
On the product focus page, you will find links on the right hand side to stores that carry Flower Soft.
Hugs and smiles
Check the first picture in step five and you will see the cardstock lined up on the cutting mat of the wizard.
You could also use a different tool like the coluzzle.
Hugs and smiles
Totally awesome. I love the luminaria idea, & my brain is spinning with ideas. I do have a question, though.
I love the tree you used, but I haven't seen any die cuts that look anything like your tree. I did see some die cuts from either boss kut or Quik Kuts that came close, but I don't have either of those two systems, & my finances are very limited. The die-cutting machine I've been using is a Cuttlebug, which has worked great for Cuttlebug & Spellbinders, but I'm wondering which tree die you used, & if the tree die you used would work in the Cuttlebug. If so, how do I get it to work?
Page 1 of 2 pages 1 2 >