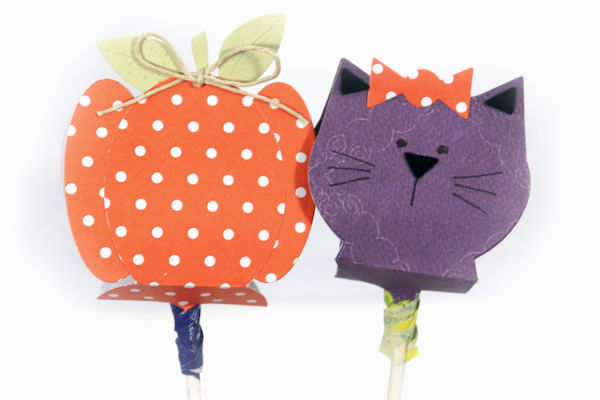
Lollipop Cover
by Dina Kowal
Use a die to create a cute cover for a lollipop.
Supplies
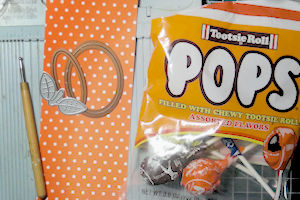
- Patterned paper
- Scoring tool
- Oval dies (Spellbinders dies used here, about 1 3/4” x 2 1/2” and 1” x 2”)
- Leaf die (pumpkin stem from A Jillian Vance Design’s Jack O. Lantern set used here)
- Die cutting machine
- Craft knife or scissors
- 1/4” circle hole punch or die
- Tootsie Pop or other similar lollipop
- Adhesive
- Clothespins or reverse tweezers
- Other supplies as needed to complete the project
Step-by-Step
-
Step 1
Cut patterned paper to 7 1/2" x 3”.
Score at 3”, 3 3/4” and 4 1/2".
NOTE:
These measurements may need to be adjusted if your die is larger - allow for the width of the die and for the length, double the height of the die and add 1 1/2" for the center section. -
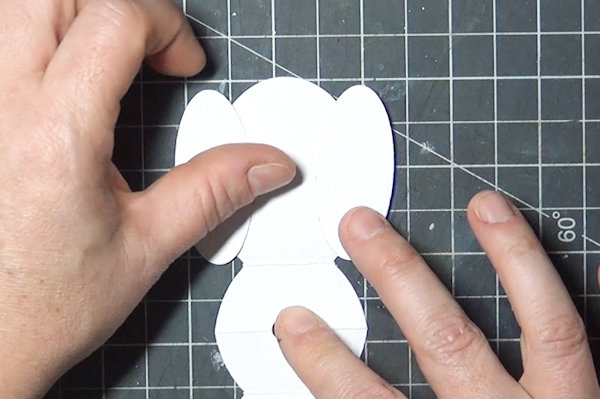
Step 2
Accordion fold on the score lines so the folds are in a ‘W’ shape. Burnish to flatten fold lines.
-
Step 3
To make a pumpkin, position an oval die on the folded paper so that one edge extends past the fold lines. Secure the die and die cut according to your machine’s instructions.
NOTE:
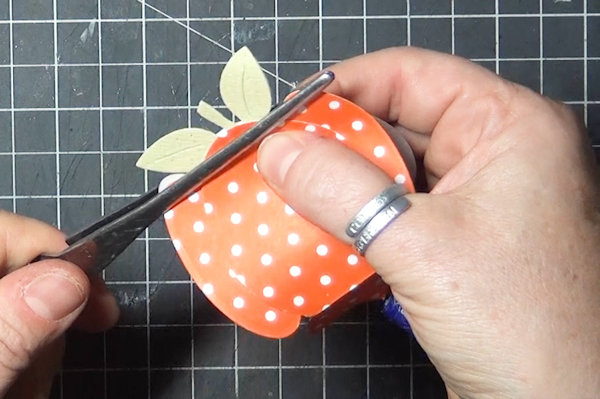
Other dies can be used – to accommodate a Tootsie pop, make sure the height is at least 2 1/2”. -
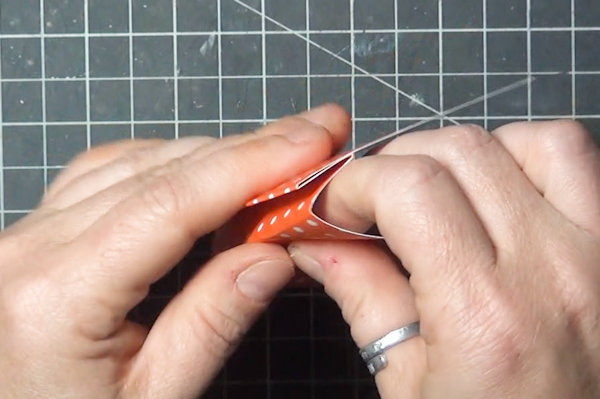
The die may not cut through all 4 layers at the fold. If needed, use scissors or a craft knife to complete the cut on the bottom layer(s).
-
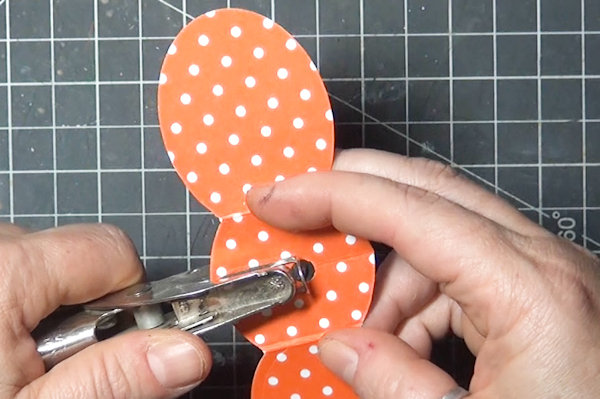
Step 4
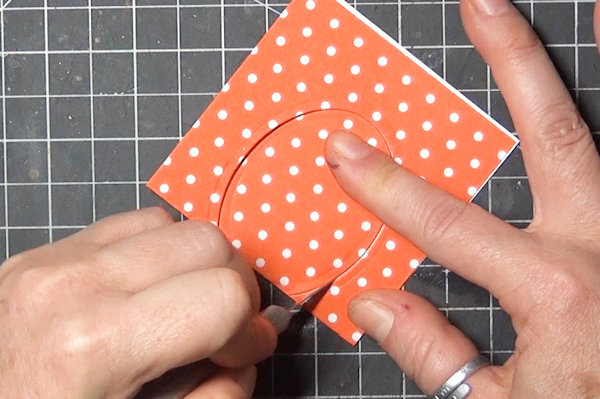
Use a 1/4" circle hole punch to punch in the center of the die cut piece. (For the sample 2 holes were punched, going in from both sides.
NOTE:
At this point you could also cut down the center section with straight sides, but this is optional. -
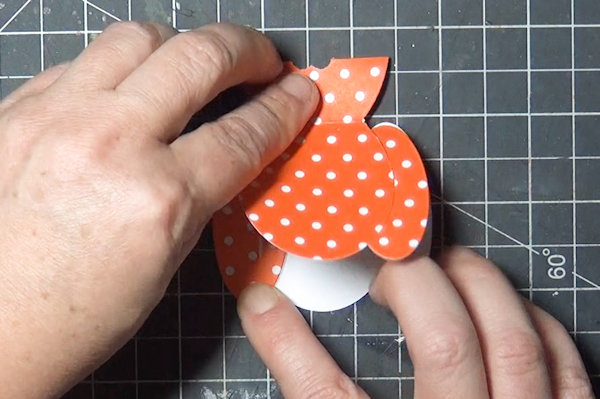
Step 5
Layer smaller oval die cuts from the inside of the die cut piece, adding width and dimension to the pumpkin.
-
Line up identical die cuts on the opposite side, using the first ones as a guide for placement.
-
Step 6
Insert a Tootsie Pop into the punched holes.
-
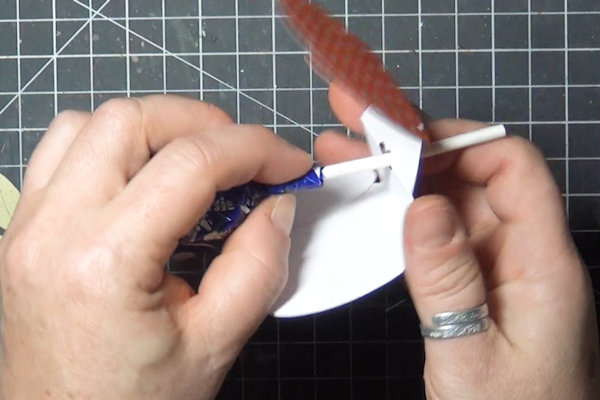
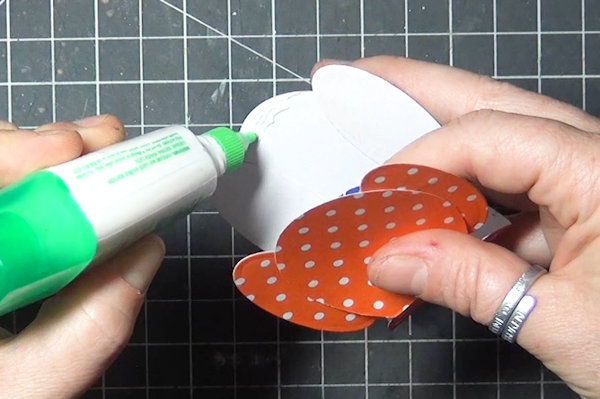
Step 7
Use liquid glue to adhere a leaf die cut to the inside of the holder.
-
Adhere the two sides of the holder together at the top, aligning the edges.
TIP:
Secure the pieces together with a clip or reverse tweezers until the glue has set. -
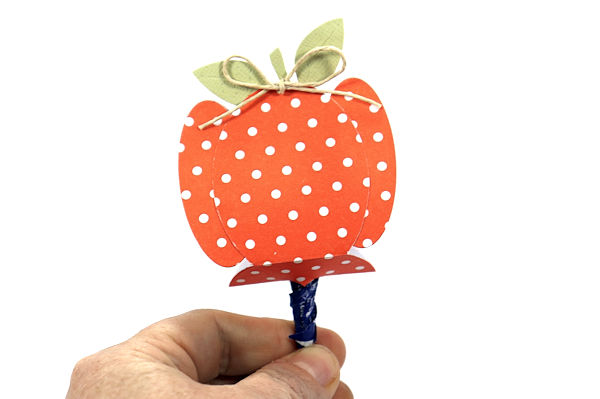
Step 8
Complete the project.


Video!
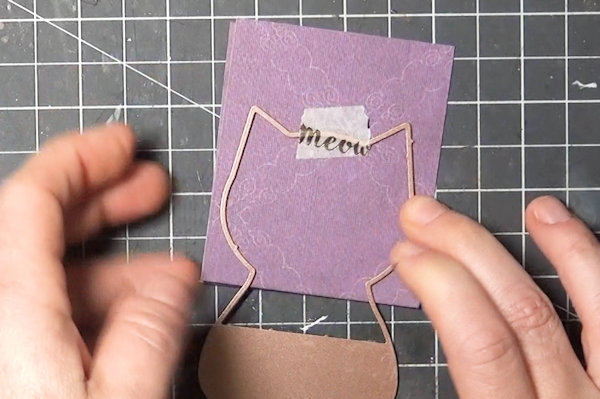
Variations
-
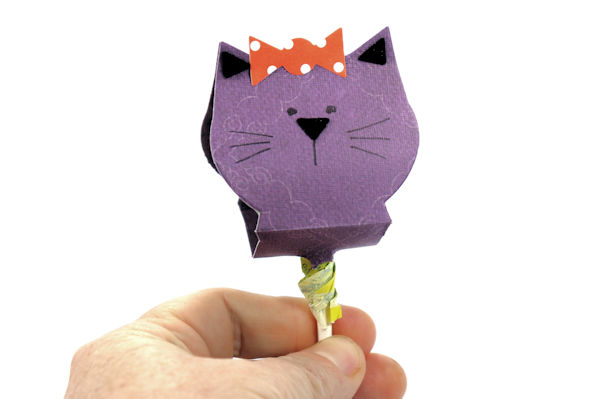
Try the project with other shaped dies!
-
Used here:
Art Impressions 4805 – Cat & Owl Placecard Set
Your Turn
You've seen the tutorial, now you try it! We've got a section of the gallery set aside for Lollipop Cover. Try this technique, then upload your artwork to the gallery. Show us your creations!
***Please note - Internet Explorer/Edge is not a supported browser, and will not allow you to see the videos. Please use Chrome, Firefox or Safari to view our tutorial videos.

Questions and Comments
We'd love to get your feedback or questions. Leave your comment below.
Page 1 of 1 pages