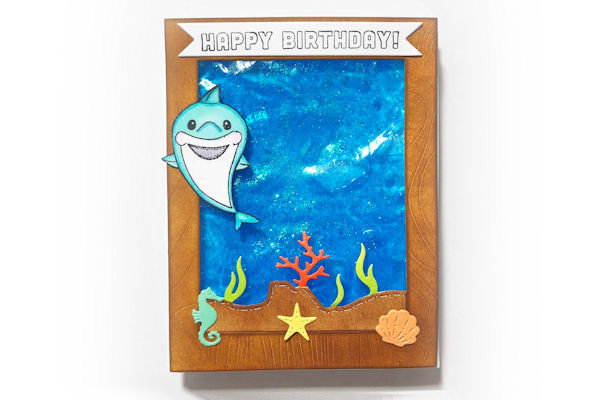
Liquid Shaker Card
by Lindsay Adreon
Capture the sparkle of the ocean in this updated gel card tutorial.
Supplies
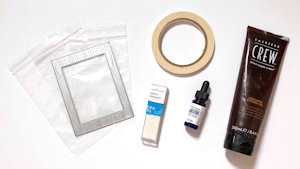
- Zip closure baggie
- Hair gel (clear works best)
- Tape adhesive
- Liquid colorant (optional - Dr. Ph. Martins Liquid Watercolor used here)
- Glitter (optional)
- Cardstock
- Frame for shaker (Kat Scrappiness Wood Grain Frame Die used here)
- Other supplies as needed to complete the card (used here: Joy Clair Stamps Baby Shark Stamp Set, Craftin Desert Divas Ocean Border Dies, Die Cutting Machine, Distress Ink Minis, Mini Ink Blending Tool, Flag Banner Dies, Memento Tuxedo Black Ink, Dick Blick Studio Brush Markers)
Step-by-Step
-
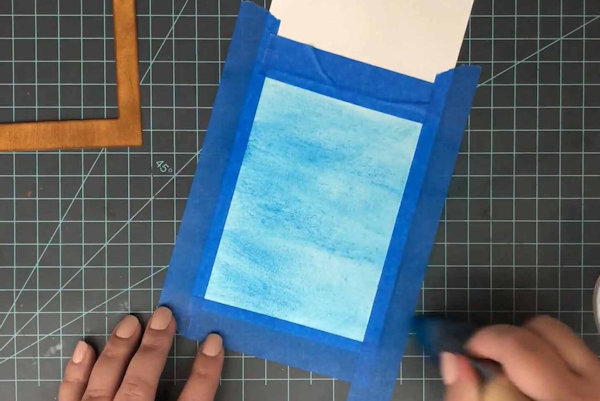
Step 1 (Optional)
Apply color to the panel that will be layered behind the shaker. Liquid watercolor was applied to a watercolor paper panel here.
-
Step 2
Fill a plastic baggie with hair gel. Be sure to have enough gel to spread and fill the opening of the shaker frame.
-
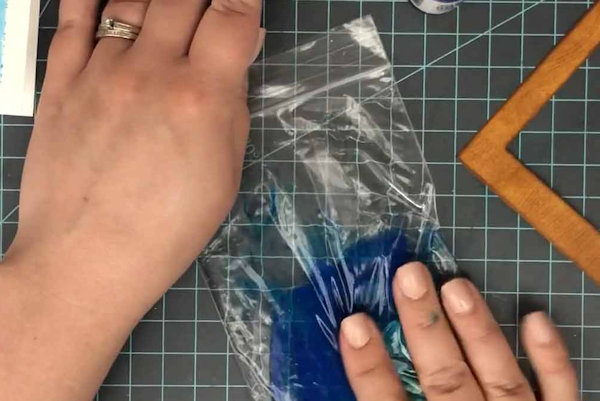
Step 3
Add liquid colorant to hair gel and mix in the baggie (liquid watercolors were used here - reinkers or watercolor powders would also work).
-
Step 4
Mix in any solid additives to hair gel. Glitter was added here - sequins or mica flakes might be other choices.
-
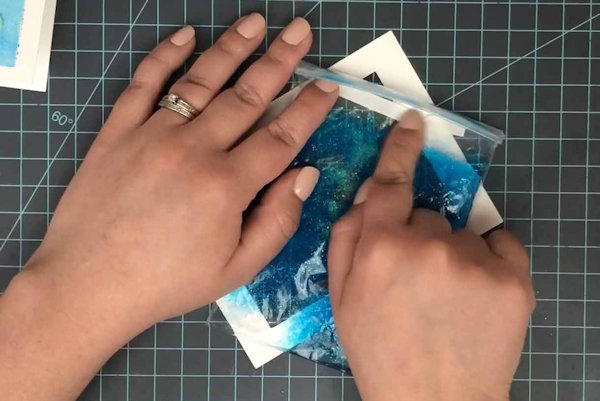
Step 5
After sealing bag securely, fold down the top (and sides if needed) to fit behind the shaker frame. Use tape adhesive to secure.
-
Step 6
Tape the shaker baggie closed to ensure no leakage occurs.
-
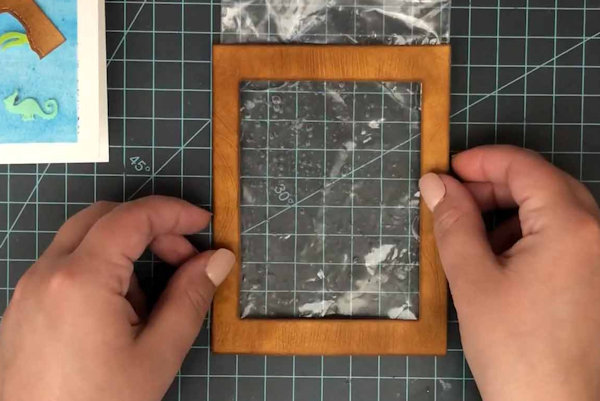
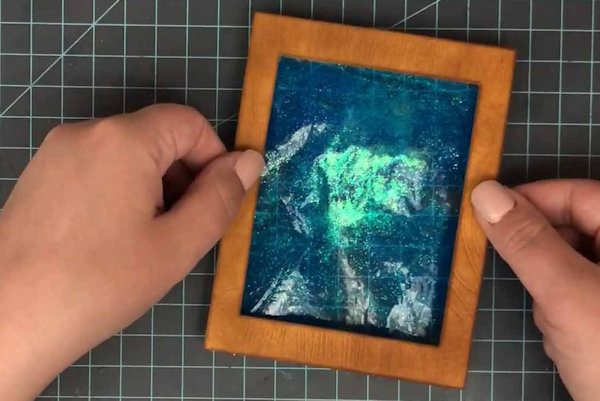
Step 7
Using tape adhesive, adhere frame to shaker bag.
-
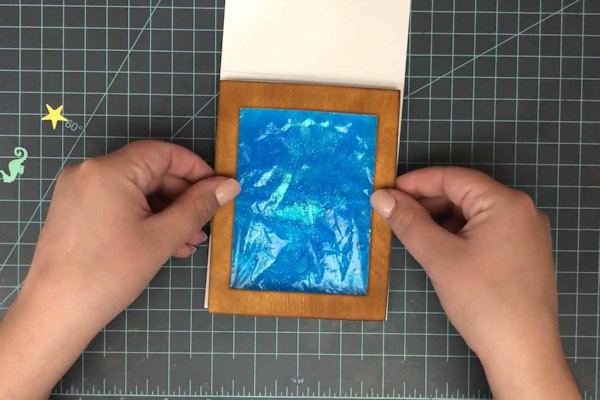
Step 8
Using foam tape adhere the frame and shaker bag to the colored panel.
-
-
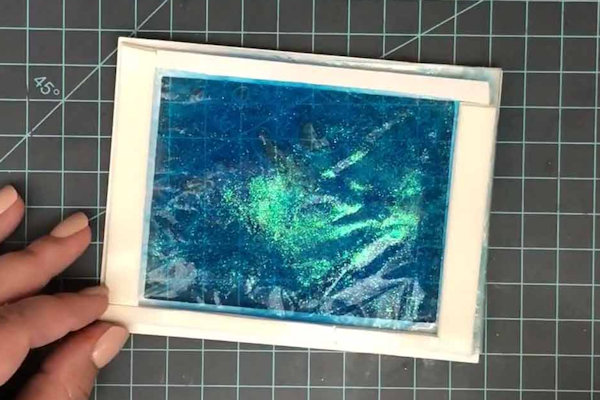
Step 9
Complete the card.


Video!
Your Turn
You've seen the tutorial, now you try it! We've got a section of the gallery set aside for Liquid Shaker Card. Try this technique, then upload your artwork to the gallery. Show us your creations!
***Please note - Internet Explorer/Edge is not a supported browser, and will not allow you to see the videos. Please use Chrome, Firefox or Safari to view our tutorial videos.

Questions and Comments
We'd love to get your feedback or questions. Leave your comment below.
My days of hair gel are over, but I can certainly go get some. I wont have to be worried about how it actually holds my hair! Another case of using something for craft reasons!
Page 1 of 1 pages