Layered Stencil Gel Print
by Dina Kowal
Use acrylic paints to print the layers of a stencil set.

Supplies
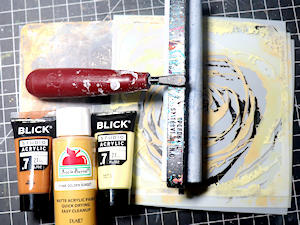
- Gel plate (6” square plate used here)
- Brayer (Speedball 6” brayer used here)
- Acrylic paints (Apple Barrel and Blick brands used here - you'll need a color for each layer of your stencil set)
- Layered stencil set (Impression Obsession STEN016 Layered Rose set used here)
- Cardstock or other surface for gel printing (Accent Opaque cover stock used here)
- Other supplies as needed to complete the project (used here: cardstock for layering, CC458 Cover-a-Card Friendship Script)
Step-by-Step
-
Step 1
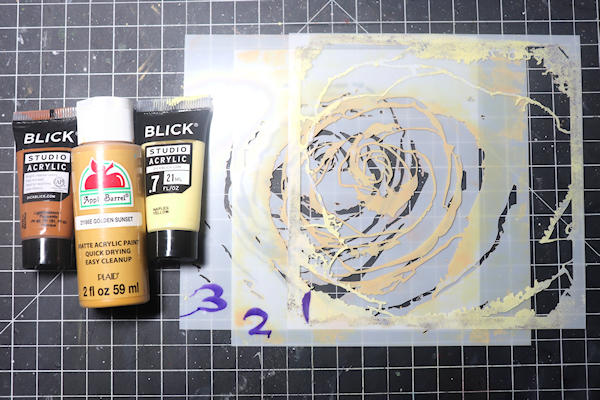
Collect 3 shades of acrylic paint – light, medium and dark.
Prepare your stencil set by numbering the layers in the same corner. This ensures they’ll be printed in the right order and orientation. -
Step 2
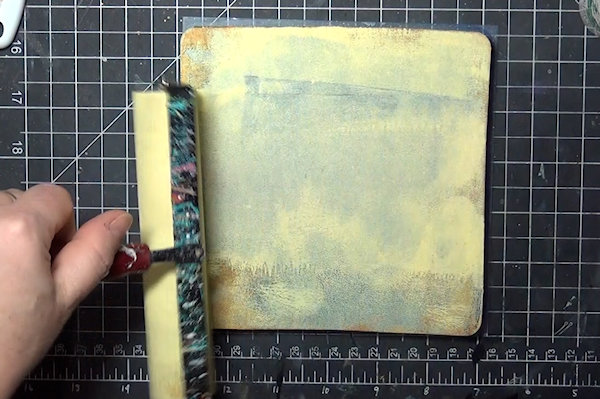
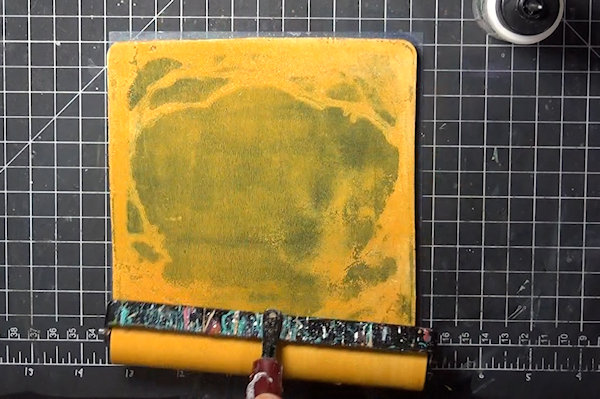
Begin by brayering an even layer of the lightest color on the gel plate.
-
Position the first stencil (most open design) on the plate.
-
Step 3
Align your paper with a corner of the stencil. The top right corner was used here, but any corner is fine as long as you’re consistent on all layers. Press over the area of the stencil evenly.
-
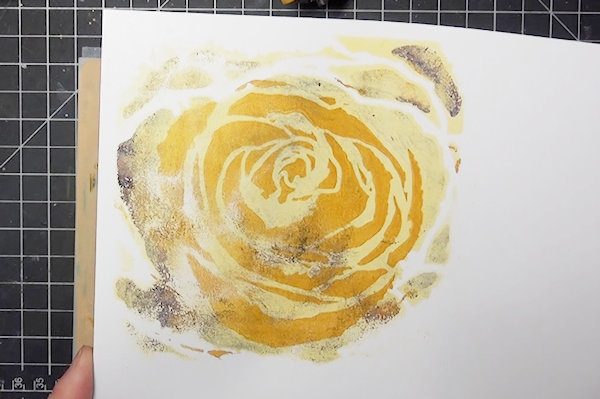
Pull the paper away from the gel plate to reveal the print.
NOTE:
In this print, there is some residue from previous paint applications. If you don’t prefer this distressed look, begin with a clean plate and clean between layers. -
Step 4
Apply the medium color of paint to the gel plate.
-
Position the 2nd stencil.
NOTE:
If you wish to pull a layered ghost print after all your layers have been printed, take care to place this stencil and the others in the same position as the previous one. Allow the excess paint to dry before printing the next layer. -
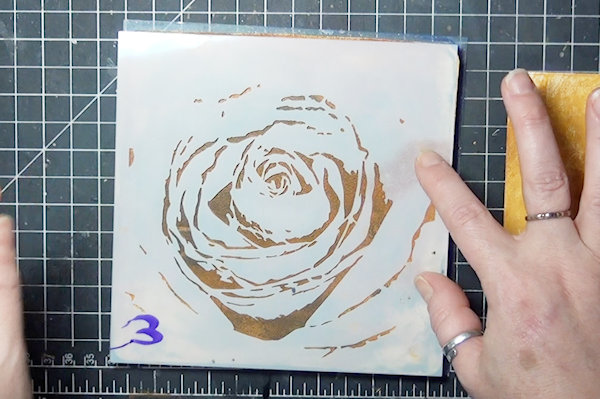
Step 5
Align the paper to the same corner as before.
-
Press over the area of the stencil evenly and pull the paper away from the gel plate to reveal the second layer of the print.
-
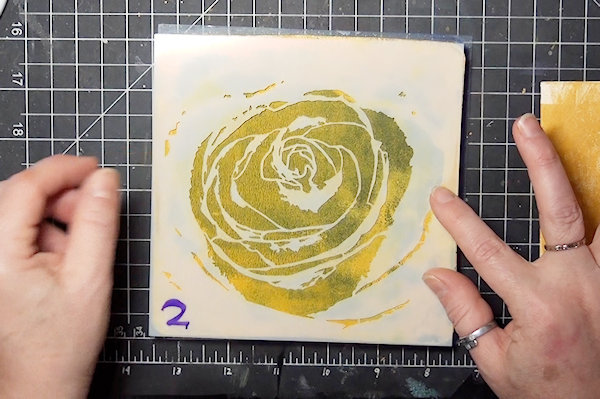
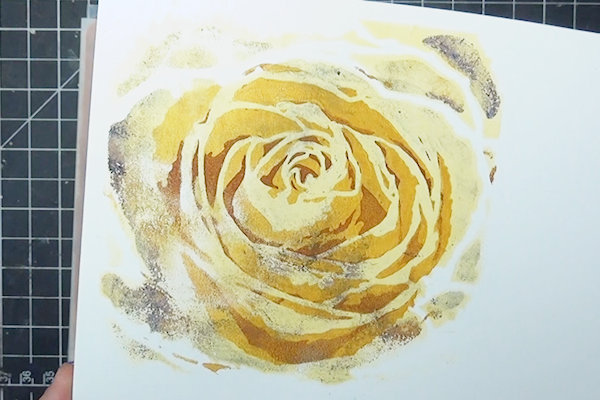
Step 6
Repeat these steps for the remaining layers. The set used for the sample has 3 layers. The darkest color was used for the most detailed layer here.
-
-
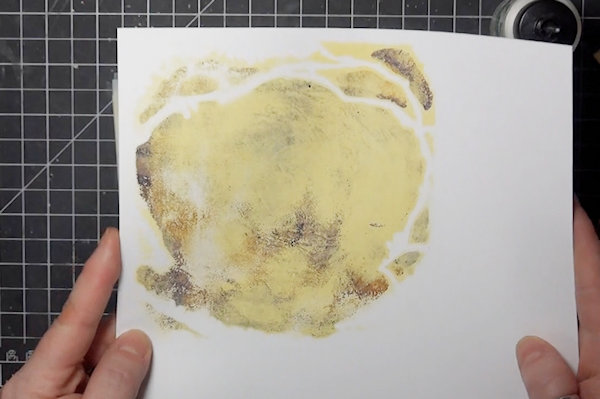
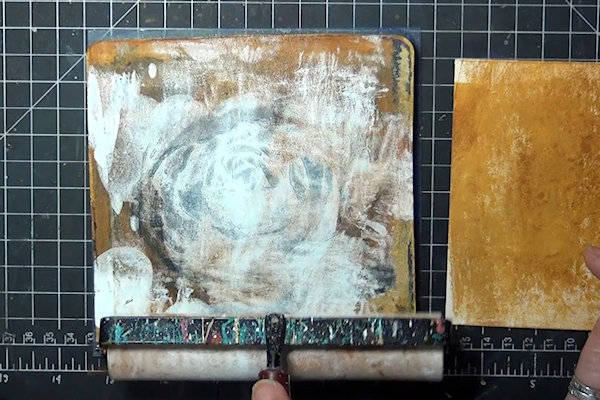
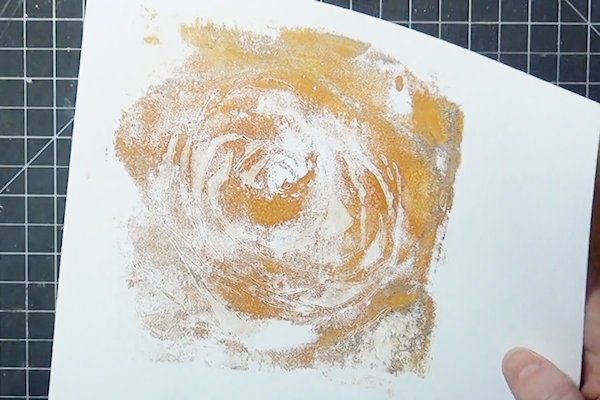
Step 7
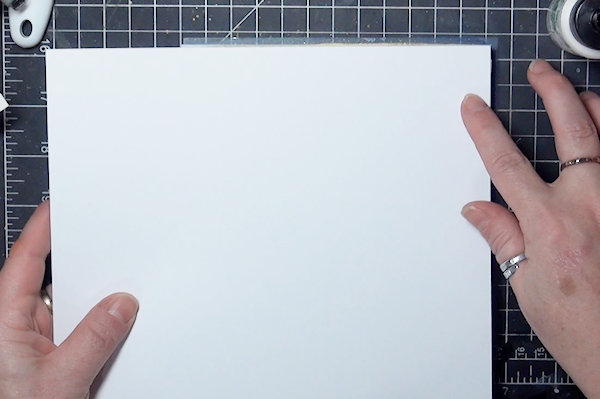
If you wish to take a ghost print of the paint left on the plate, make sure all layers are dry. Choose a light paint color (white used here) to cover the plate.
-
Use a clean sheet of paper to pull the print. Even if the layers weren’t aligned perfectly, this is still an interesting print.
-
Step 8
Use your layered print to complete a card or other project.

Video!
Your Turn
You've seen the tutorial, now you try it! We've got a section of the gallery set aside for Layered Stencil Gel Print. Try this technique, then upload your artwork to the gallery. Show us your creations!
***Please note - Internet Explorer/Edge is not a supported browser, and will not allow you to see the videos. Please use Chrome, Firefox or Safari to view our tutorial videos.

Questions and Comments
We'd love to get your feedback or questions. Leave your comment below.
Page 1 of 1 pages