Latch Card
by Dina Kowal
Hold your card closed with a latch on a flexible side panel.
Supplies
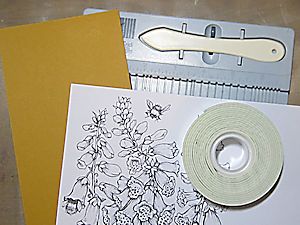
- Cardstock
- Scoring tool
- Foam tape or Dimensionals
- Stamps or die cuts to embellish the card as needed (Power Poppy Bees in Foxglove digital stamp set and Quickutz circle dies used here)
Step-by-Step
-
Step 1
Trim cardstock to 7 1/2" x 5 1/2".
-
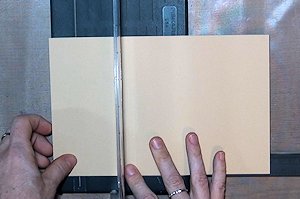
Step 2
Score at 3 1/4" along the long side. Fold 3 1/4" section over to create card front.
-
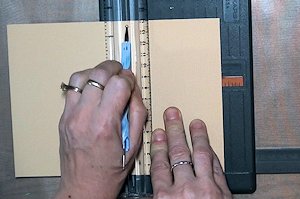
Step 3
Line up the edge of the card front to the left of a groove on the scoring tool, and score a line on the exposed area of the card back, just outside the edge. Move the card to the left slightly and score another line to the right of the first. Continue, scoring 3-5 lines next to each other. Do not fold on these lines – they are meant to allow the latch to flex.

-
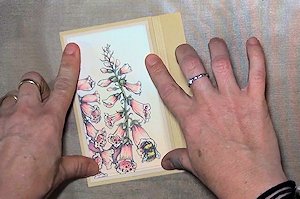
Step 4
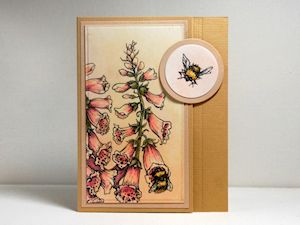
Decorate the card front. Sample panels are cut to 3" x 5 1/4" (layer) and 2 3/4" x 5" (focal panel).
-
The card can be decorated inside as well. Take care to leave the score lines exposed. The panel dimensions are the same.

-
Step 5
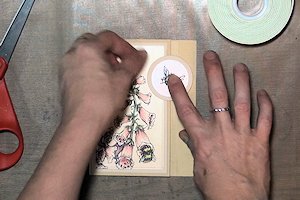
Stamp or die cut a small accent piece that will become the card latch. It can be a shape or embellishment or a stamped sentiment.

-
Attach the latch, applying foam tape to the right side of the shape so that it will only be adhered to the outside of the score lines.
-
Step 7
Complete the project.
-
The finished card will fit in a standard A2 envelope.

Video!
Variations
-
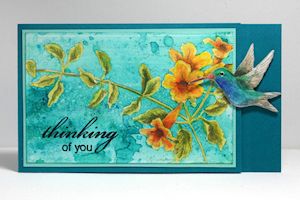
To make a latch card of any size, create a base as usual at your desired measurements. Fold at the center, and cut 1” from the front edge. Proceed as instructed above. (Stamps and dies in sample are from Stampendous.)
Your Turn
You've seen the tutorial, now you try it! We've got a section of the gallery set aside for Latch Card. Try this technique, then upload your artwork to the gallery. Show us your creations!
***Please note - Internet Explorer/Edge is not a supported browser, and will not allow you to see the videos. Please use Chrome, Firefox or Safari to view our tutorial videos.

 *
*
Questions and Comments
We'd love to get your feedback or questions. Leave your comment below.
Thanks a bunch,
Bahb
Page 1 of 2 pages 1 2 >