Kite Card
by Liz Walker
Fold cardstock into a kite shaped explosion card.
Supplies
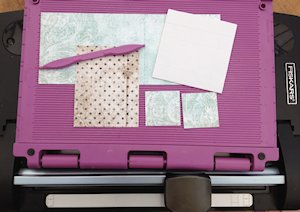
- Double sided cardstock, cut to 10" x 4"
- Coordinating paper, 2 pieces cut to 1 15/16" square & 1 cut to 3 1/2" x 4"
- Scoring board and tool
- Paper trimmer
- 3D foam pads
- Pencil
- Glue
- Other supplies as needed to complete the project (Heartfelt Creations Botanical Rose Flowers, Leafy Branch stamp/die/sentiment, Decorative Frame die, Antique Linen, Peeled Paint and Broken Glass Distress Inks, ribbon used here)
Step-by-Step
-
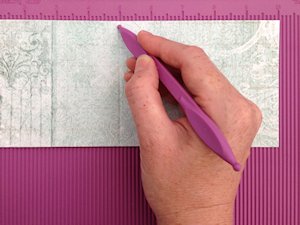
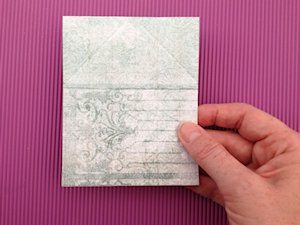
Step 1
Score the 10" x 4" piece of cardstock at 5" along the long side.
-
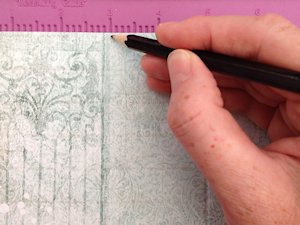
Step 2
Mark using a pencil at 3" and 7" on both sides of the paper.
-
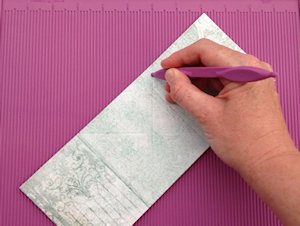
Score across from the 3" mark to the 7" mark on the opposite side of the paper for both sides, creating a cross in the center of the paper.
-
Step 3
Fold along the score line in the center of the paper so it folds in half.
-
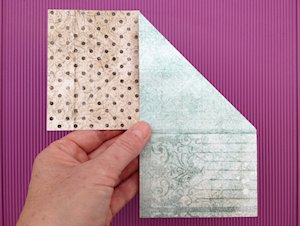
Step 4
Fold along the cross lines and crease.
-
Fold the card so that the top of the card is the top of the kite, turning outer triangles in to the center.
-
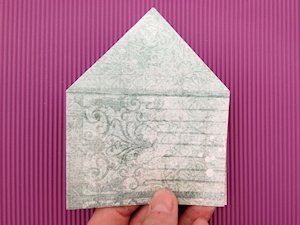
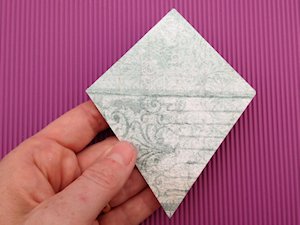
Step 5
With a pencil, mark 2" along the bottom. Using a paper trimmer, cut from the mark to each of the corners to create the kite shape.
-
Step 6
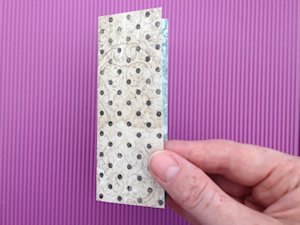
Take the 3 1/2" x 4 1/2" piece of paper and fold in half lengthwise.
-
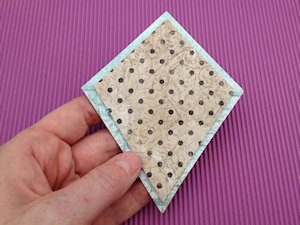
Mark with a pencil at 1 3/4" along the outer edge. Using a paper trimmer, cut from the top of the folded side to the pencil mark and again from the bottom to the pencil mark. Unfold the paper and adhere with 3D foam pads to the top of the Kite Card.
-
Step 7
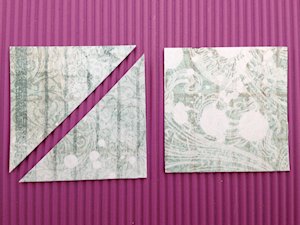
Take the two small squares and cut diagonally across to create two triangles from each piece.
-
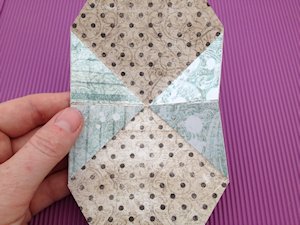
Adhere the four triangles to the inside of the card .
-
Step 8
Fold the card back up and decorate as desired to complete the project.

Video!
Your Turn
You've seen the tutorial, now you try it! We've got a section of the gallery set aside for Kite Card. Try this technique, then upload your artwork to the gallery. Show us your creations!
***Please note - Internet Explorer/Edge is not a supported browser, and will not allow you to see the videos. Please use Chrome, Firefox or Safari to view our tutorial videos.

Questions and Comments
We'd love to get your feedback or questions. Leave your comment below.
Page 1 of 1 pages