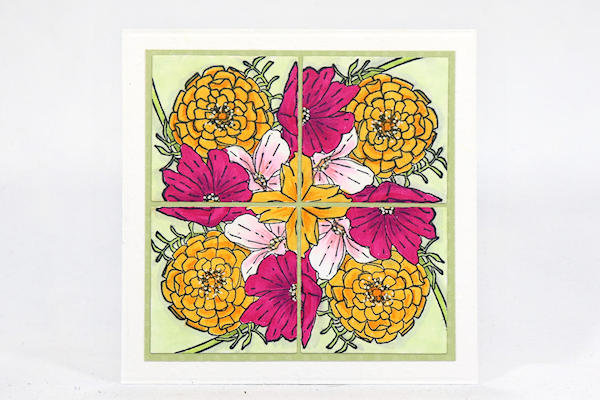
Kaleidoscope Squares
by Dina Kowal
Stamp multiple die cuts and rotate them for a cool card focus.
Supplies
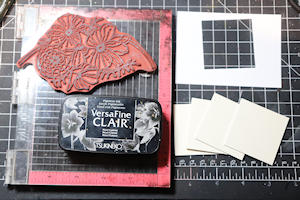
- Square die (2" Spellbinders square die used here)
- Cardstock
- Stamp positioner (MISTI used here)
- Stamp (Impression Obsession L13617 Cosmo Corner used here)
- Ink (Versafine Clair used here)
- Compatible coloring medium (Copic markers and Pablo colored pencils used here)
- Adhesive
- Sticky note
- Other supplies as needed to complete the project (used here: A Colorful Life Designs Delicate Flowers stencil)
Step-by-Step
-
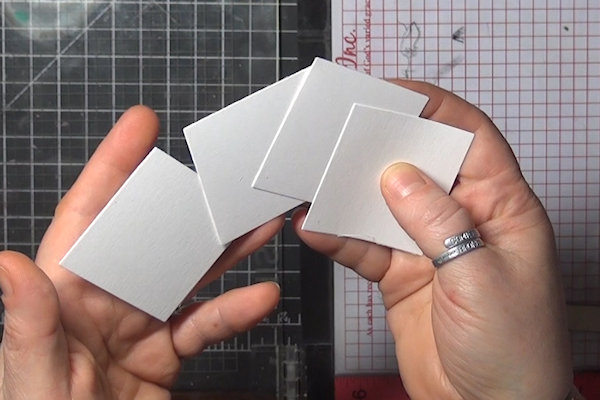
Step 1
Die cut 4 identical squares. 2” squares were used here for a 5” square card base.
-
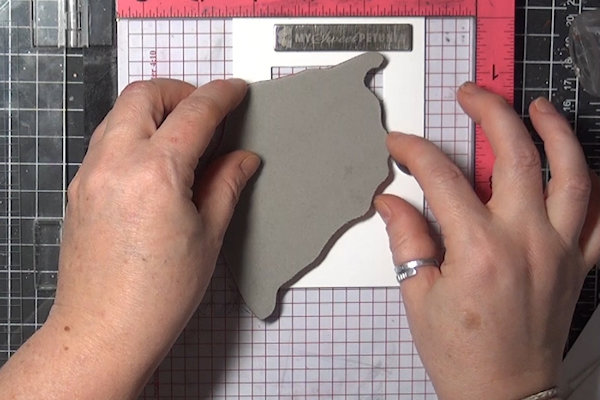
Step 2
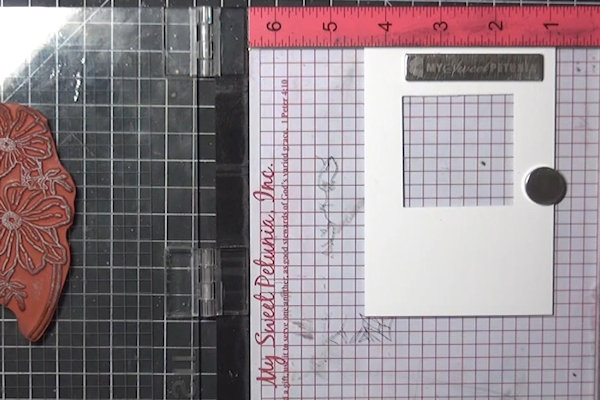
Save one of your die cut panels to use as a template.
-
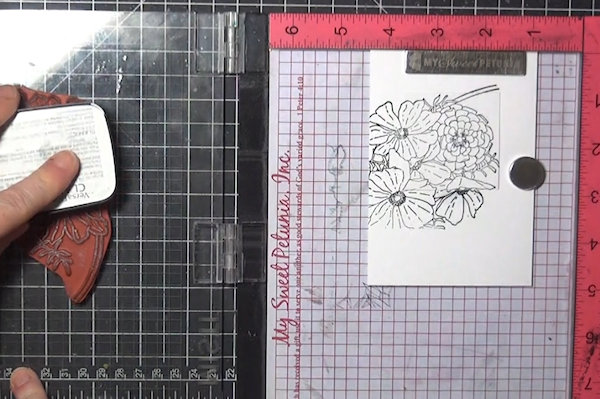
Secure the template in your stamp positioner.
-
Step 3
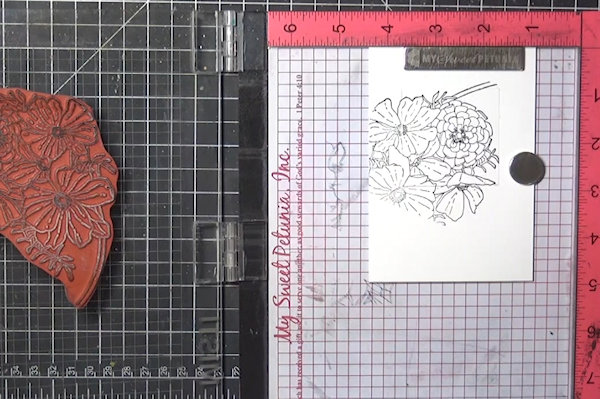
Position your stamp over the template opening. Choose an image with an interesting angle, curve or feature to repeat.
-
Close the positioner to attach the cling stamp.
-
Step 4
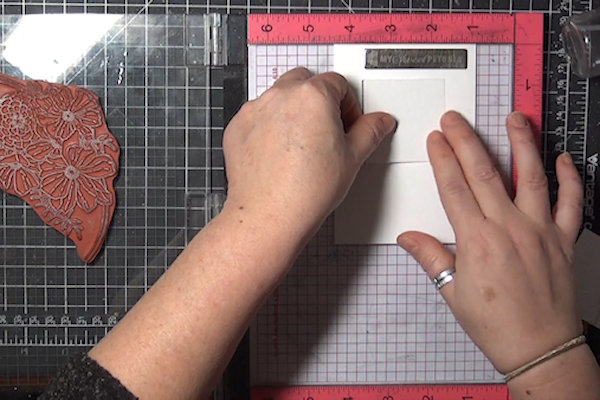
Fit a die cut square into the template opening.
-
Stamp a test image to be sure the stamp is positioned to your liking. Adjust if needed.
-
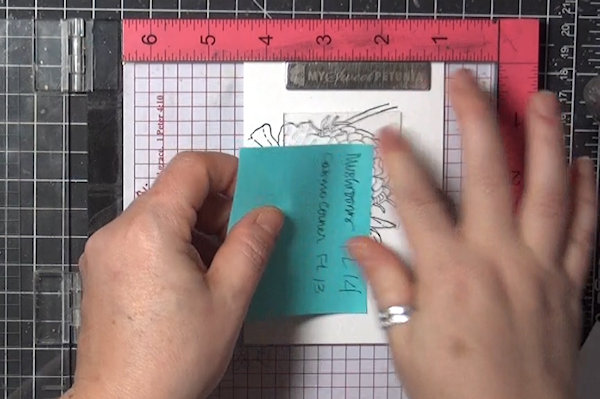
Step 5
Lift out the stamped square without moving the template. A sticky note is a great tool for this! Press and lift.
-
Step 6
Stamp the remaining squares in the same way.
-
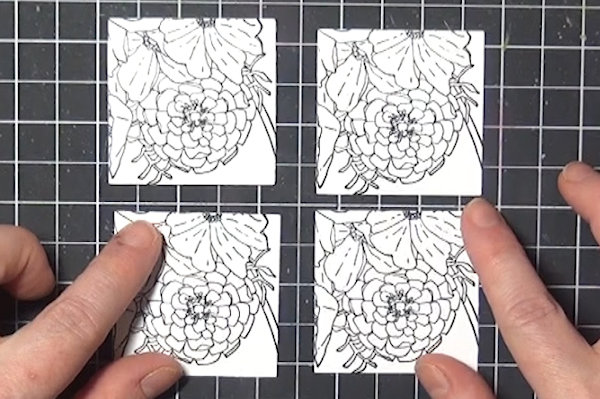
Step 7
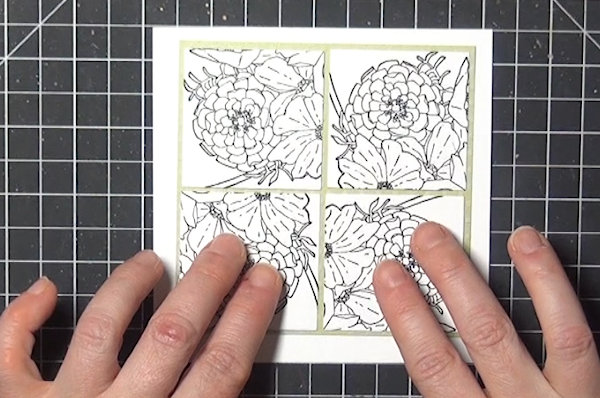
Lay out the 4 squares in the same direction…
-
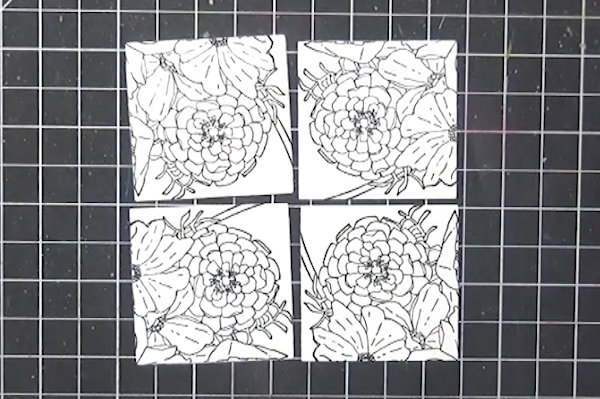
...then going around the arrangement, rotate them so each one is turned a quarter turn more than the one before.
-
Step 8
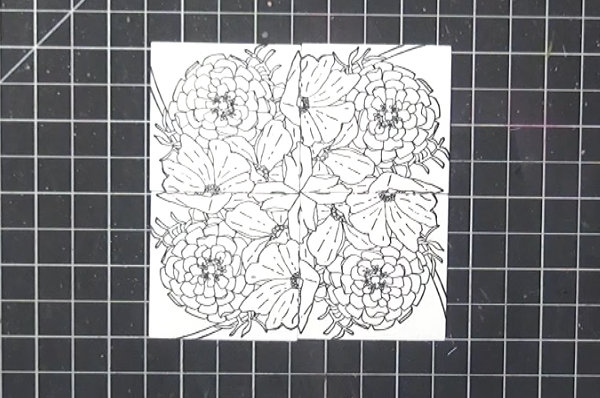
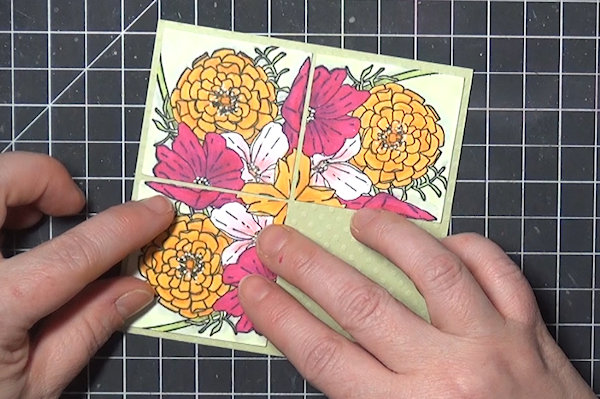
From this position, give each one a quarter turn to try out different rotations.
-
Each rotation will have a different look.
-
Step 9
Cut a layering panel and card base for the squares. For a 1/8” border around and between the squares, add 2x the width of a square plus 3/8” (these are 2” squares, so my layering panel is 4 3/8” X 4 3/8”. My card base is 5” square).
-
-
Step 10
Color the panels as desired.
-
Step 11
Assemble the layers.
-
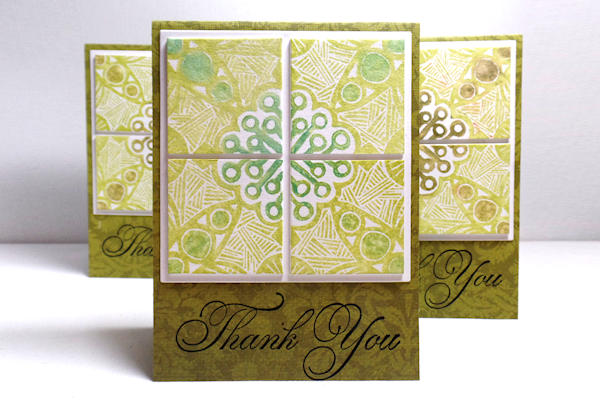
Step 12
Complete the card.


Video!
Variations
-
Size your squares for a rectangular card. These are 1 1/2" squares on a 3 1/2" x 4 3/4" base.
Your Turn
You've seen the tutorial, now you try it! We've got a section of the gallery set aside for Kaleidoscope Squares. Try this technique, then upload your artwork to the gallery. Show us your creations!
***Please note - Internet Explorer/Edge is not a supported browser, and will not allow you to see the videos. Please use Chrome, Firefox or Safari to view our tutorial videos.

 *
*
Questions and Comments
We'd love to get your feedback or questions. Leave your comment below.
Page 1 of 1 pages