Joy Fold Card
by Beate Johns
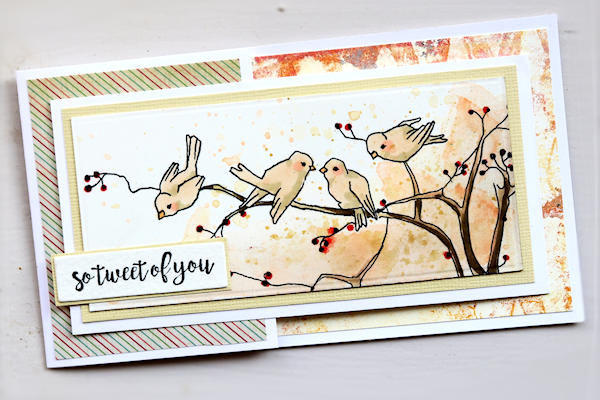
Create this unique opening card with two pieces of cardstock.
Supplies
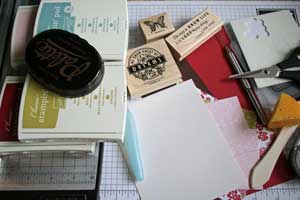
- One 4 1/4" x 8 1/2" piece of cardstock
- One 3" x 8" piece of cardstock
- Two 2 3/4" x 4" pieces of cardstock or designer paper (optional)
- One 4" x 5 1/4" piece of of cardstock or designer paper (optional)
- One 2 3/4" x 4" piece of cardstock or designer paper (optional)
- Additional cardstock
- Scoring tool
- Adhesive
- Stamps
- Ink
Step-by-Step
-
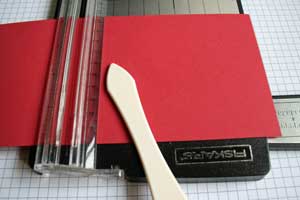
Step 1
Score your 4 1/4" x 8 1/2" piece of cardstock at 5 1/2".
-
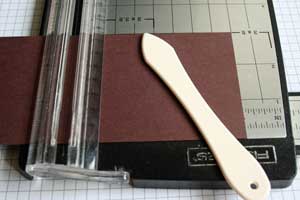
Step 2
Score your 3" x 8" piece of cardstock at 4".
-
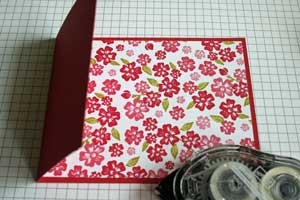
Step 3
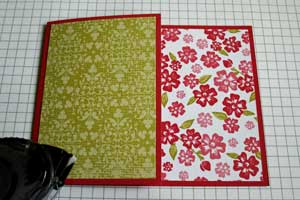
Adhere your 4" x 5 1/4" piece of designer paper on the inside of the card.
-
Step 4
Adhere your 2 3/4" x 4" piece of designer paper to the card front.
-
Step 5
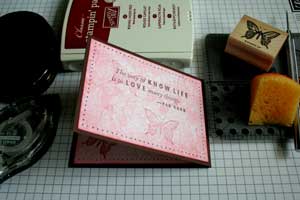
Stamp your 2 3/4" x 3 3/4" pieces of designer paper if needed and adhere them to the inside and outside of your smaller folded cardstock piece.
-
Step 6
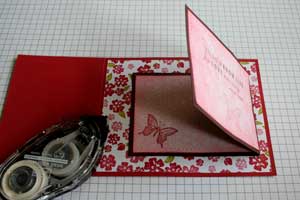
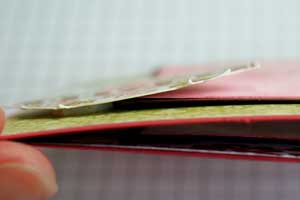
Add adhesive to the back of your smaller flap and tape it to the inside of the card. Make sure the fold of the smaller flap is pointing to the right.
-
Step 7 (Optional)
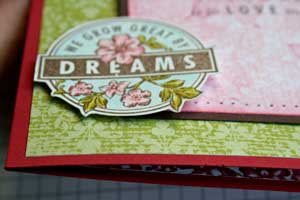
If you want to secure the flap from opening, stamp a complimentary image and adhere it with dimensionals to slightly over the edge of the smaller flap to keep it closed.
-
-
Step 8
Finish your card.
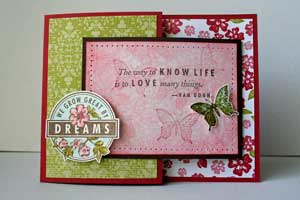
Video!
Variations
-
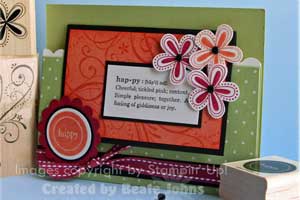
Try a flap on top instead.
Make the card base a 5 1/2" x 7 1/4" piece of cardstock scored at 4 1/4".
Create a flap from a 4 1/4" x 5 1/2" piece of cardstock scored at 2 3/4".
-
Make it a square.
Create your square card base by scoring a 4 1/4" x 6 1/4" piece of cardstock at 4 1/4". Score a 3" x 6" piece of cardstock at 3" to create your insert.
Make a mini-slimline card.
Make the card base 3 1/2" x 9" and score at 2 3/4". Cut a second piece at 2 3/4" x 11" for the insert, scoring at 5 1/2". The finished card is 3 1/2" x 6 1/4" and will fit in a #6-3/4 envelope (small business size).
Inside layering panel: 3 1/4" x 6"
Left layering panel: 2 1/2" x 3 1/4"
Insert layering panel: 2 1/2" x 5 1/4", focal panel 2 1/4" x 5"
Your Turn
You've seen the tutorial, now you try it! We've got a section of the gallery set aside for Joy Fold Card. Try this technique, then upload your artwork to the gallery. Show us your creations!
***Please note - Internet Explorer/Edge is not a supported browser, and will not allow you to see the videos. Please use Chrome, Firefox or Safari to view our tutorial videos.
Questions and Comments
We'd love to get your feedback or questions. Leave your comment below.
Blessings.
To say Thank you for this wonderful card seems not enough, so a Million Blessings from an 85 year old lady who needs all the inspiration on ideas she can get. Love, Muriel
Eveline.
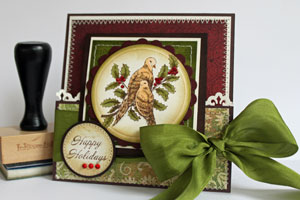
I always upload my sample in the gallery for the technique shown. You can find a link to the gallery under the tutorial. I list all the supplies I used in the description of the gallery upload. The set is from the upcoming new Stampin' Up! catalog and is called Dreams du Jour.
Page 1 of 4 pages 1 2 3 > Last »