Jacob’s Ladder
by Beate Johns
Turn chipboard coasters into a fun mini album.
Supplies
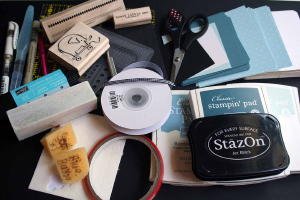
- Twelve 4" x 4" coasters medium weight
- Twelve 4" x 4" pieces of patterned paper
- Twelve 3 1/2" x 3 1/2" pieces of coordinating cardstock
- Cardstock for book cover
- Stamps
- Ink
- Three 46" strips of ribbon (organdy works well)
- Adhesive
- Sanding block
- Ruler and pen
- Sticky Strip™
Step-by-Step
-
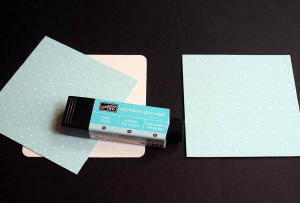
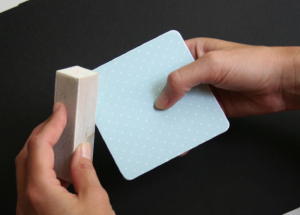
Step 1
Cover one side of a coaster with patterned paper.
-
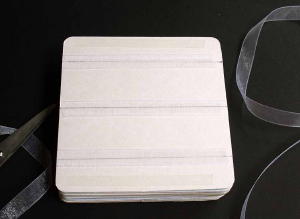
Repeat with all twelve coasters.
-
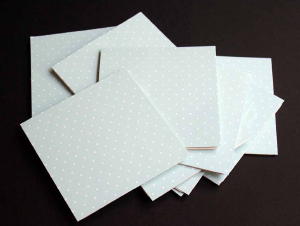
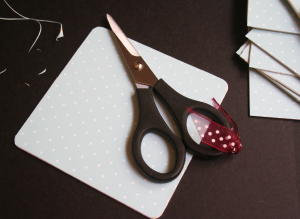
Step 2
Trim paper around the corners.
-
Step 3
Sand around the edges of the paper.
-
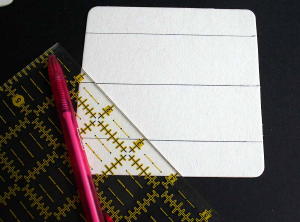
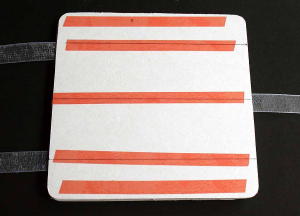
Step 4
Draw a line at ¾"', 2" and 3 ¼" on the back of six of the coasters.
-
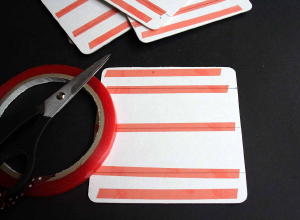
Step 5
Add Sticky Strip™ over the drawn lines as well as on the tops and bottoms of the coasters.
-
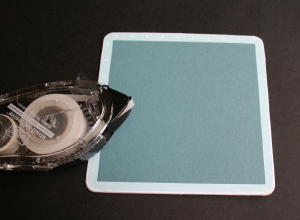
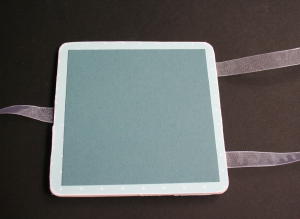
Step 6
Center cardstock squares over the covered coasters and tape down. Repeat with 11 of the coasters. Make sure the one left blank has Sticky Strip™ on the backside.
-
Step 7
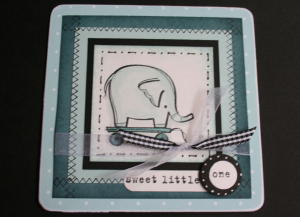
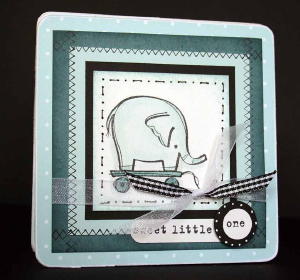
Decorate the last 3 ½" square to make the front of the Jacob's Ladder, then tape down on the last coaster.
-
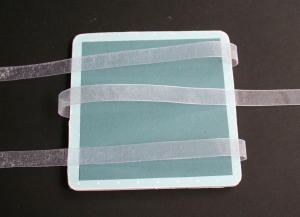
Step 8
Flip the Book front over and peel off the three Sticky Strips™ liners from the center of the coaster.
Line up the end of the ribbon pieces with the end of the coasters. The middle ribbon will run left, the top and bottom ribbons will run right.
Optional: Add additional adhesive in between the ribbons for an extra strong hold.
-
Step 9
Take one of the coasters without Sticky Strip™ and adhere covered side facing up. Press down hard on top and bottom to make it stick.
-
Step 10
Take the ribbon and run it across the coaster to the opposite side.
-
Step 11
Take a coaster with Sticky Strip™, remove the red liner and put face down on the coaster sandwich. Make sure the ribbon underneath is not twisted, or the ladder won't work later on.
-
Step 12
Pull ribbon tight and press down, running it to the opposite side of the coaster again.
Repeat this pattern.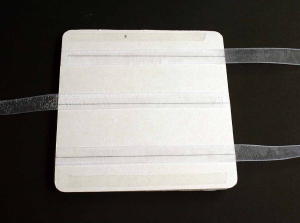
-
Step 13
On the last coaster with Sticky Strip™, cut the excess ribbon off at the end of the coaster.
-
Step 14
Tape the last coaster on top of the ribbon covered one. You are done!

-
Step 15
Finished Ladder.
Variations
Make a mini scrapbook
Add pictures after the Ladder is assembled, making sure the pictures are underneath the ribbon.
Try paint
Instead of patterned paper, try brushing acrylic paint on the edges of the coaster, and inside about 1".
Work it
Play with the finished Ladder! The more you make it work, the easier it will flip.
Your Turn
You've seen the tutorial, now you try it! We've got a section of the gallery set aside for Jacob’s Ladder. Try this technique, then upload your artwork to the gallery. Show us your creations!
***Please note - Internet Explorer/Edge is not a supported browser, and will not allow you to see the videos. Please use Chrome, Firefox or Safari to view our tutorial videos.
Questions and Comments
We'd love to get your feedback or questions. Leave your comment below.
How about the other 'thing' of two rectangles ribboned together in such a way, that a dollar bill would seem to disappear??
But I have no idea where to get the plain coasters from in Liverpool, UK. I am wondering if thickish cardboard would be heavy enough to work? What does anyone think? Av
Page 1 of 1 pages