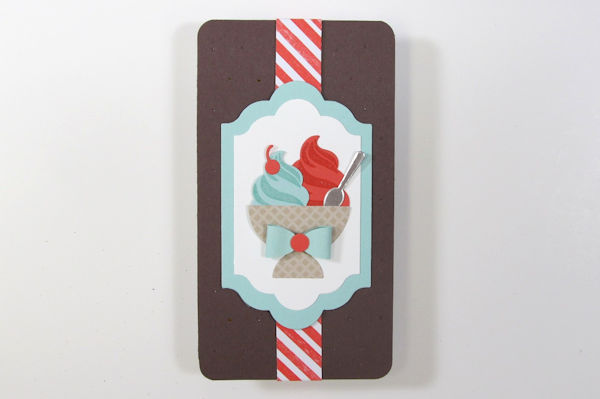
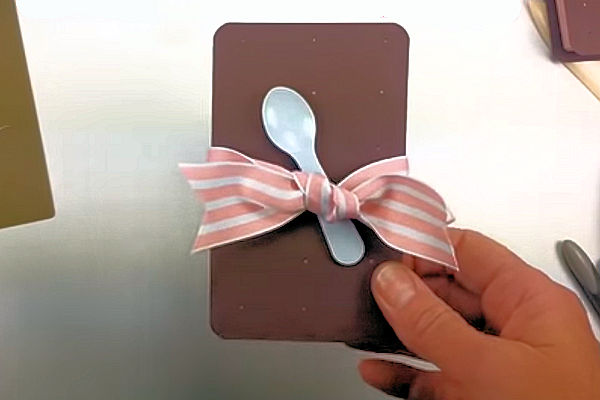
Ice Cream Sandwich Box
by Barb Mullikin
Make an ice cream sandwich shaped gift/ treat box.
Supplies
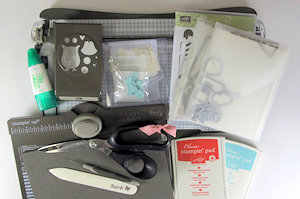
- Cardstock cut to 6 7/8” x 7 3/8” for box, 2 5/8” x 7” for divider tray, 2 pieces at 3 1/4” x 6” for cookies
- Patterned paper cut to 3/4” x 12” and 4 pieces cut to 1” x 3” (Tasty Treats Specialty Designer Series Paper used here)
- Paper trimmer with scoring blade (or other scoring tool)
- Scissors
- Bone folder
- Piercing tool and mat
- Corner rounder punch (Envelope Punch board used here)
- Adhesive
- Other supplies as needed to complete the project (Stampin' Up! products used here - Cool Treats stamp set, Frozen Treats Framelits Dies, Thick Whisper White, Crumb Cake, Chocolate Chip, Pool Party and Watermelon Wonder cardstocks, Silver Foil Sheets, Pool Party and Watermelon Wonder Classic Stampin' Pads, Owl Builder Punch, Cupcakes & Carousels Embellishment Kit, Grid Paper, Big Shot; Hershey Nuggets, gift card)
Step-by-Step
-
Step 1
To make the box, place the long side of the 6 7/8” x 7 3/8” piece of cardstock at the top of the trimmer. Use the scoring blade to score at 5/8”, 3 3/8”, 4” and 6 3/4”. Rotate the cardstock 90 degrees and score at 5/8” from each edge.
-
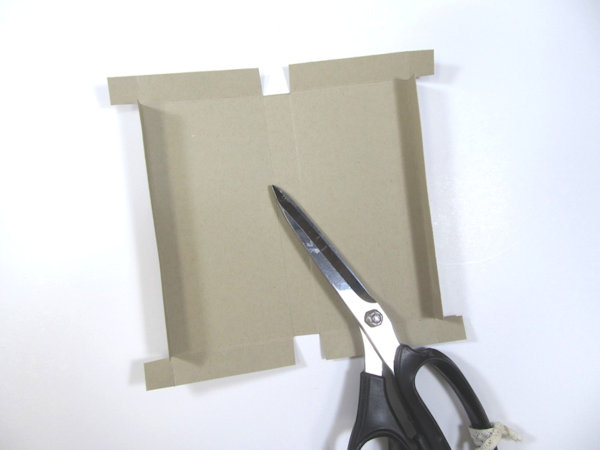
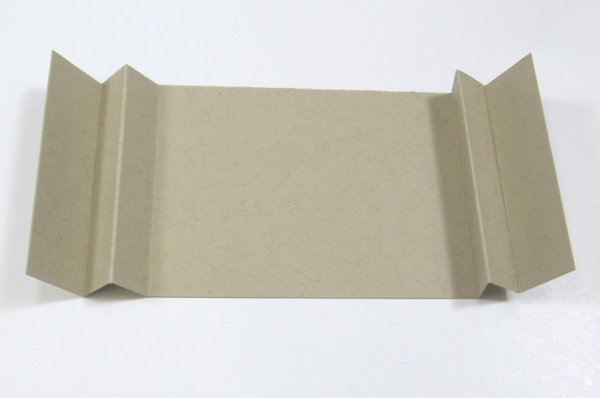
Step 2
Fold on all score lines and burnish them flat with a bone folder. Cut out the middle squares at the center of both long sides. On the shorter sides, cut a very slim triangle from the edge to the score line at all four corners.
TIP:
Make all these cuts at a slight angle so the box will fit together better -
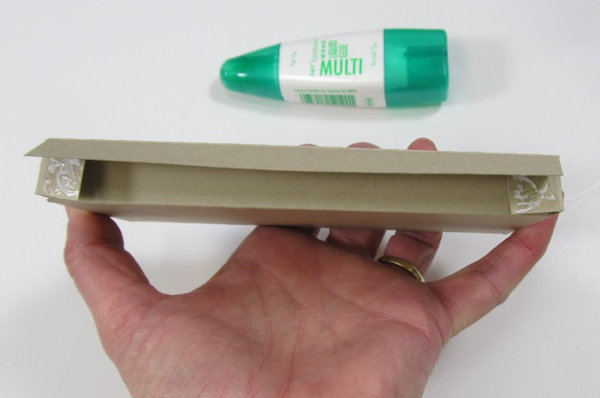
Step 3
Add adhesive to the two tabs on one end and fold up to create the bottom of the box.
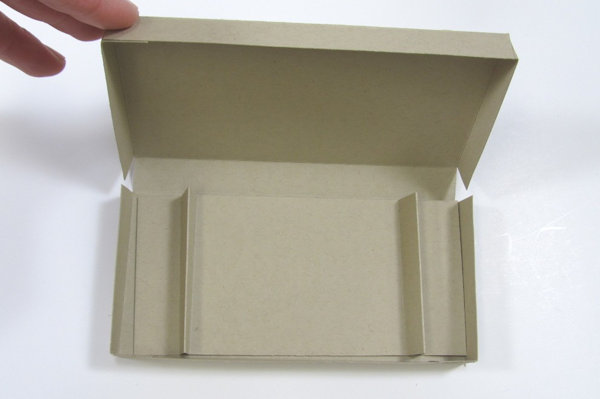
-
Close the box and add adhesive to the two remaining tabs to finish the box assembly. This will ensure that the box top is slightly larger than the box bottom for ease in opening and closing. This is the ice cream layer in the sandwich. Set aside.
-
Step 4
To make the insert, place the long side of the 2 5/8” x 7” piece of cardstock at the top of the trimmer. Use the scoring blade to score at 3/4", 1 1/4" and 1 3/4” from each end. Fold the two inner score lines up towards you, the middle score lines away from you and the outermost score lines up towards you. Burnish all score lines.
-
Step 5
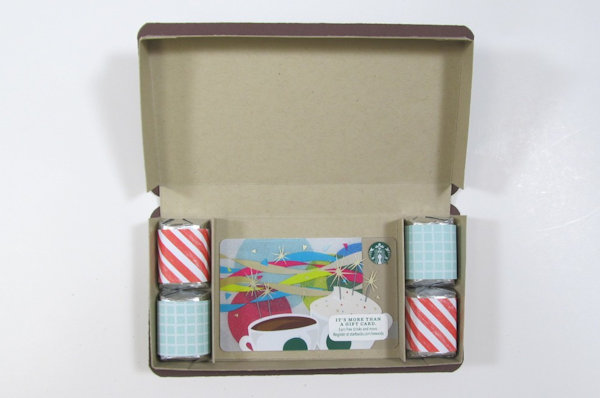
Pinch the center score line on each side and place the insert in the box bottom to create three compartments. The two on the ends will hold wrapped Hershey’s Nuggets and the center will hold a gift card.
-
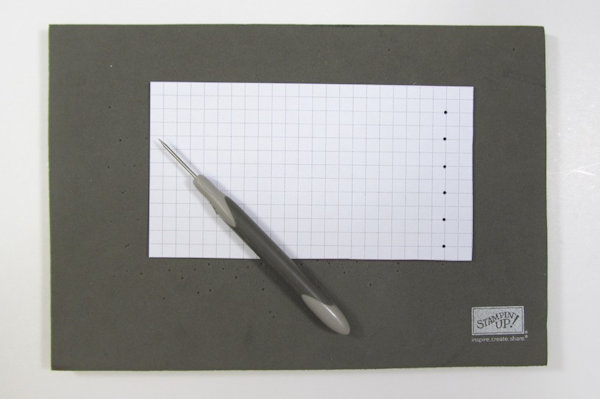
Step 6
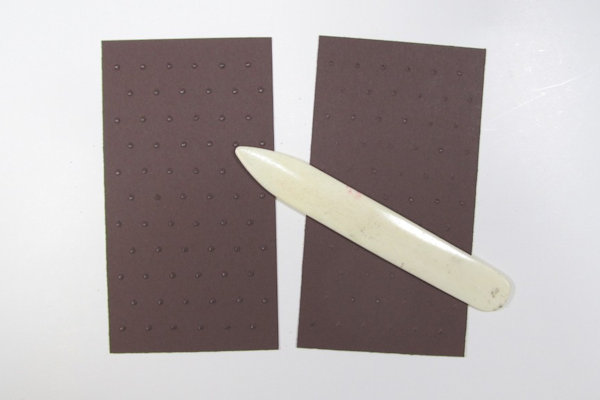
Stack the two 3 1/4” x 6” cardstock pieces with a 3 1/4" x 6” piece of grid paper on a piercing mat. Keeping all three layers together, pierce holes starting in the upper left corner. Go in two squares and down two squares and pierce the first hole at this intersection. Continue along this line adding a hole every other intersection.
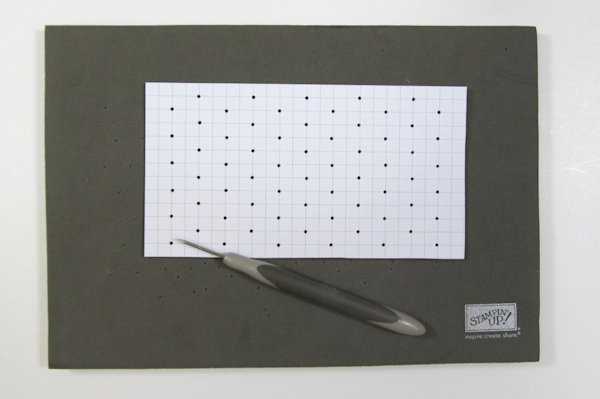
-
Skip a row and add a hole in the first intersection. Continue along this row adding a hole every other intersection. Continue doing this until you have added all the pierced holes.
-
Step 7
Flip each piece over and gently run a bone folder over the cardstock to slightly flatten the pierced holes. This allows for better adhesion to the box but still leaves the holes on the front to resemble the cookies of an Ice Cream Sandwich.
-
Step 8
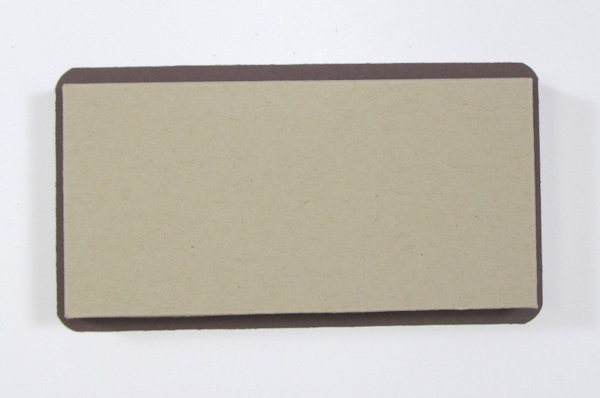
Use a corner rounder to round the corners of the cookie pieces.
-
Step 9
Add liquid glue to the bottom of the box and add one of the pierced pieces, centering it.
Repeat this step with the other pierced piece, adhering it to the top of the box. -
Step 10
Wrap each 1” x 3” strip of paper around a Hershey’s Nugget and secure it on the bottom with a mini Glue Dot. Add the candies to the box along with a gift card.
-
Step 11
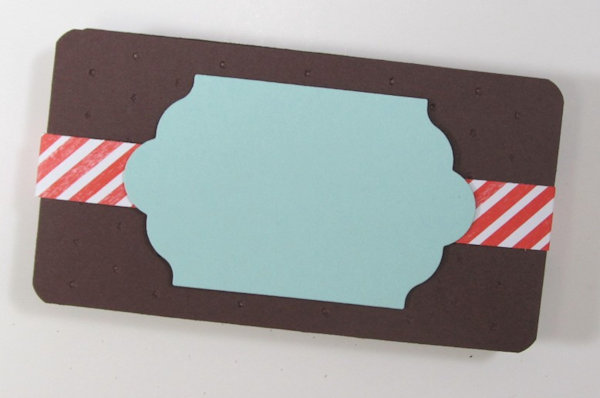
Place the box on top of the 3/4" x 12” strip of paper. Fold the strip up and over the box, creating fold lines as you go. Die cut a label and attach the ends of the belly band to this as the strip will not be long enough.
-
Cover the label with another die cut label that is larger to hide the ends.
-
Step 12
Die cut another small label from white cardstock and choose your decorative elements.
-
Step 13
Complete the project.


Video!
Variations
-
Create a box in any size!
Determine your finished sandwich measurements, and cut two cookie pieces to size. Pierce as above.
Cut two box pieces, 1/2" longer and 1/2" wider than the cookies. Score the box pieces at 1/2" from each side. Fold on score lines. Cut tabs, fold in, and adhere to create box corners. Adhere the box pieces to the cookie pieces (note: this is a different box style than the box above - the bottom and lid are separate). Embellish as desired.
The sample is 3" x 5" - cookies were cut to 3" x 5" and the box pieces were cut to 3 1/2" x 5 1/2".
Your Turn
You've seen the tutorial, now you try it! We've got a section of the gallery set aside for Ice Cream Sandwich Box. Try this technique, then upload your artwork to the gallery. Show us your creations!
***Please note - Internet Explorer/Edge is not a supported browser, and will not allow you to see the videos. Please use Chrome, Firefox or Safari to view our tutorial videos.

Questions and Comments
We'd love to get your feedback or questions. Leave your comment below.
Page 1 of 1 pages