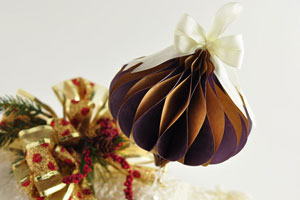
Honeycomb Ornament
by Becca Feeken
Turn double sided paper into a honeycomb ornament.
Supplies
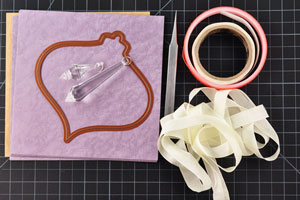
- Thin text weight Double sided paper
- Spellbinders 2011 Heirloom Ornament die (largest size), or other large ornament die
- Very aggressive Glue dots
- Red Tacky Tape, or other strong adhesive
- Tweezers
- Seam binding
- Assorted crystals
Step-by-Step
-
Step 1
Using Spellbinders 2011 Heirloom Ornament die, cut 18 ornaments out of your lightweight paper and fold each ornament in half.
Hint:
The lighter weight the paper, the better. This cannot be done with cardstock as it is too heavy. Recommended alternatives, wrapping paper, brayered typing paper, book pages. tissue paper.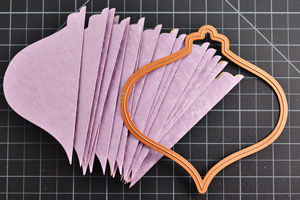
-
Step 2
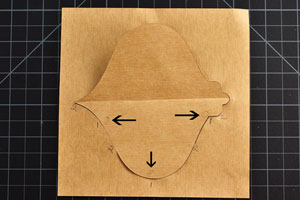
Reserve a negative from your die cut to use as a template with the markings notated below.

-
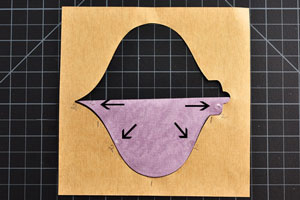
Step 3
Unfold and lay down one ornament, crease side down, and place glue dots beside all number 1 marks.
Hint:
Not all glue dots are created equally; for this project you need the most aggressive adhesive you can find. You can revive the stickiness on a dulled, not sticking glue dot by hitting it with a quick blast from your heat gun and then burnish and leave to cool for a minute.
If you think that your glue dots will not hold, consider using 1 small dollop of hot glue in lieu of a glue dot on each layer to strengthen the ornament.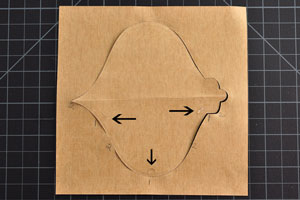
-
Step 4
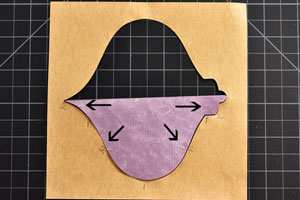
Refold the ornament along the score line, sandwiching the existing glue dots then place glue dots beside all number 2 marks.
-
Step 5
Unfold and lay down the next ornament layer directly on top of previous layer and place glue dots beside all number 1 marks.
-
Step 6
Refold the ornament along the score line, sandwiching the existing glue dots then place glue dots beside all number 2 marks.
-
Step 7
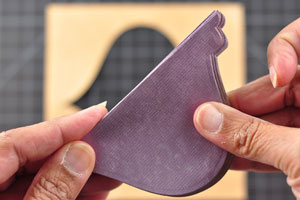
Repeat steps 5 and 6 until 18 pieces are attached then mash all layers together to ensure glue dots adhere. Apply final glue dots to topmost layer.
-
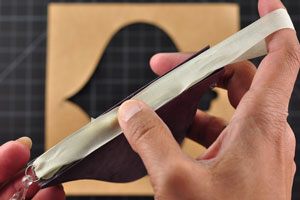
Step 8
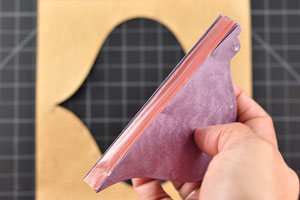
Apply red tacky tape down the spine of the ornament, finger burnish along spine to ensure adhesion then remove red tacky tape liner.
-
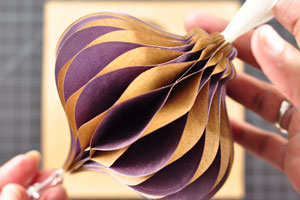
Step 9
Thread crystal onto doubled seam binding, tied ino a loop. Lay loop on top of red tacky tape on spine and finger burnish into adhesive.
-
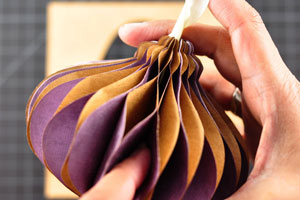
Step 10
Slowly unfurl the ornament until it wraps all the way around to form a circle, adhering front to back. Poke finger in large openings to relax the paper.
-
Step 11
Your ornament is finished.
-
Video!
Your Turn
You've seen the tutorial, now you try it! We've got a section of the gallery set aside for Honeycomb Ornament. Try this technique, then upload your artwork to the gallery. Show us your creations!
***Please note - Internet Explorer/Edge is not a supported browser, and will not allow you to see the videos. Please use Chrome, Firefox or Safari to view our tutorial videos.

 *
*
Questions and Comments
We'd love to get your feedback or questions. Leave your comment below.
Thanks again for a great project!
Bless U,
Page 1 of 4 pages 1 2 3 > Last »