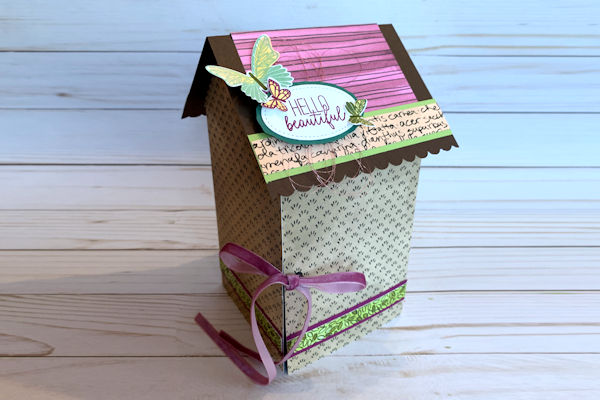
Home-Sweet-Home Mini Album
by KellyJean Gettelfinger
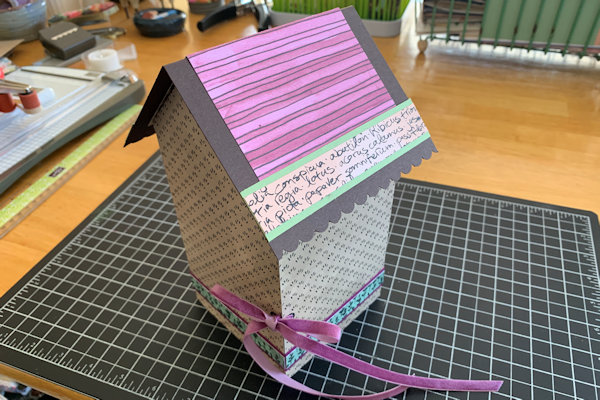
Make a photo album that folds up into a decorative house.
Supplies
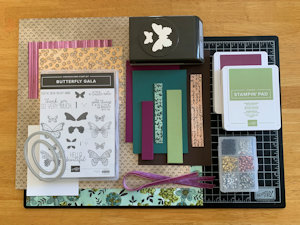
- Decorative paper (two at 12” x 12”, two at 4” x 6”, four at 3/4” x 4”, two at 3/4” x 5” - Stampin' Up!® Share What You Love Specialty Paper used here)
- Cardstock (one at 5” x 8”, two at 1” x 5”, four at 1/2” x 4”, four at 3 3/4” x 5 3/4” (two each of two different colors) - SU Rich Razzleberry, Tranquil Tide, Pear Pizzazz, Early Espresso and Whisper White cardstock used here)
- Ribbon, two 12” pieces (SU Rich Razzleberry ribbon used here)
- Two eyelets, punch and setter (Cropadile used here)
- Border die or punch
- Scissors
- 12x12 trimmer
- Adhesives of choice
- Clear tape
- Other supplies as needed to complete the project (SU products used here: Rich Razzleberry and Pear Pizzazz inks, Butterfly Gala stamp set, Stitched Oval Thinlit Dies, Scallop Punch, Double Butterfly Punch)
Step-by-Step
-
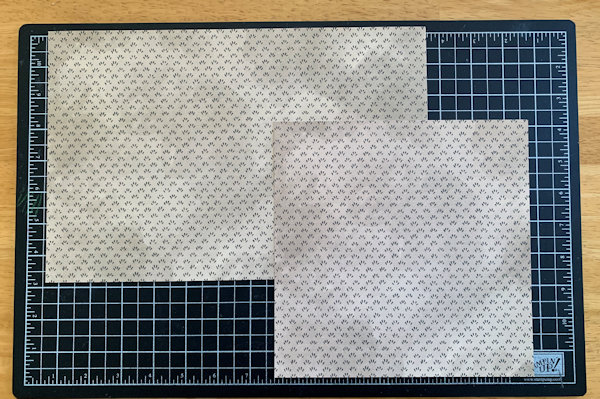
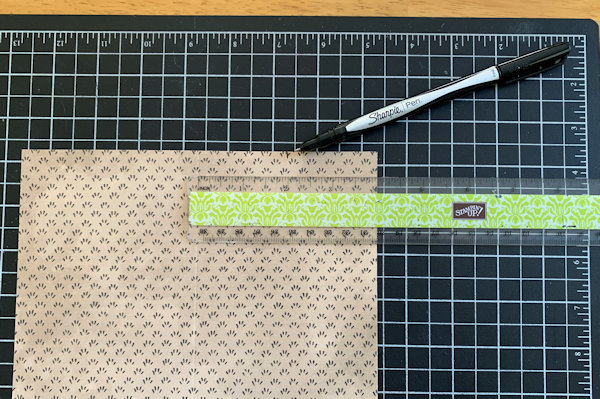
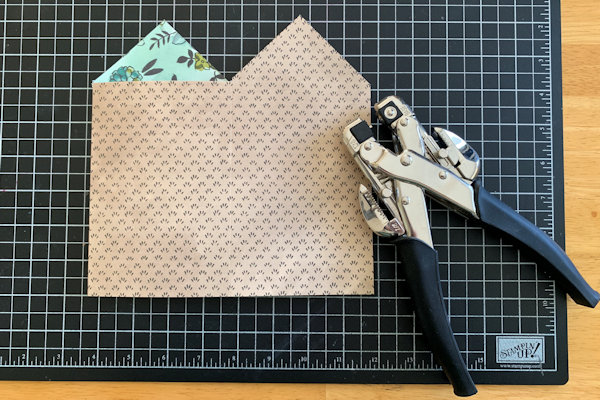
Step 1https://images.splitcoaststampers.com/data/ee/images/tutorials/houseminialbumstep1.jpg
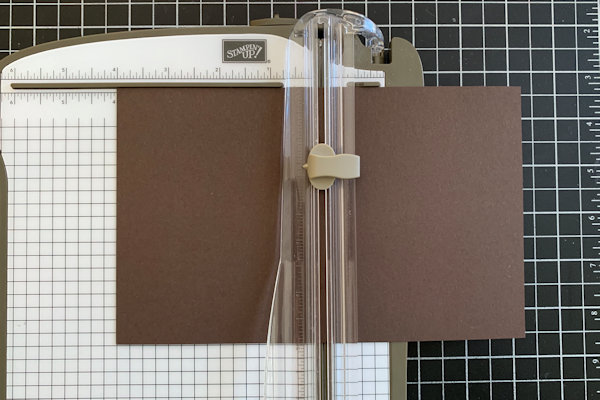
Trim both pieces of 12"x12" decorative paper together to measure 8”x12”.
Continue trimming one of the pieces to measure 8”x8”. -
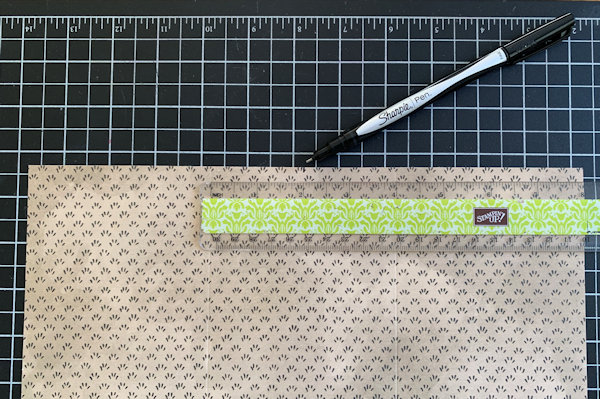
Step 2
Score the larger piece at 4” and 8” on the long side. Score the smaller piece at 4”.
-
Step 3
Pencil mark the middle panel of the largest piece at 2”.
-
Pencil mark the panel on the right side of the smaller piece at 2”.
-
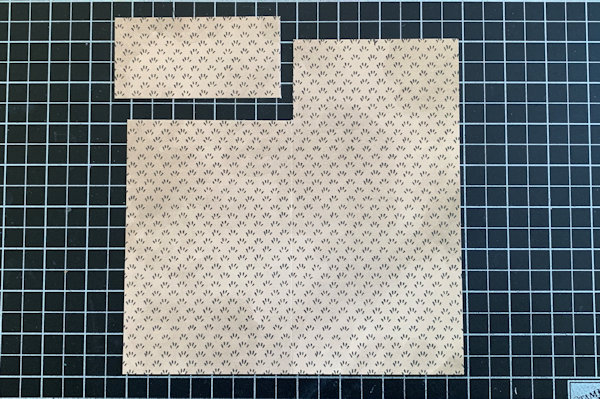
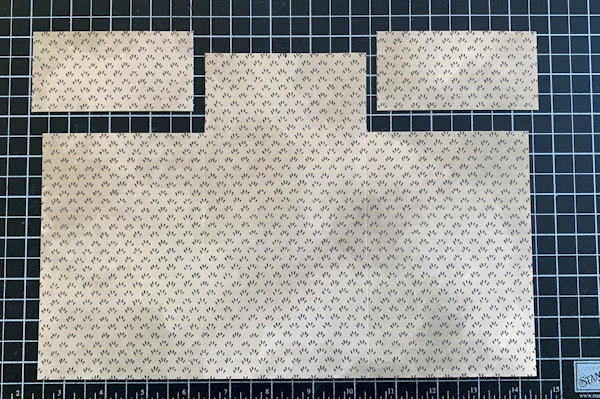
Step 4
Quarter turn the smaller piece and trim at 2” from the left edge of the paper.
Completely trim this small scored section away. -
Repeat this step on the larger piece with the two outer panels, leaving the center panel not scored and untrimmed.
-
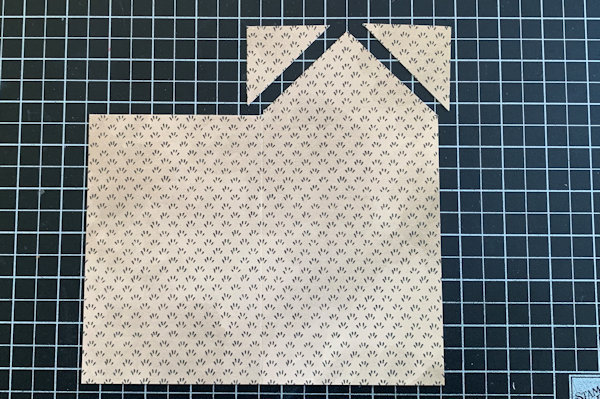
Step 5
Pencil mark the tall panel of the small piece of paper at 2”. Place smaller piece of the two papers in the trimmer so that the pencil marks line up and trim away the corner of this piece. Slightly turn paper in the trimmer and line up the previously created corner area with the pencil mark made at the top of the paper and trim away this corner of the paper. This creates the “peak” of the house to support the roof.
-
Step 6
Repeat the previous step with the larger piece of paper, creating a “peak” with center panel.
-
Step 7
Adhere the smaller piece of paper to the larger piece of paper.
-
Step 8
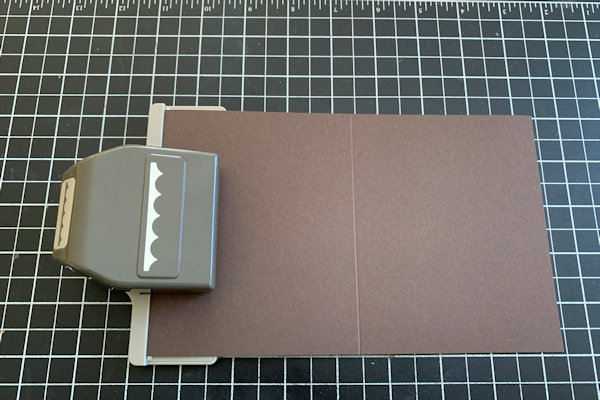
Fold house in half and punch eyelet holes through both layers of the paper. Add an eyelet to each hole.
-
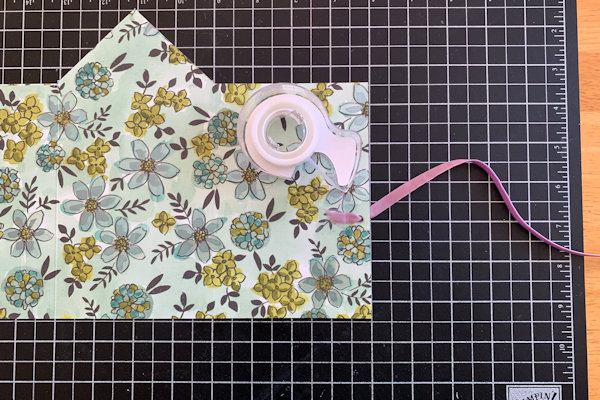
Feed ribbon through each eyelet. Use Scotch tape to secure ribbon to the inside of the house.
-
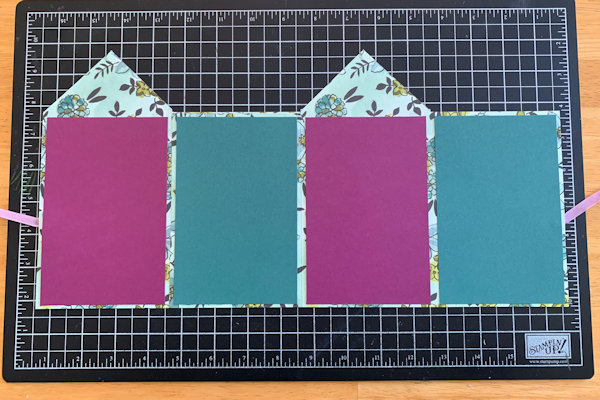
Step 9
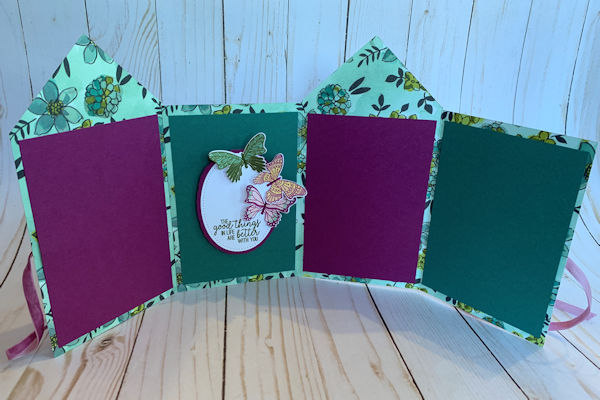
Adhere each of the four pieces of cardstock measuring 3-3/4” x 5-3/4” to the inside panels of the house.
-
Step 10
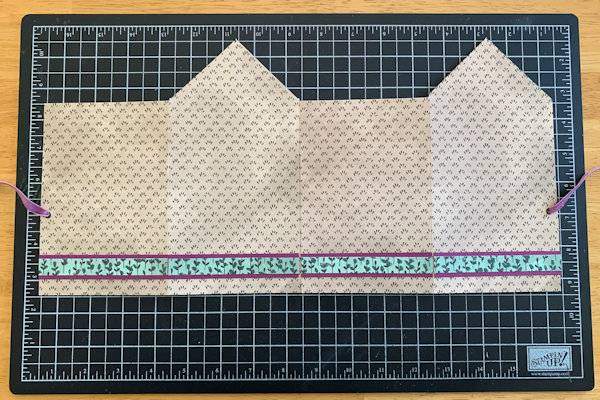
Decorate the outside of the house as desired.
Here, decorative paper pieces measuring 1/2” x 4” were layered onto cardstock pieces measuring 3/4” x 4” and adhered to the bottom of each panel of the outside of the house. -
Step 11
To create the roof, score the cardstock measuring 5” x 8” at 4”.
-
Scallop punch the 5” edges of the cardstock, creating the trim of the roof.
-
Step 12
Fold each of the two pieces of decorative paper measuring 4” x 6”. Adhere one piece to the outside of the roof and the one to the inside of the roof.
NOTE:
It’s important to adhere these two pieces of decorative paper to the roof piece while folded instead of laying each pieces flat, adhering, and then folding. Adhering while folded will help the roof keep its shape. -
Step 13
Your house is ready for decorating and embellishing however you wish!
-
Step 14
Complete the project.
-


Video!
Variations
To make a mini house that fits into a 5" square envelope:
Cut a single panel 10" x 5". Score every 2 1/2" inches. Make a mark 1 1/4" down for the sections that are removed.
Cut the roof panel to 3 1/2" x 5".
TIP:
Instead of tying the album closed, add 1/2" to the length, and create a tab to glue the card closed.
Your Turn
You've seen the tutorial, now you try it! We've got a section of the gallery set aside for Home-Sweet-Home Mini Album. Try this technique, then upload your artwork to the gallery. Show us your creations!
***Please note - Internet Explorer/Edge is not a supported browser, and will not allow you to see the videos. Please use Chrome, Firefox or Safari to view our tutorial videos.

Questions and Comments
We'd love to get your feedback or questions. Leave your comment below.
As to "fussy cutting" with scissors - I have done that kind of cutting since I was five, only then it was just cutting. I still do it at 85. I have limited space to use and store tools plus I get impatient using them. Cutting is calming to me.
I have copied the instructions so they are handy as I work but did watch the video.
Thanks for sharing your time and talent.
Page 1 of 1 pages