Holiday Magnets
by Jenny Gropp
Create decorated magnets for your fridge or bulletin board.
Supplies
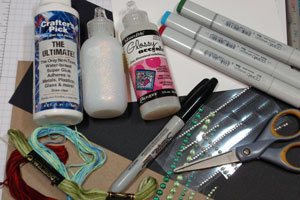
- Chipboard
- Cardstock, neutral and black
- Stamps (Flourishes' All that Glitters stamp set used here)
- Coloring medium, (Copic Markers and Sharpies used here)
- Embroidery floss for bow
- Bow Easy tool, optional
- Scissors
- Versamark ink pad
- Gold embossing powder
- Clear dimensional glaze (Glossy Accents used here)
- Magnets
- Embellishments
Step-by-Step
-
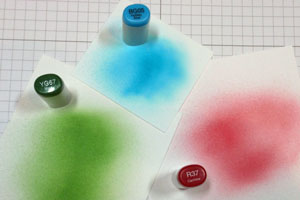
Step 1
Airbrush or sponge color on neutral colored cardstock.
-
Step 2
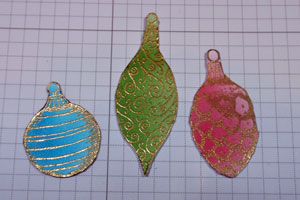
After the color has dried, stamp your image over the colored area with Versamark. Emboss with gold or other colored embossing powder.
Hint:
Pick an image that is easy to cut out.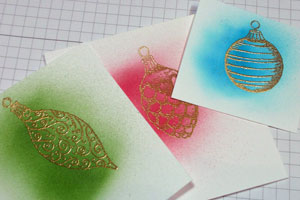
-
Step 3
Roughly cut out image. Adhere to chipboard and then adhere black cardstock on the back of the chipboard.
If you are using liquid adhesive, set aside for a few minutes to dry.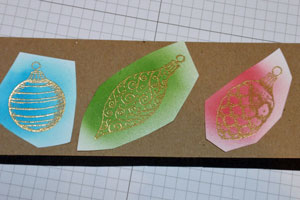
-
Step 4
Cut out your images.
-
Step 5
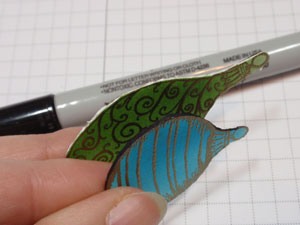
Use a black marker to color the edges. This helps to conceal the layers and matches the black cardstock, giving it a more uniform look.
-
Step 6
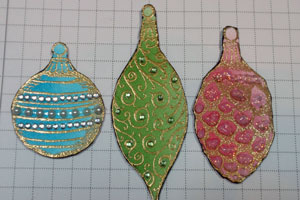
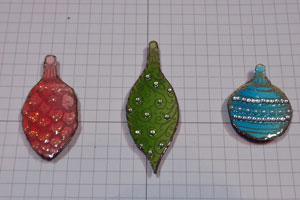
Decorate the images with jewel embellishments or other accessories.
-
Step 7
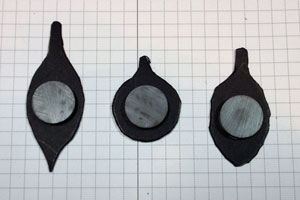
Adhere magnets to the back of the images.
-
Step 8
Cover the front of the images with Glossy Accents or another clear dimensional glaze.
Hint:
If you used glitter glue to decorate the ornaments, allow about thirty minutes of drying time before adding the glaze.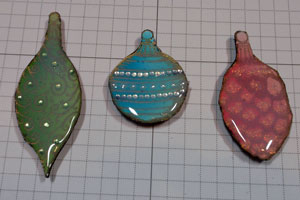
-
The Glossy Accents dries, leaving the ornaments with the jewels embedded into a glassy looking finish. Allow two hours drying time.
-
Step 9
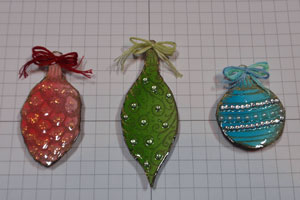
Create mini bows out of embroidery floss for the ornaments. Add them with a dab of glue to the top of each ornament.

-
Step 10
Your magnets are finished.

Video!
Your Turn
You've seen the tutorial, now you try it! We've got a section of the gallery set aside for Holiday Magnets. Try this technique, then upload your artwork to the gallery. Show us your creations!
***Please note - Internet Explorer/Edge is not a supported browser, and will not allow you to see the videos. Please use Chrome, Firefox or Safari to view our tutorial videos.

Questions and Comments
We'd love to get your feedback or questions. Leave your comment below.
They are both public so maybe hold the ctrl key and click the refresh button in your browser. Email me at [email protected] if that doesn't work. Aren't they pretty?
Page 1 of 1 pages