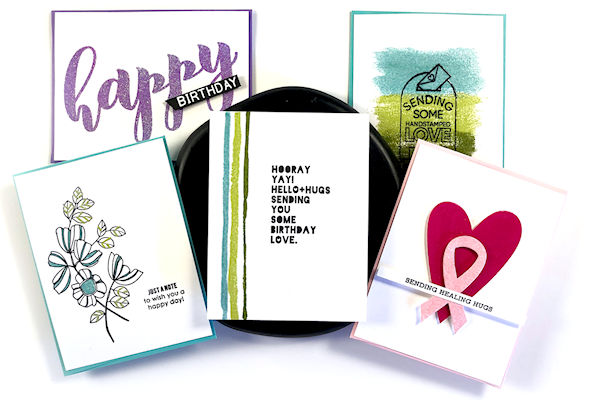
Heat Embossing Basics
by Amber Rain Davis
Learn different ways to use embossing powder on your projects.
Supplies
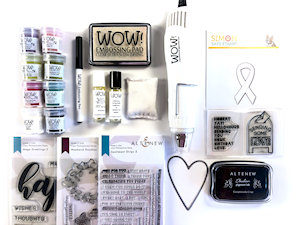
- Black pigment ink (Altenew Obsidian Black Pigment Ink used here)
- Other inks (WOW! Embossing Pad, WOW! Mixed Media Embossing Brush, WOW! Embossing Ink Pad Refill Conditioner, and Freestyle Tool used here)
- Stamps (Altenew Mega Greetings 2, Weekend Doodles, & Sentiment Strips 2, The Stamp Market Mailbox Messages used here)
- Dies (Altenew Mega Happy Die, Ellen Hutson Folk Hearts Die, Simon Says Stamp Awareness Ribbon Die used here)
- Embossing Powder (WOW! Sugared Almond, Taffeta Pink, Jealous Guy, Earthtone Olive, Love is the Drug, Clear Gloss, Primary Ebony Super Fine, & Glassy Ocean from Dockside Trio used here)
- Adhesive (Darice Double-sided Strips used here)
- Stamp Positioner (Mini MISTI used here)
- Paper (Neenah Classic Crest Solar White 80lb used here)
- Die cutting machine (Gemini Jr used here)
- Heat tool (WOW! Dual-speed Heat Tool used here)
Step-by-Step
-
Step 1
First Technique - Stamping
To emboss a stamped image, treat cardstock with an anti-static powder tool. Apply embossing ink to the stamp. Stamp the image. -
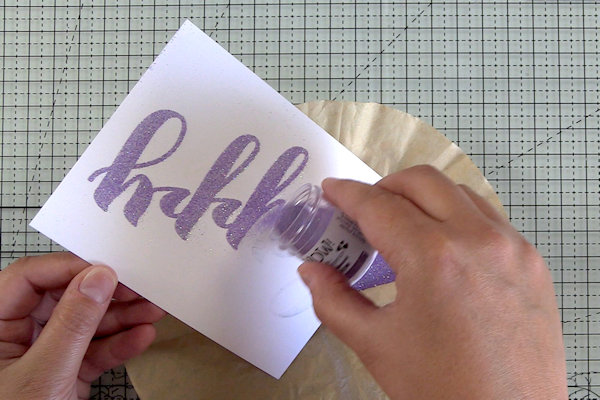
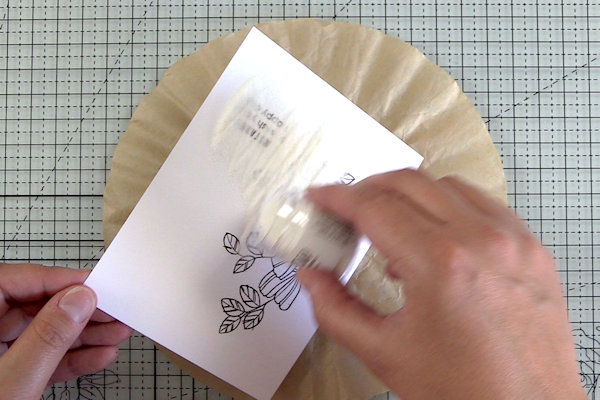
Step 2
Sprinkle embossing powder over the stamped image. Tap the cardstock gently to remove any excess powder.
-
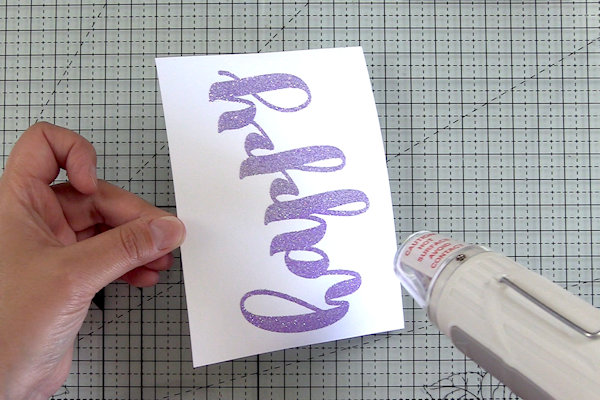
Step 3
Pre-heat your heat tool for 45-60 seconds. Hold the heat tool 3-4 inches from the paper and melt the embossing powder. Complete the card with a sentiment strip.
TIP:
If using glitter embossing powder, heat the back of the cardstock to prevent blowing glitter away. -
Step 4
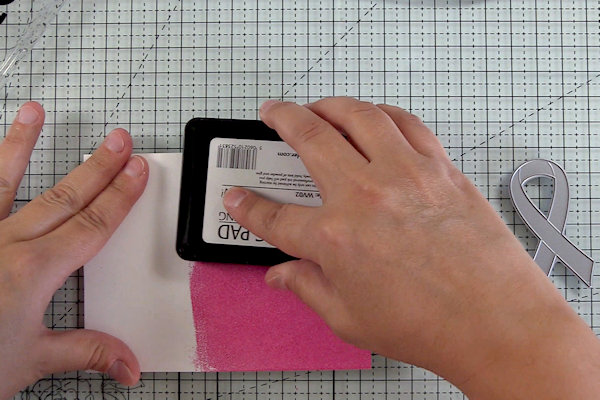
Second Technique – Direct Ink to Paper
Swipe and/or press an embossing pad onto white cardstock.
Repeat Steps 2 and 3.
-
Step 5
Swipe an embossing pad over the previously heat embossed area. Repeat Steps 2 and 3. Heat embossing twice creates a smoother finish.
Repeat Steps 4 and 5 in a different color.
-
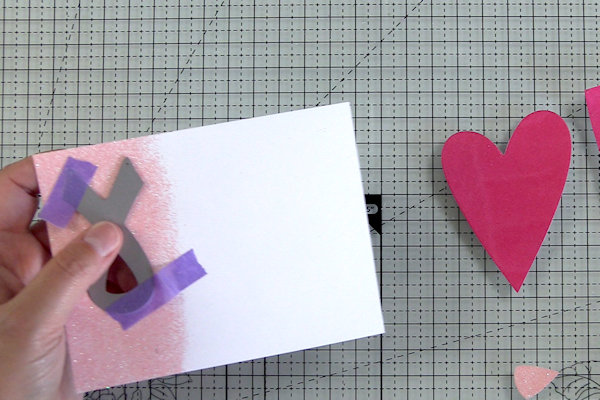
Step 6 (Optional)
Die-cut the embossed panels and assemble finished card.
-
Step 7
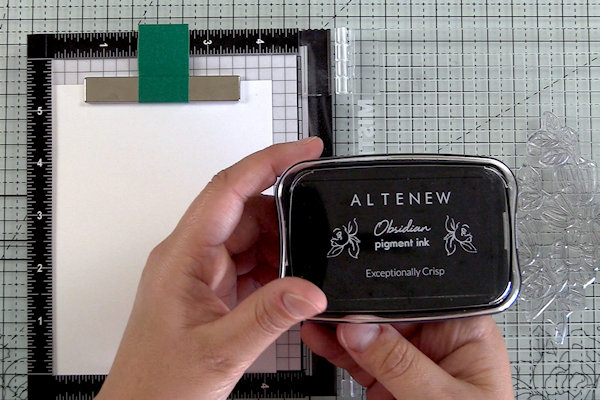
Third Technique – Emboss with Pigment Ink
Stamp the image and sentiment with black pigment ink.
TIP:
Pigment ink sits on the surface of the cardstock and is slow drying which allows for heat embossing. -
Step 8
Repeat Steps 2 and 3.
-
Step 9
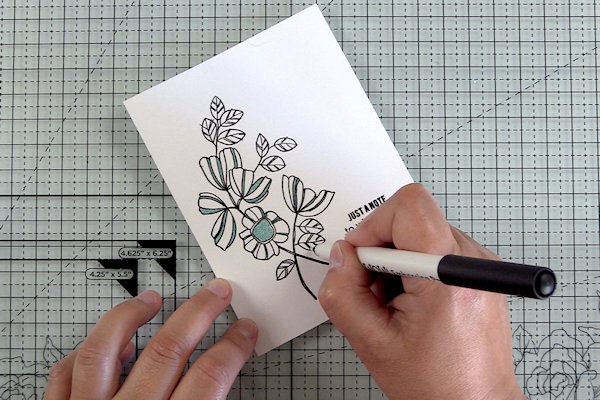
Fourth Technique – Color with Embossing Pen
Fill in details with an embossing pen. Heat emboss with embossing powder (blue here). Fill in additional details with the embossing pen. Heat emboss with a different colored embossing powder (green here).
TIP:
The embossing pen can be used to heat emboss digital stamps and can also used with stencils.
-
Step 10
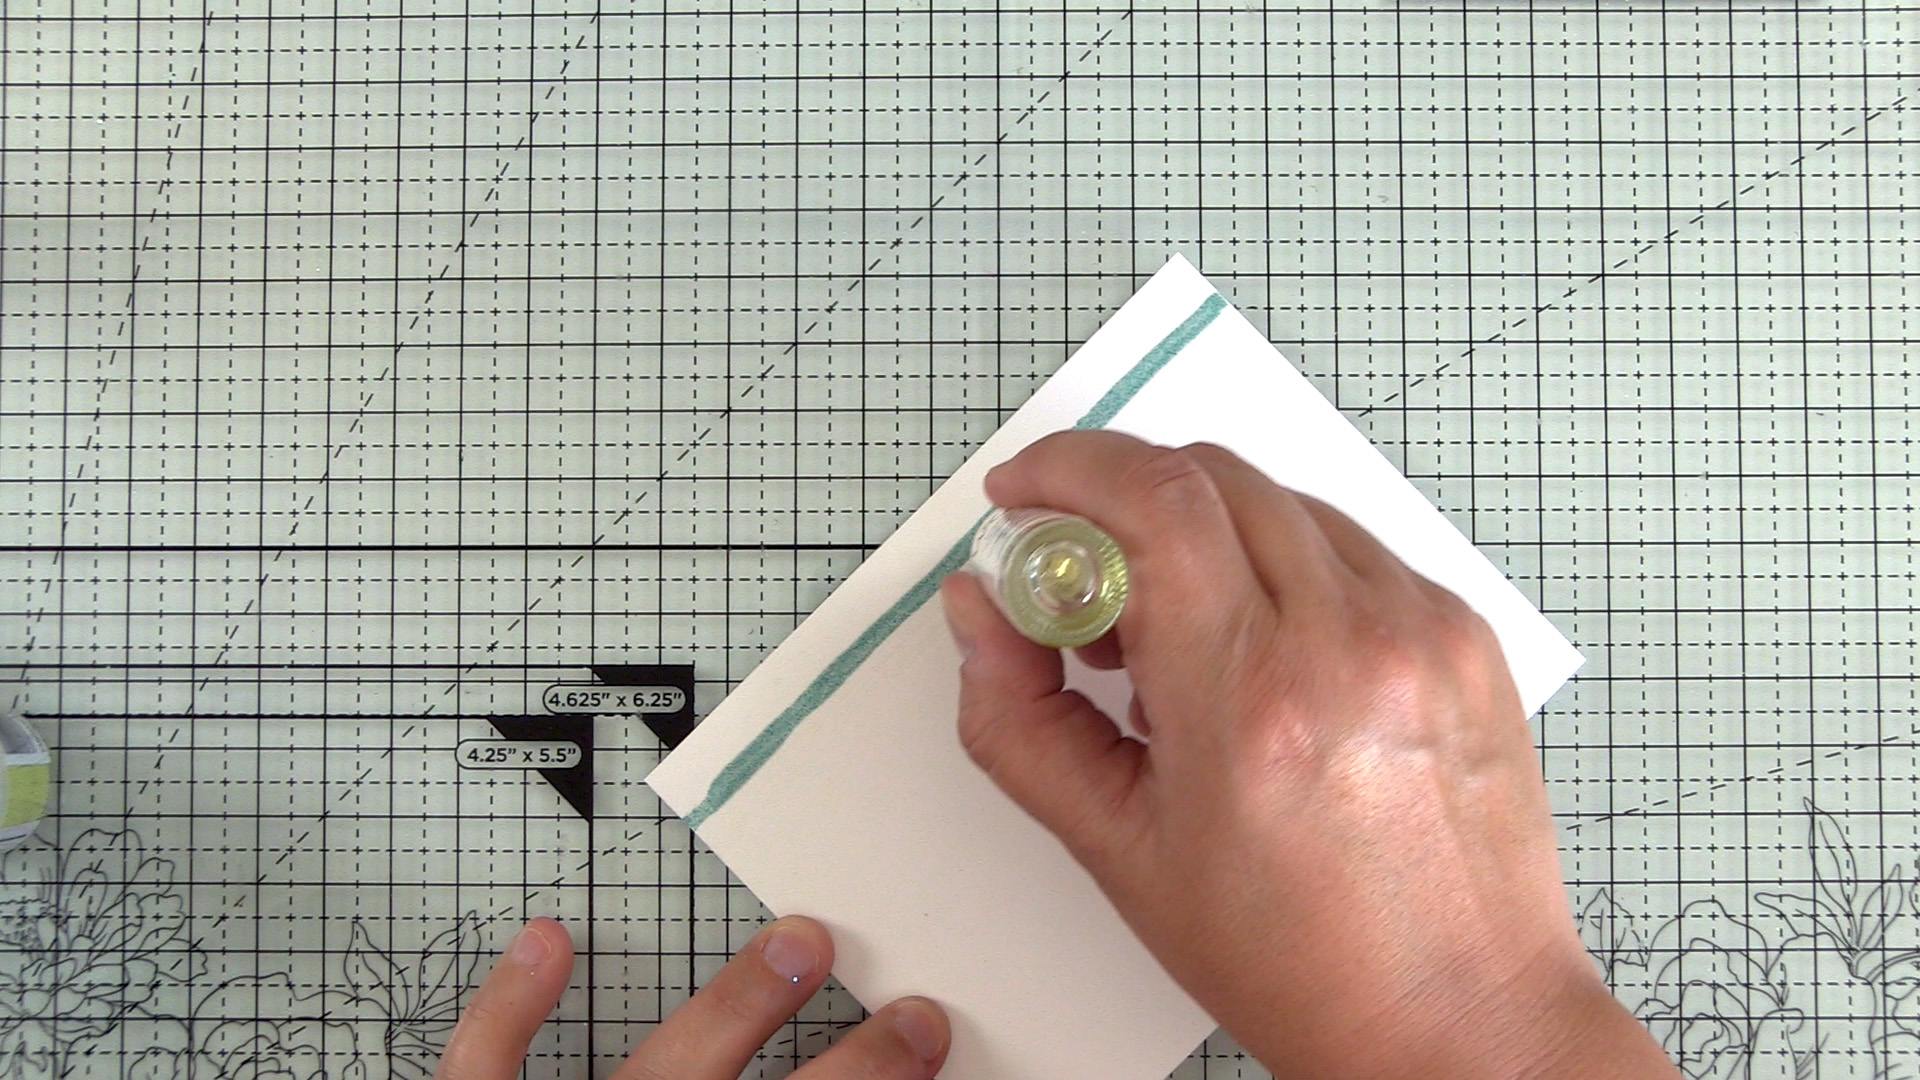
Fifth Technique – Draw with Freestyle Tool
Draw 1 stripe with WOW! Freestyle Tool and repeat Steps 2 and 3. Repeat for desired number of stripes and colors. Finish card with stamped sentiment. -
Step 11
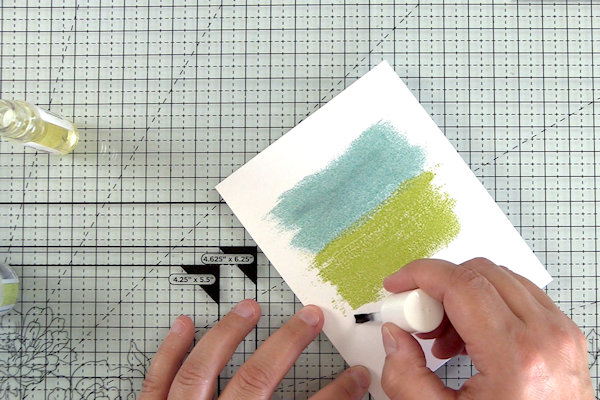
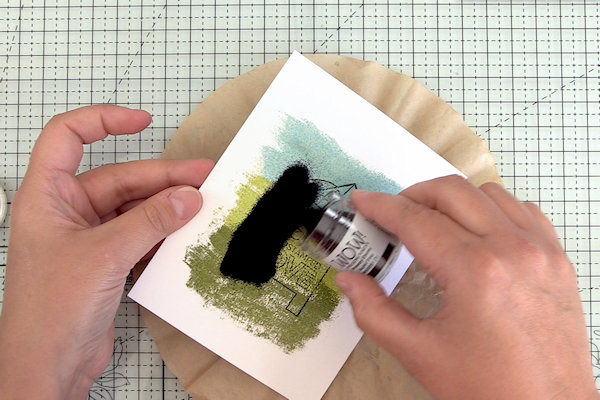
Sixth Technique – Color Block with Embossing Brush
Swipe the applicator brush over a card panel to create one block of embossing gel. Heat emboss with embossing powder. Repeat with different colors until 3 color blocks are complete.
TIP:
For a dry brushed look, remove the majority of embossing gel by wiping the brush against the bottle opening. -
Step 12
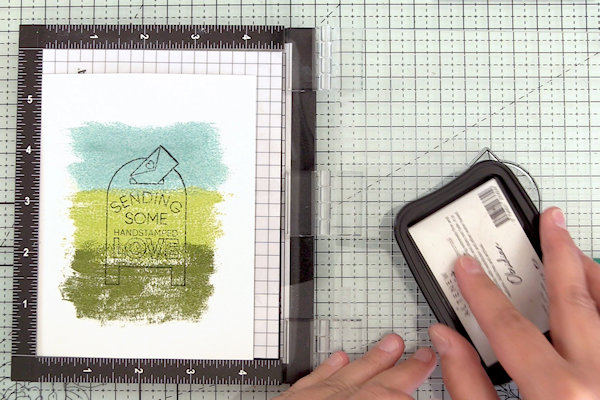
Seventh Technique – Double Emboss
Stamp an image on the embossed color block panel with black pigment ink or embossing ink.
TIP:
Use a stamp positioner for best results as the embossed panel may be slick. Do not overheat as the color block panel will start to melt and blend with the sentiment. -
Step 13
Heat emboss with black embossing powder. Repeat if necessary.
-
Step 14
Use the embossed panels to complete cards or other projects.


Video!
Your Turn
You've seen the tutorial, now you try it! We've got a section of the gallery set aside for Heat Embossing Basics. Try this technique, then upload your artwork to the gallery. Show us your creations!
***Please note - Internet Explorer/Edge is not a supported browser, and will not allow you to see the videos. Please use Chrome, Firefox or Safari to view our tutorial videos.

Questions and Comments
We'd love to get your feedback or questions. Leave your comment below.
Heating glitter embossing powders or any type of chunky embossing powder from underneath the cardstock first definitely changed my world. Much better results and less mess for sure!
If you're not getting clean results you may need a new embossing pad or it may need to be reinked. For best results reink often to keep the pad nice and sticky.
Thanks again! Happy heat embossing!
I'm going shopping for last 3 products!
Please more of these back to basic videos!!
Merrily
Page 1 of 1 pages