Hanging Treat Box
by Christina Fischer
Create one of these and slip over a bottle neck or use as a door hanger.
Supplies
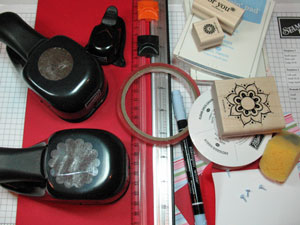
- 5 1/2" x 11" piece of cardstock
- Paper cutter with scoring blade
- Corner rounder
- 1 3/8" circle punch or die
- Adhesive (Sticky Strip™ used here)
- Additional cardstock
- Stamps
- Ink
- Embellishments
Step-by-Step
-
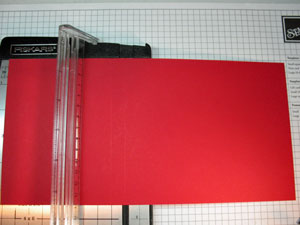
Step 1
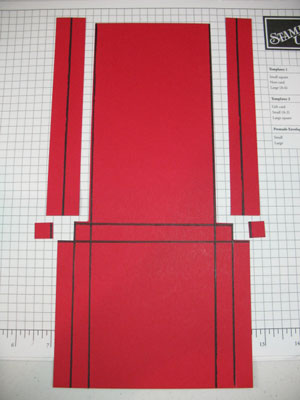
Turn 5 1/2" x 11" piece of cardstock sideways and score at 4" and 4 1/2".
-
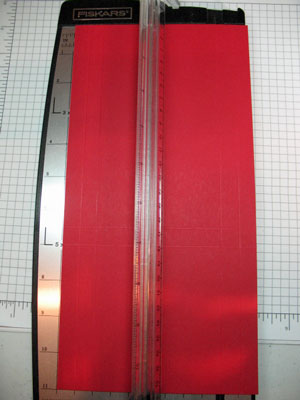
Step 2
Turn the cardstock lengthwise and score at 1/2", 1", 4 1/2", and 5".
-
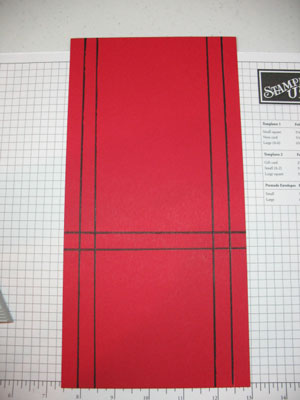
Here, the score lines were traced with a marker for visibility. No need to do this at home!
-
Step 3
Cut away sections of cardstock as shown in the photo.
-
Step 4
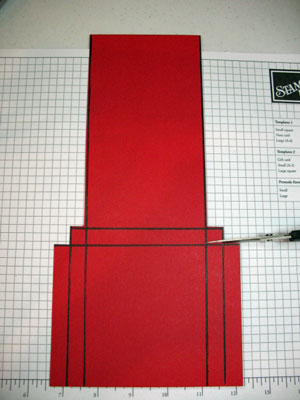
Cut a slit on both sides as shown so the squares become small tabs.
-
Step 5
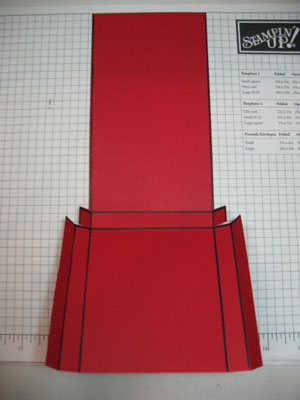
Prefold all score lines. It should look like this.
-
Step 6
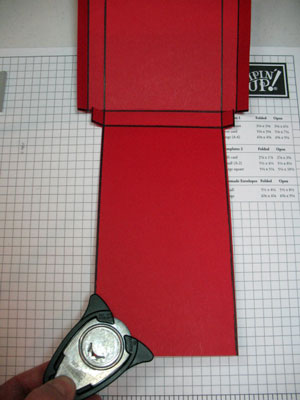
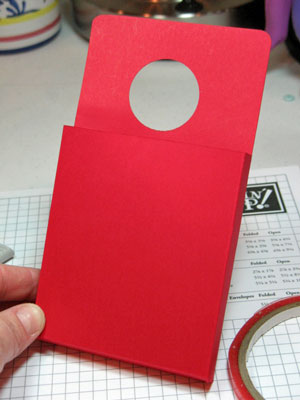
Round the corners of the long back panel.
-
Step 7
Punch a circle so the pouch can be slipped over a bottle. Here a 1 3/8" circle punch was used.
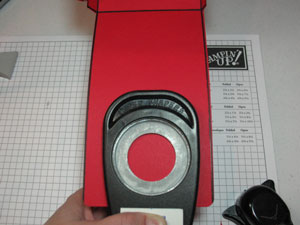
-
Step 8
Fold to create box and attach tabs to back with Sticky Strip™ or other strong adhesive.
-
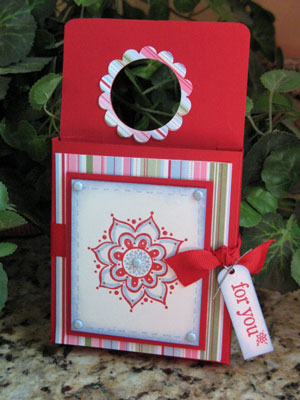
Step 9
Decorate with stamps, cardstock, paper and embellishments of your choice!
The front panel is 3 1/2" wide by 4" high.
-
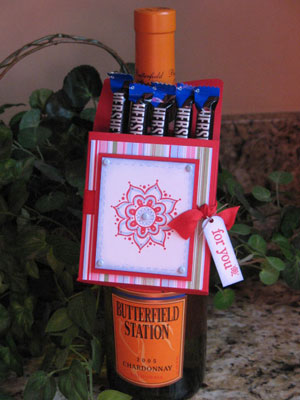
Step 10
Hang on a bottle and give it away!
Video!
Variations
-
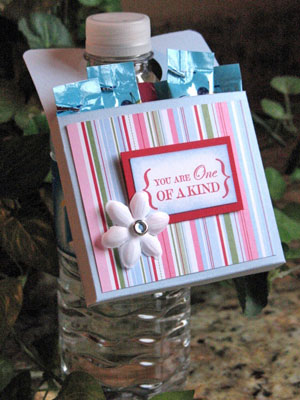
Cut the front and back panels shorter. Fill with "drinks on the go" packets and hang on a water bottle.
Make the hole larger and hang over a door knob to surprise a neighbor. Perfect for those Halloween "boo" treats! Fill with cocoa, gum, a candy bar, or other treats!
-
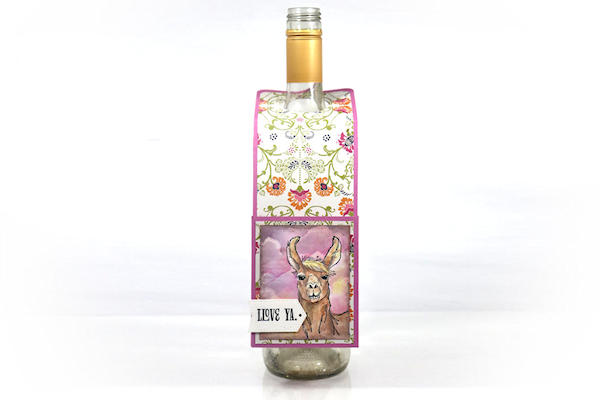
Layer a longer panel in the back if you want to hang the box on a taller bottle or accommodate taller items.
TIP:
For this variation, cut the box base at a 5 1/4" width (5 1/4" x 11"). The remaining 3 1/4" x 11" strip can be used as is or trimmed to desired length and glued into the back of the box. See video for further instructions.
Your Turn
You've seen the tutorial, now you try it! We've got a section of the gallery set aside for Hanging Treat Box. Try this technique, then upload your artwork to the gallery. Show us your creations!
***Please note - Internet Explorer/Edge is not a supported browser, and will not allow you to see the videos. Please use Chrome, Firefox or Safari to view our tutorial videos.

Questions and Comments
We'd love to get your feedback or questions. Leave your comment below.
Thanks so much !!!
TFS
Hugs and smiles
merci
I luv it. THX. Beate
Page 1 of 3 pages 1 2 3 >