Grid Technique
by Beate Johns
Create a faux tile look and/or lovely backgrounds with your scoring tool.
Supplies
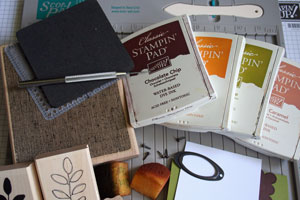
- Scor-Pal™ or other scoring tool
- Ink
- Cardstock
- Stamps
- Adhesive
- Embellishments
Step-by-Step
-
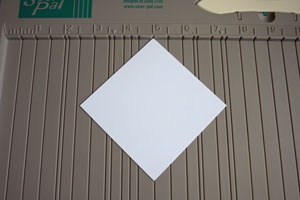
Step 1
Line your cardstock up diagonally with a score line on the Scor-Pal.
-
Step 2
Score card stock at even intervals.
Here, the scores were made every 1/2".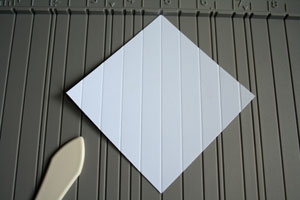
-
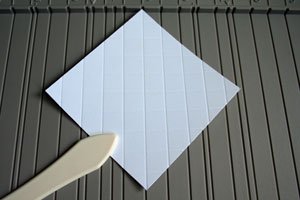
Step 3
Turn card stock 90 degrees, line up as before, and score at every 1/2" again to create a scored grid.
-
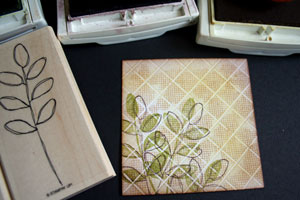
Step 4
Ink the stamp and stamp on the card stock side with the indented score lines.
Note:
Here, the background was placed wood-side down with the card stock over it. To get a partly stamped image, finger walk over the paper.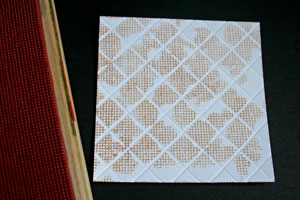
-
Step 5
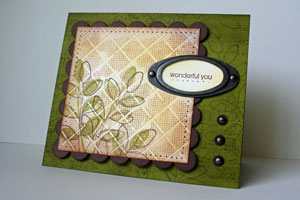
Add more images and sponge card stock if wanted.
-
Step 6
Finished card.


Video!
Variations
-
Flip it over
Instead of stamping on the cardstock side that has the indented score lines, stamp on the side that has the score lines facing up for a different look.
-
Add a Border
Score a small border all around the card stock before adding a grid inside the score line.
Show it off
Don't stamp over the grid at all, but use it as a background.


Your Turn
You've seen the tutorial, now you try it! We've got a section of the gallery set aside for Grid Technique. Try this technique, then upload your artwork to the gallery. Show us your creations!
***Please note - Internet Explorer/Edge is not a supported browser, and will not allow you to see the videos. Please use Chrome, Firefox or Safari to view our tutorial videos.
 *
*
Questions and Comments
We'd love to get your feedback or questions. Leave your comment below.
It's amazing that we all can come up with different things and ideas for our cards and creations.
Thanks for taking the time to teach us the Tech's and learning how to make Beautiful cards.
Enjoy your day!
Help, anyone!!!
Pam
Patti
This is just so good - looks fantastic. Thanks for showing us how it's done.
I always upload my samples in the gallery listed underneath the tutorial along with all the products I used. The stamp set is from Stampin' Up! and is called "Wonderful You".
Hugs and smiles
Thanks for pointing that out. I totally spaced. I changed it in the tutorial.
http://www.7kidscollegefund.com/category_s/179.htm
Katie
Page 1 of 3 pages 1 2 3 >