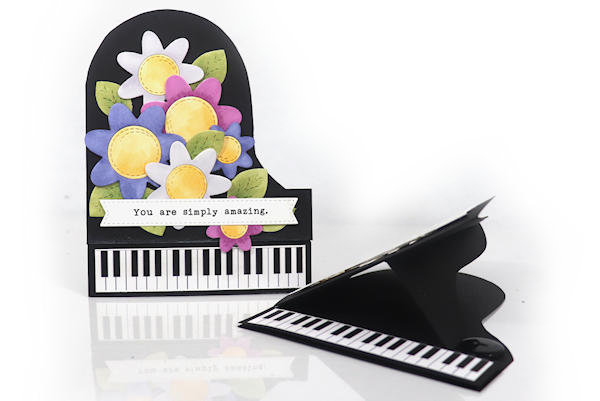
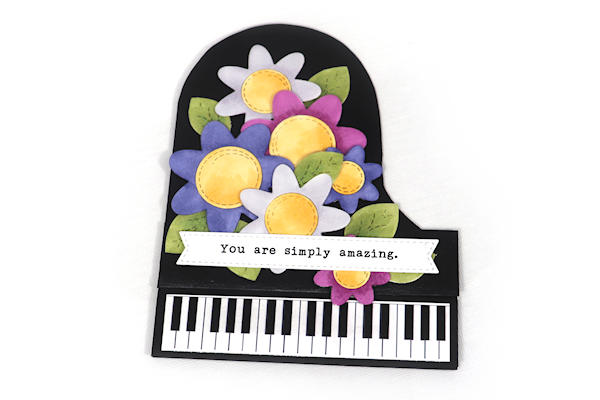
Grand Piano Card
by Dina Kowal
Use our free template to create a piano easel card.
Supplies
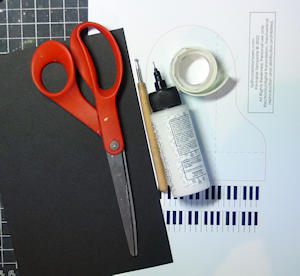
- Cardstock
- Printable piano template
- Scissors
- Scoring tool
- Liquid adhesive
- Foam tape
- Easel stopper (button used here, die cut mounted on foam tape or other semi-flat embellishment can also be used)
- Other supplies as needed to complete the project (used here: Spellbinders DOM JUL20 - Ornamental Floral Card Creator Die Set, Copic markers, Impression Obsession DIE1091 Slimline Sentiments Flag, WP1102 Typewriter Slimline Shorts)
Step-by-Step
-
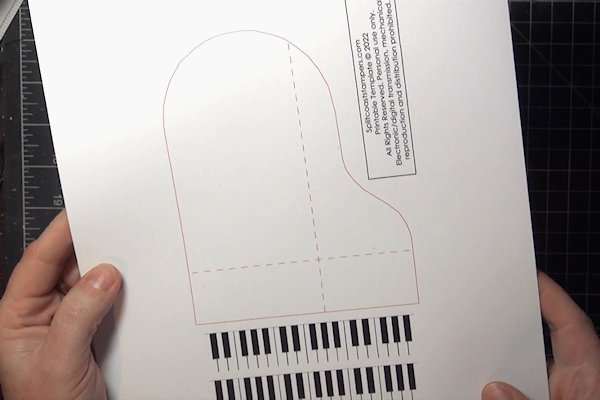
Step 1
Print the free card template onto white cardstock. Cut out the piano card template on the outer line (the dashed lines are for reference only). The template should measure 4 1/4" x 5 1/2".
NOTE:
The full pdf file is a half sheet size (5 1/2" x 8 1/2"). When you print, be sure your printer settings are set to print to scale (100%), not to fit/fill the paper. -
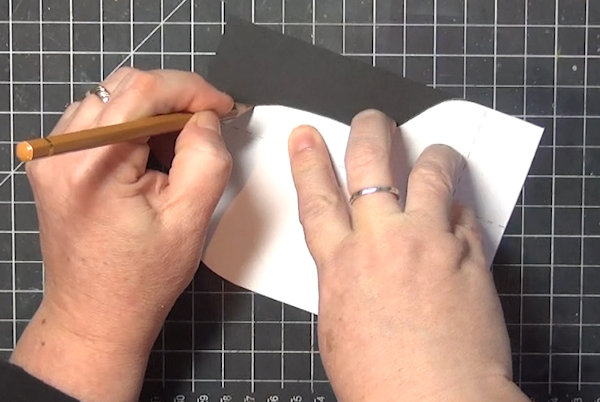
Step 2
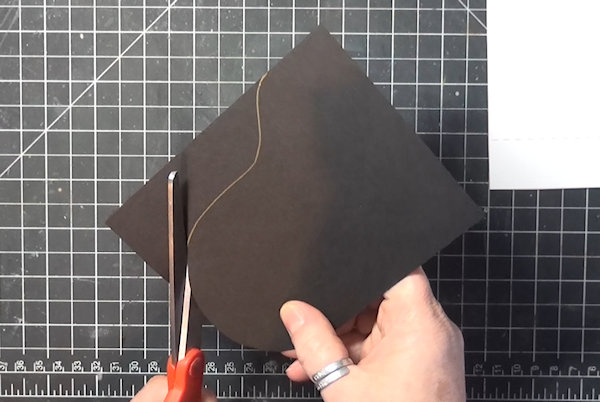
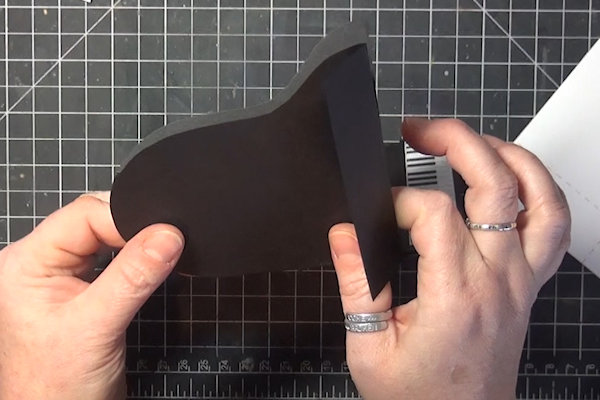
Cut a quarter sheet of black cardstock (4 1/4" x 5 1/2"). Trace the piano template onto the cardstock, lining up the lower left corners of the template and panel.
-
Cut inside the traced line to create the card front.
-
Step 3
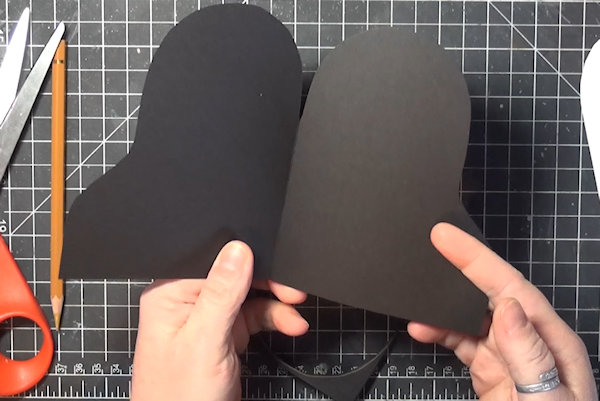
Cut a half sheet of black cardstock (8 1/2" x 5 1/2"). Score at 4 1/4" and fold.
-
Trace the piano template onto the cardstock, lining up the lower left corners of the template and panel. Cut inside the traced line to create the card base.
-
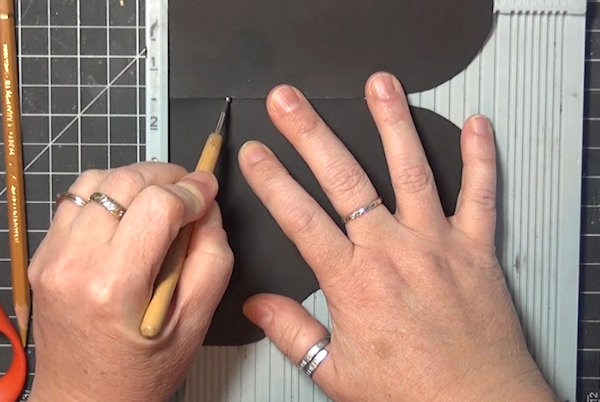
Step 4
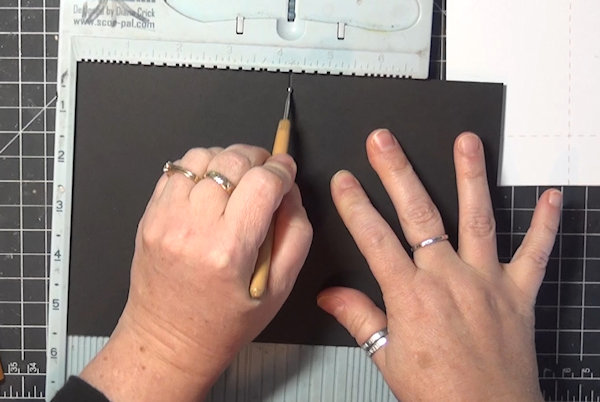
Score the card front 1” from the straight edge.
-
Step 5
Score or mark the card base at 1” from the straight edge, only on the front panel.
-
Cut the 1” x 4 1/4" piece away but do not discard it.
-
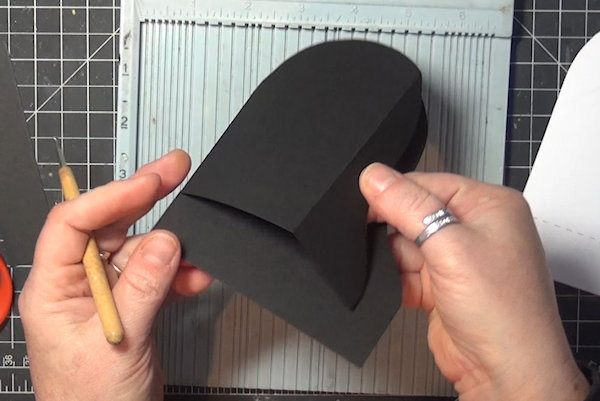
Step 6
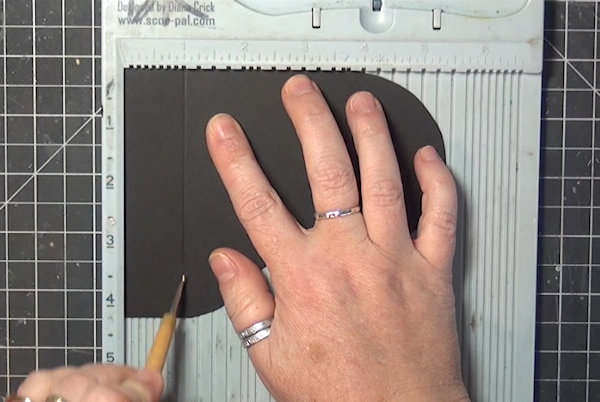
Score the front of the card base at 2 1/2" from the fold as shown.
-
Make a mountain fold.
-
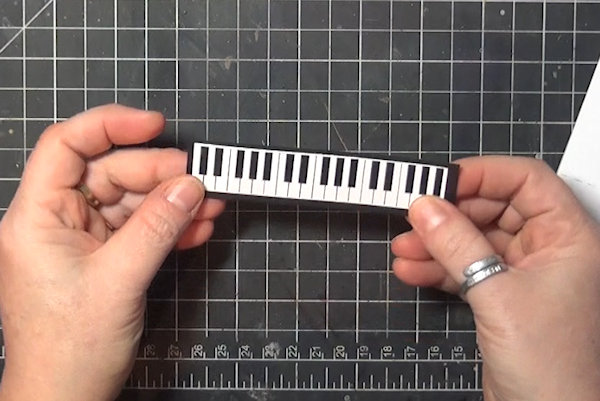
Step 7
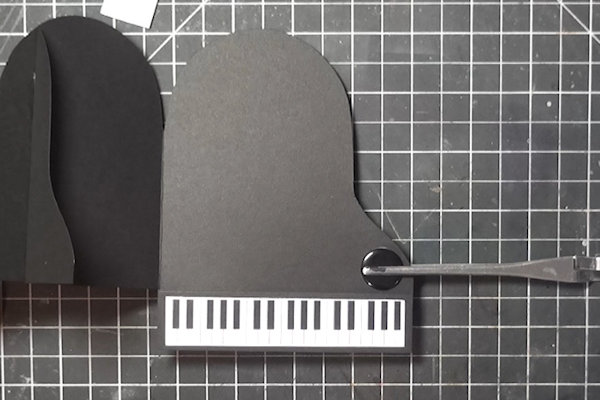
Trim the keyboard graphic from the template sheet to 3/4" x 4”.
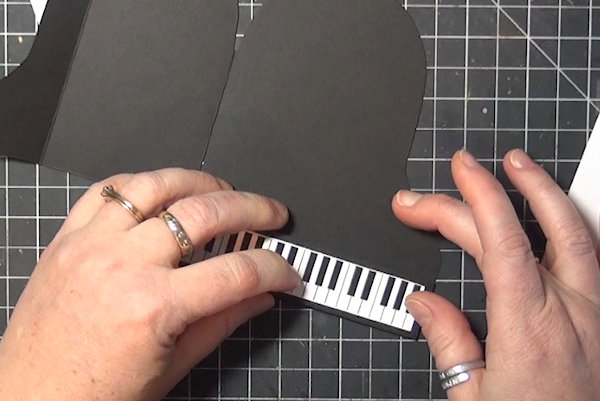
-
Layer and adhere it to the 1” x 4 1/4" cardstock strip and adhere it to the inside of the card base (for the sample, black craft foam was used to pop it up slightly).
-
Step 8
On the card front panel, fold up at the score line. Add glue to the front of the card base, only to the left of the score line.
-
Align and adhere the single panel to the card base.
-
Step 9
Glue a button, raised die cut or other small embellishment to the inside of the card base where the edge curves out. This will hold the card front/piano top up when the card is displayed.
-
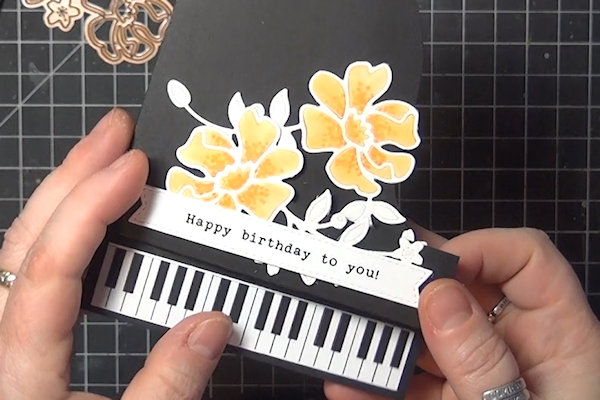
Step 10
Decorate the card front as desired. Die cuts were used for the sample, and a small piece of foam tape was placed under the front flower to hold the flap down. This is not required.
-
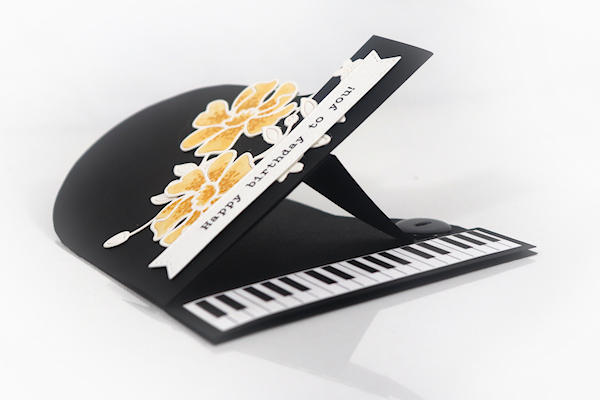
To display the card, tuck the edge of the easel piece (folded edge of the front of the card base) under the easel stopper (button here).
-
Step 11
Complete the card.


Video!
Variations
-
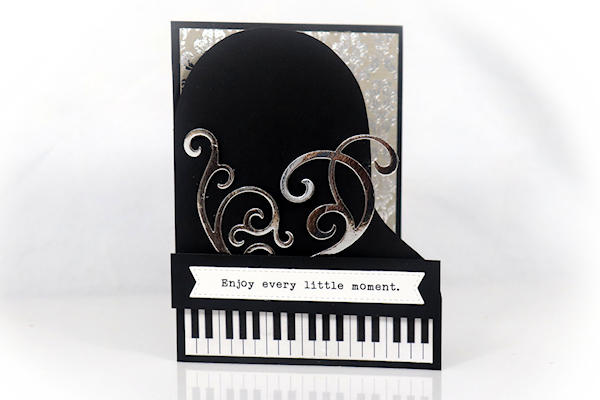
Omit step 6 and make a regular card front without the easel prop and selective gluing.
-
Create a card base and just trace/cut the template on the front. Adhere the keyboard to the front of the card and add a 1" strip of cardstock above it. Layer cardstock on the inside of the card.
Your Turn
You've seen the tutorial, now you try it! We've got a section of the gallery set aside for Grand Piano Card. Try this technique, then upload your artwork to the gallery. Show us your creations!
***Please note - Internet Explorer/Edge is not a supported browser, and will not allow you to see the videos. Please use Chrome, Firefox or Safari to view our tutorial videos.

Questions and Comments
We'd love to get your feedback or questions. Leave your comment below.
Shirley
Page 1 of 1 pages