Glittered Stenciling
by Dina Kowal
Stencil a glittered pattern onto cardstock or a colored image.
Supplies
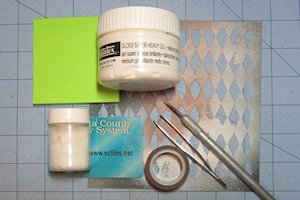
- Plastic stencil
- Paper for masking
- PVA glue, heavy gel medium, or another dimensional medium that dries clear
- Craft spatula or stiff, straight-edged card for scraping glue
- Glitter, microbeads, mica powders, etc.
- Craft knife
- Tweezers
- Stamps and other embellishments as needed to complete the project
Step-by-Step
-
Step 1
To make your own glittered cardstock, position a stencil over a cardstock panel and tape it in place.
Put PVA glue or other dimensional medium onto a flat palette. Using a plastic card or other straight-edged tool, scrape the glue through the stencil openings onto a cardstock panel in an even layer.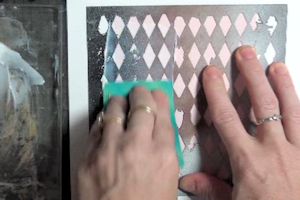
-
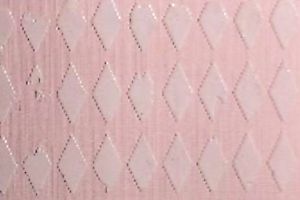
Step 2
Lift the stencil carefully to reveal the pattern.
-
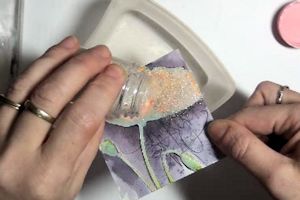
Sprinkle glitter over the glue and allow the panel to dry completely.
-
Step 3
Use the finished panel to complete a project.
In the sample, the glittered cardstock is used as a background for a framed die cut scene (dies by Impression Obsession, stencil by the Crafter's Workshop).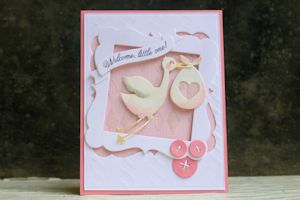
-
Step 4
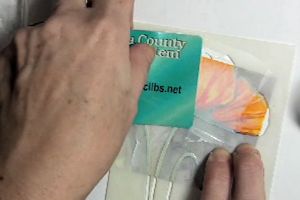
To apply glitter to one area of a colored image, use a coordinating stencil or die cut (if available), or create a reverse or mortise mask by stamping the image on another piece of cardstock and cutting inside the outline with a craft knife.
-
Scrape glue through the opening, then remove the mask and apply glitter. Allow the panel to dry completely.
-
Step 5
Use the finished panel to complete a project.
(stamp and stencil by Penny Black)
-
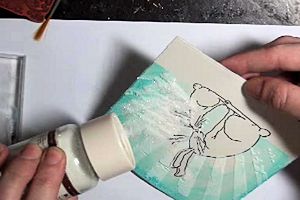
Step 6
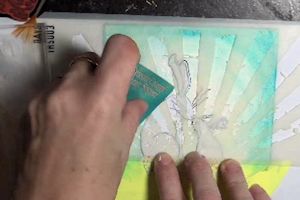
To add glitter to the background of a stamped scene, mask the image first.

-
Lay the stencil over the masked image. Scrape glue through the openings.
-
Step 7
Remove the stencil and apply glitter. Allow the panel to dry completely.
-
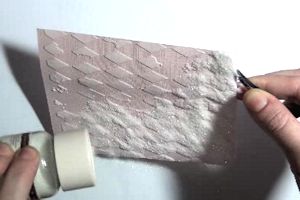
TIP:
If glue and glitter overlap the stamped lines, gently push them aside with a craft knife before the glue dries.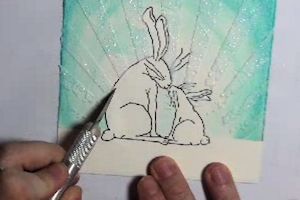
-
Step 8
Use the finished panel to complete a project.
(stamp image by Artful Stamper, stencil by Tim Holtz)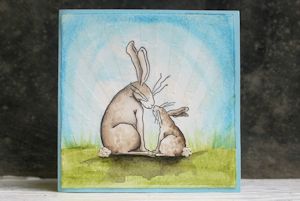
Video!
Your Turn
You've seen the tutorial, now you try it! We've got a section of the gallery set aside for Glittered Stenciling. Try this technique, then upload your artwork to the gallery. Show us your creations!
***Please note - Internet Explorer/Edge is not a supported browser, and will not allow you to see the videos. Please use Chrome, Firefox or Safari to view our tutorial videos.

Questions and Comments
We'd love to get your feedback or questions. Leave your comment below.
Love the technique as well. Just curious if you could use Gesso, or Dimensional Paste?
Grandmakathy
Kathy - PVA glue cleans right off with water!
The rabbit stamp is linked in my gallery post - you can click through from this page to the gallery to find the card.
Page 1 of 2 pages 1 2 >