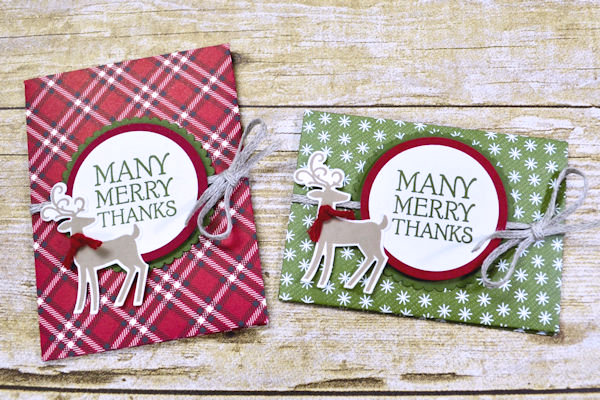
Gift Card Wallet
by Chris Slogar
Use a punch board to create this unique gift card presentation.
Supplies
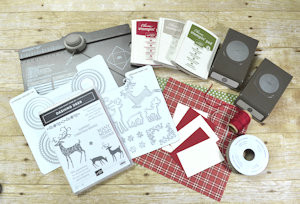
- Cardstock (Stampin’ Up!® Cherry Cobbler, Very Vanilla and Mossy Meadow used here)
- Designer paper (Stampin’ Up! Festive Farmhouse used here)
- Envelope Punch Board
- Paper trimmer
- Scoring tool (optional – Simply Scored used here)
- Bone folder
- Adhesive (Stampin’ Up! Fast Fuse and Dimensionals used here)
- Scissors
- Other supplies as needed to complete the project (SU products used here: Braided Linen Trim, Festive Farmhouse Cotton Twine, Dashing Deer Stamp Set and Framelits, Layering Circle Framelits, Big Shot Die Cutting Machine, 1 ¾” and 2” Circle Punches, Mossy Meadow Ink, Crumb Cake Ink and Cherry Cobbler Ink)
Step-by-Step
-
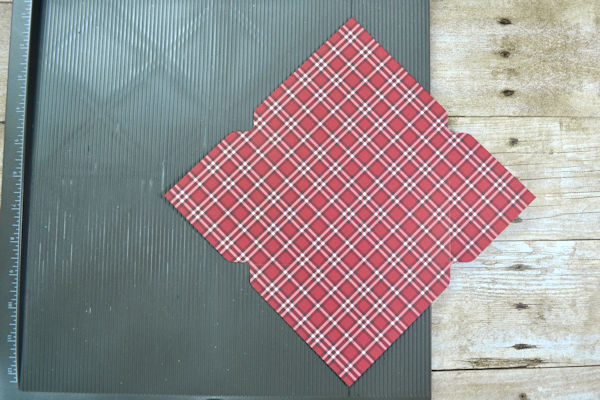
Step 1
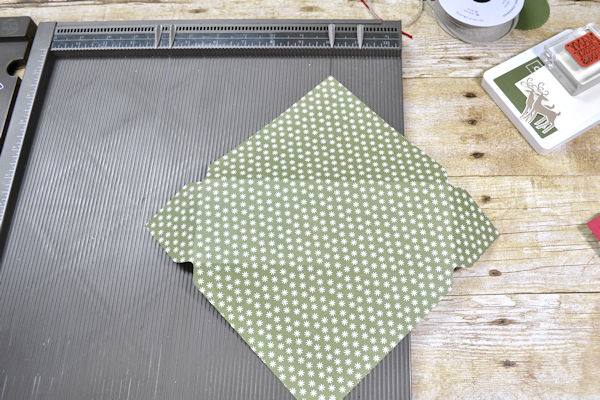
Cut designer paper to 8” x 8”.
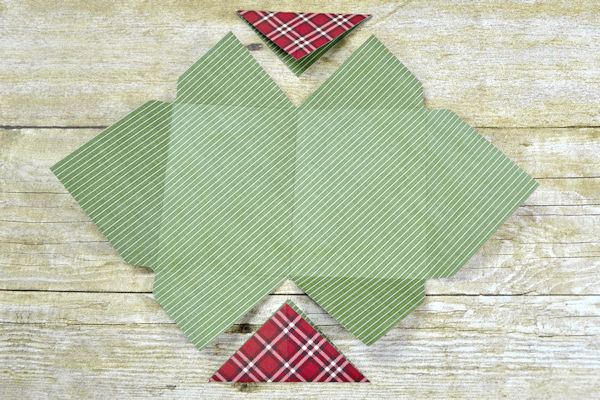
Place designer paper on envelope punch board. Punch and score at 3 1/4”. Rotate 90 degrees; align pointer with score line; punch and score again. Repeat twice so that all four sides are punched and scored. -
Step 2
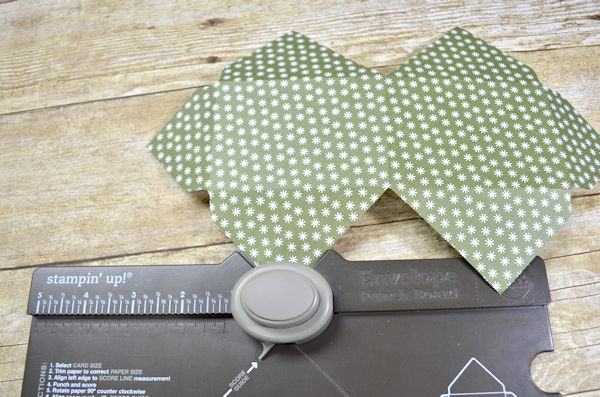
Align punched piece on scoring tool or paper trimmer, oriented as shown (larger flaps at 12 and 6 o’clock), and score between upper and lower corners.
-
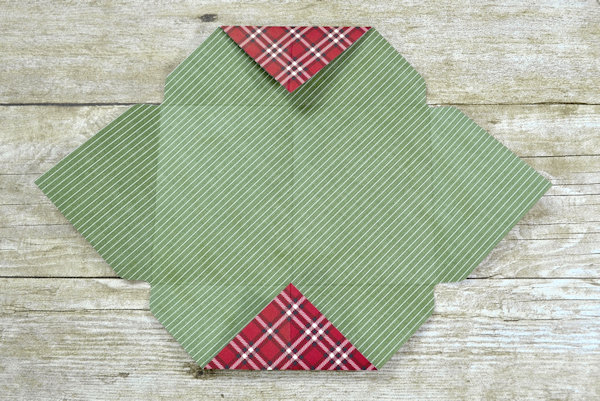
Step 3
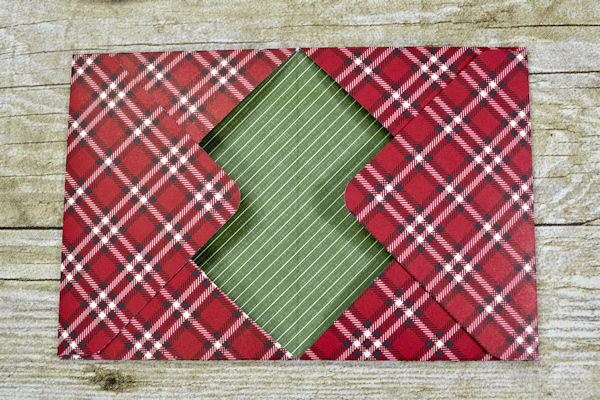
Burnish all score lines. Fold corners of larger flaps in to meet the intersection of score lines.
-
Step 4
Use the corner edges as a guide to cut away a center section of designer paper with scissors.
-
Step 5
Round corners on left and right flap with punch on envelope punch board.
-
Step 6
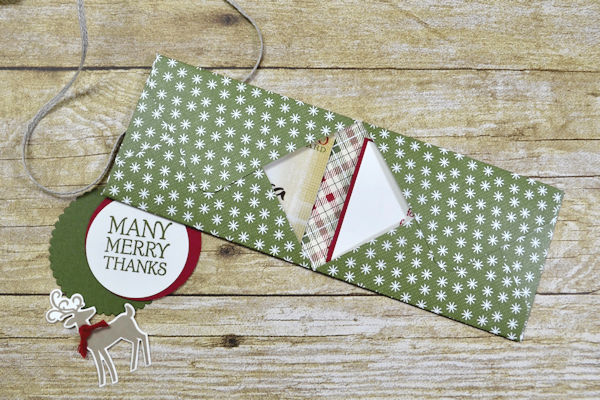
Fold in all flaps, with largest flap over the others on each side. Secure with adhesive to create two pockets.
-
Step 7
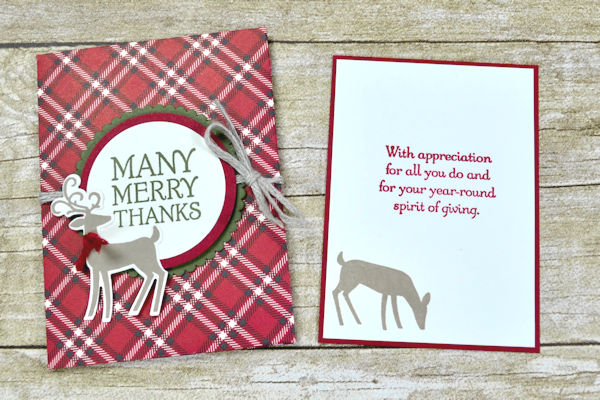
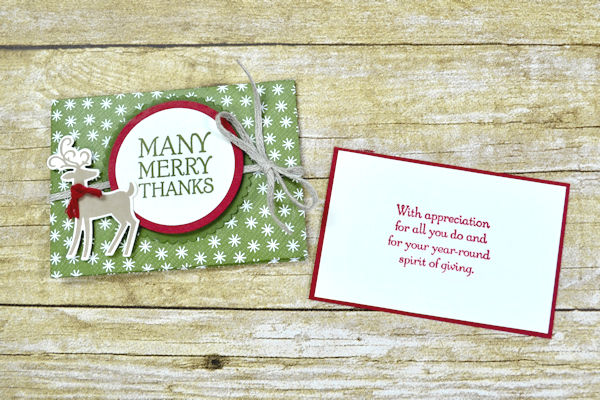
For inner card, stamp front of 2 5/8” x 3 5/8” cardstock as desired and mat onto 2 3/4” x 3 3/4” cardstock.
Decorate front of wallet as desired. For the sample, a 2 1/4” scalloped circle was matted with 2” and 1 3/4” punched circles, embellished with a stamped deer, twine and a 15” length of trim. -
Step 8
The steps to create the second version are very similar. The differences are noted in the following steps.
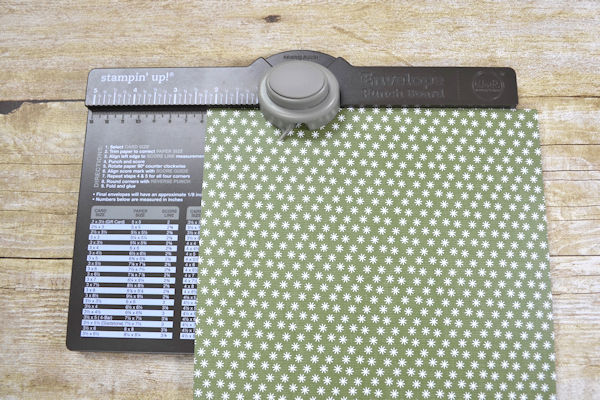
Place 8” x 8” designer paper on envelope punch board. Punch and score at 2 1/4”. Rotate 90 degrees; align pointer with score line; punch and score again. Repeat twice so that all four sides are punched and scored. -
Step 9
Align punched piece on scoring tool or paper trimmer, oriented as shown (larger flaps at 12 and 6 o’clock), and score between upper and lower corners.
-
Step 10
Follow Steps 3-5 as above, except round upper flaps of pockets.
-
Step 11
Fold in all flaps, with upper flap over the others on each side. Secure with adhesive to create two pockets.
-
Step 12
For inner card, stamp front of 2 1/8” x 3 3/8” Very Vanilla cardstock as desired and mat onto 2 1/4” x 3 1/2” cardstock.
Decorate front of wallet as desired. Use an 18” length of trim for this version.


Video!
Your Turn
You've seen the tutorial, now you try it! We've got a section of the gallery set aside for Gift Card Wallet. Try this technique, then upload your artwork to the gallery. Show us your creations!
***Please note - Internet Explorer/Edge is not a supported browser, and will not allow you to see the videos. Please use Chrome, Firefox or Safari to view our tutorial videos.

Questions and Comments
We'd love to get your feedback or questions. Leave your comment below.
Page 1 of 1 pages