Gift Card Holder
by Jenn Balcer
Personalize gift card packaging to suit the recipient and the occasion.
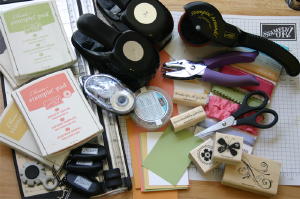
Supplies
- 2 3/4" x 11" strip colored cardstock (here Groovy Guava)
- 2 1/2" x 3 1/2" colored cardstock (here Certainly Celery)
- 2 3/8" x 3 3/8" colored cardstock (here So Saffron)
- 2 1/4" x 3 1/4" neutral cardstock (here Whisper White)
- 2 1/4" x 3 1/4" colored cardstock (here Certainly Celery)
- Scrap cardstock (here So Saffron and Whisper White)
- Two #3 coin envelopes (2 1/2" x 4")
- Circle punches (1 3/8", 1 1/4", 1/8" handheld)
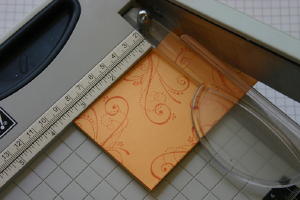
- Paper trimmer with scoring blade
- Cutter kit
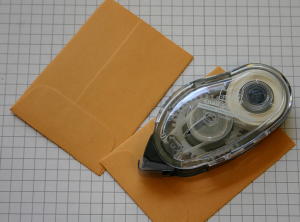
- Adhesive (SNAIL and Dimensionals)
- Stamps, Ink, Embellishments, Paper Snips
Step-by-Step
-
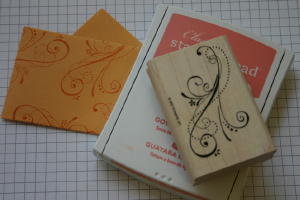
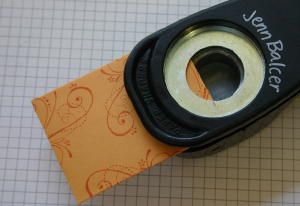
Step 1
Stamp images on cardstock strip.
Using scoring blade on paper trimmer, score strip at 2 3/4", 3", 6 7/8" and 7 1/8".
Set aside.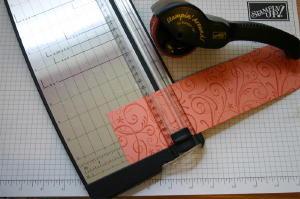
-
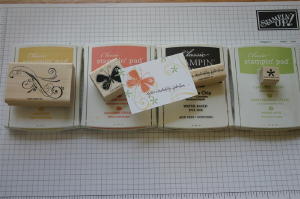
Step 2
Stamp images on neutral cardstock.
-
Step 3
Layer stamped images and embellish as desired.
Note: The Cutter Kit's distressing tool was used on the middle layer.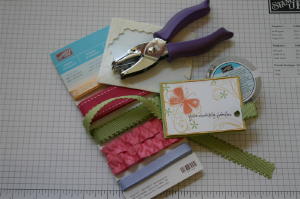
-
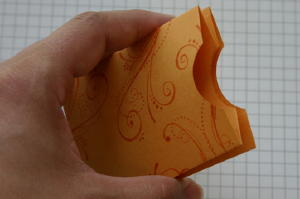
Step 4
Fold scored strip to create gift card holder.
Position dimensionals on left side of image back.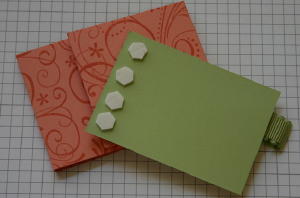
-
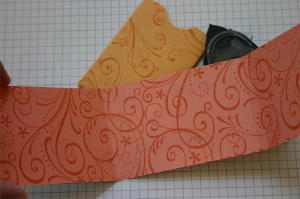
Step 5
Remove backing from dimensionals, and position on gift card holder. The shorter side will tuck under the stamped panel to keep it closed. Set aside.

-
Step 6
Stamp images on one side of one coin envelope.
-
Step 7
Use adhesive to adhere coin envelopes together.
-
Step 8
Trim coin envelopes to 3 1/2" with paper trimmer.
-
Step 9
Punch semi-circle from coin envelopes with 1 1/4" circle punch.
-
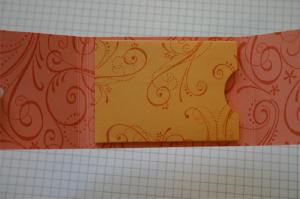
Top view
-
Step 10
Open gift card holder, and apply adhesive to center panel.
-
Adhere coin envelopes to center panel.
-
Step 11
Stamp sentiment and other images on two 1/4" x 3 1/4" colored cardstock, and another image on scrap neutral cardstock.
Punch neutral cardstock with 1 1/4" circle punch, and also a 1 3/8" circle from scrap of colored cardstock.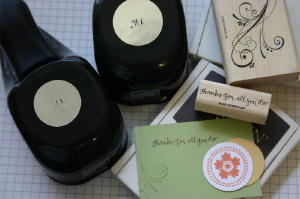
-
Adhere larger circle behind sentiment card, leaving about 1/4" hanging off of the right side. Adhere smaller circle on front as shown.
Insert sentiment card into one coin envelope, and a gift card into the other.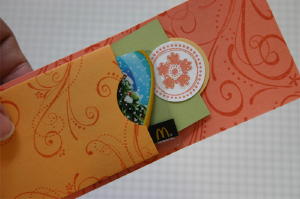
-
Step 12
Tuck cardstock under stamped panel to close gift card holder.
Finished project.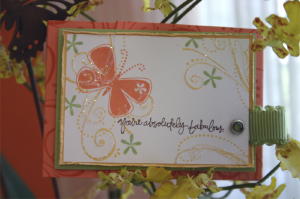
Video!
Your Turn
You've seen the tutorial, now you try it! We've got a section of the gallery set aside for Gift Card Holder. Try this technique, then upload your artwork to the gallery. Show us your creations!
***Please note - Internet Explorer/Edge is not a supported browser, and will not allow you to see the videos. Please use Chrome, Firefox or Safari to view our tutorial videos.

Questions and Comments
We'd love to get your feedback or questions. Leave your comment below.
Thanks.
Linda Duensing
Page 1 of 1 pages