Ghost Stamping
by Dina Kowal
Combine inks for a ghosted background print.
Supplies
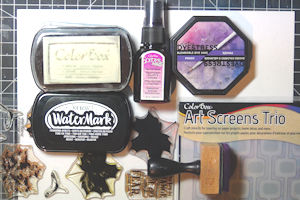
- White pigment ink, chalk or watermark ink (Clearsnap® ColorBox® Popcorn Chalk Ink and TopBoss® WaterMark ink used here)
- Dye ink pads or sprays (Clearsnap Blendable Dye inks and ColorBox Spritzers used here)
- White cardstock or Bristol (Neenah Classic Crest Solar White #80 used here)
- Stamps (used here: Impression Obsession CC329 Leaf Ledger, WP685 Layered Maple clear set, D13611 Raven Silhouette, D13594 Treat the World, CL327 (discontinued), CL886 Monster Mash; ColorBox Jumbo Swirls Molding Mat and Scribbles Mini Molding Mat)
- Stencils (ColorBox Disco Art Screens Trio used here)
- Ink applicators (Ranger Ink Blending Tool used here)
- Other supplies as needed to complete the project (used here: Spellbinders Nestabilities Labels 8, A2 Matting Basics and Classic Circles dies, Scor-Buddy, Impression Obsession DIE299 All-in-One Frames - Circles, ColorBox Black Bean Premium Dye ink, Clarity Stencil Brush)
Step-by-Step
-
Step 1
Basic technique:
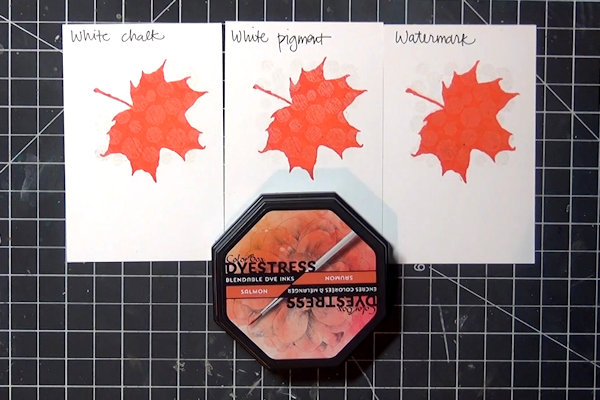
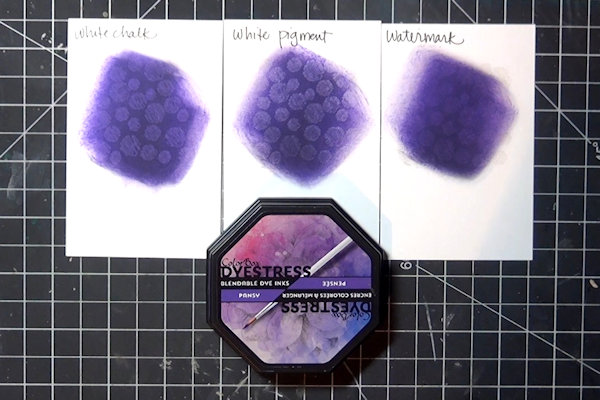
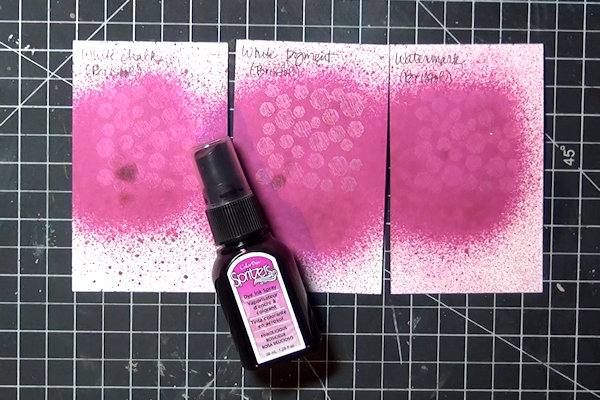
Stamp an image or pattern onto smooth white cardstock using watermark ink or white pigment or chalk ink. -
Step 2
Stamp, spritz or blend dye ink over the background.
-
Experiment with different combinations and applications of ink to see what produces the best effect.
Some combinations may be more subtle, or produce color changes. -
Step 3
Ink can be stamped, applied with a blending tool, or spritzed.
-
NOTE:
Some inks may have different results, but heat setting the white or colorless ink does not seem to be necessary. -
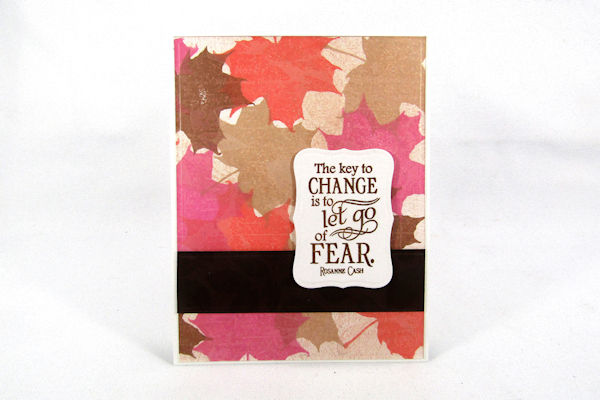
Step 4
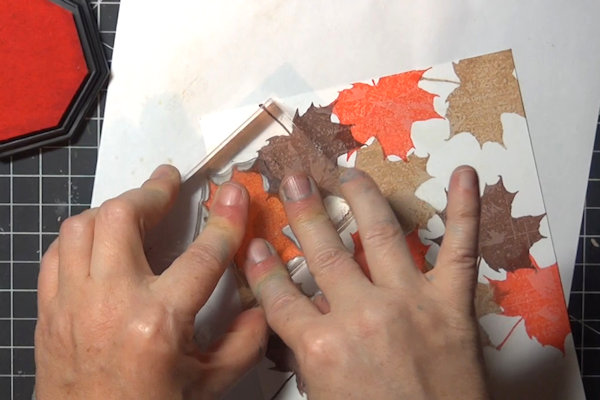
For an overall ghost print, stamp a background using white ink (ColorBox Chalk Ink used here).
-
Cover the background with solid stamped images using dye ink (ColorBox Dyestress inks used here).
-
Step 5
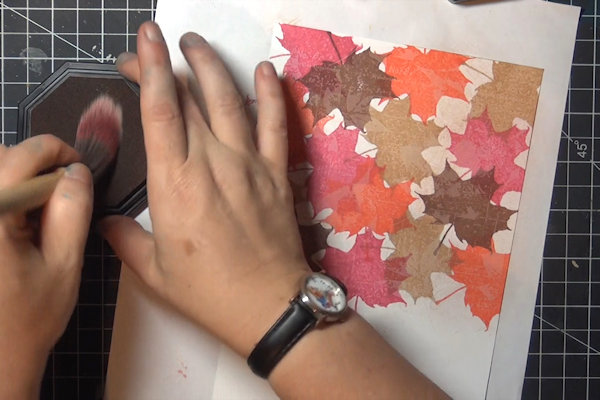
Brush dye ink over the open areas.
-
Complete the project.
-
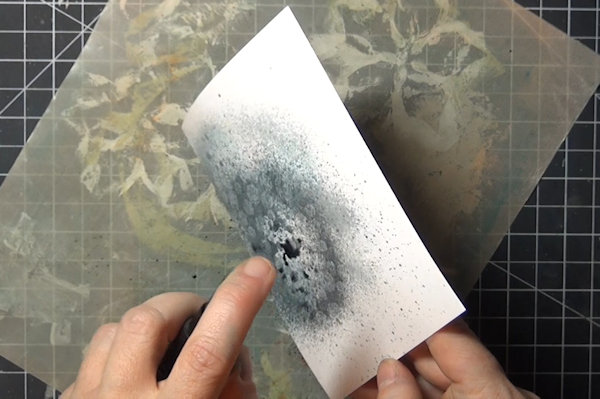
Step 6
For another effect, stamp a small background area using a texture or patterned stamp.
-
Spritz the stamped area using a dye-based spray (ColorBox Spritzer used here).
-
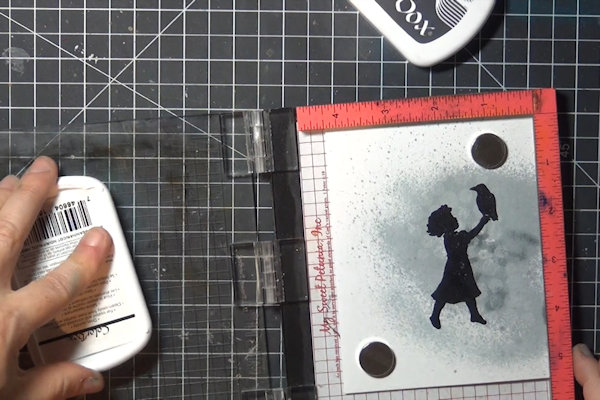
Step 7
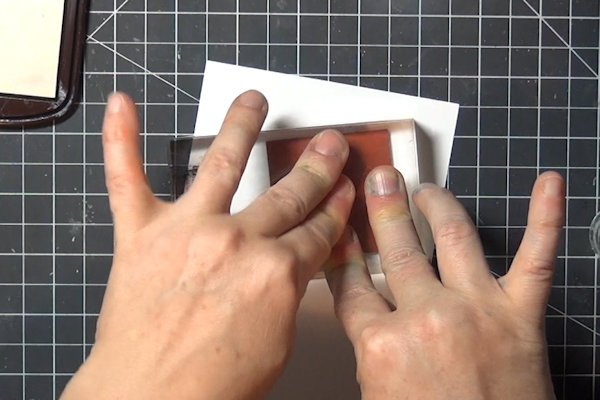
Stamp a silhouette or collage image (ColorBox Black Bean Premium Dye ink used here).
-
TIP:
Use a matching colored pencil to move ink into patchy areas while the ink is still wet. -
Step 8
Complete the project.
-
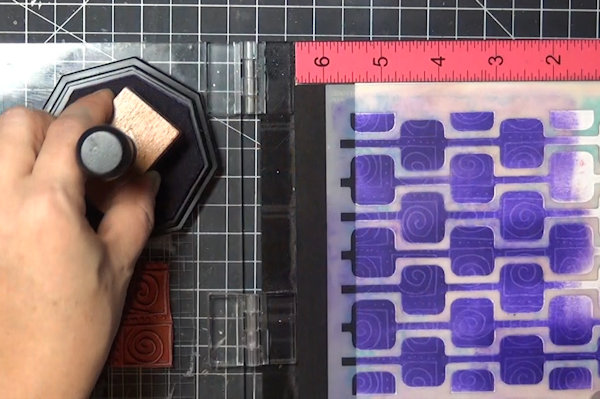
Step 9
For another look, stamp a background with pigment, watermark or chalk ink and sponge or stencil dye inks over the design (Combined here: ColorBox Popcorn Chalk ink and Dyestress inks).
-
Step 10
Complete the project.


Video!
Variations
Try the technique using a light colored pigment ink (not white) with dark dye inks.
Your Turn
You've seen the tutorial, now you try it! We've got a section of the gallery set aside for Ghost Stamping. Try this technique, then upload your artwork to the gallery. Show us your creations!
***Please note - Internet Explorer/Edge is not a supported browser, and will not allow you to see the videos. Please use Chrome, Firefox or Safari to view our tutorial videos.

 *
*
Questions and Comments
We'd love to get your feedback or questions. Leave your comment below.
I did not know colorbox has their own version of distress inks-"dyestress"...how do they play with distress?
Page 1 of 1 pages