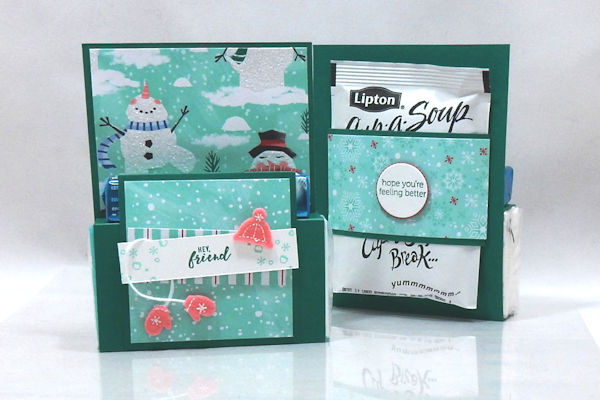
Get Well Kit
by Wendy Lee
Make a survival kit for winter wellness.
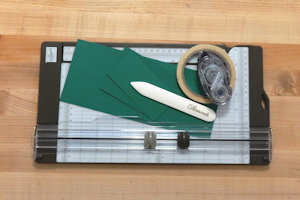
Supplies
- Cardstock – 4 1/4” x 10 1/8”, 3 1/4” x 4 3/8” & 4 3/8” x 2 1/4” cardstock (Stampin’ Up!® Shaded Spruce cardstock used here)
- Paper trimmer
- Scoring tool
- Bone folder
- Adhesive
- Kit fillers - tissue pack, Halls Cough Drop Pocket Sticks, Lipton Cup A Soup Instant Soup packet
- Other supplies as needed to complete the project (SU supplies used here: Itty Bitty Greetings stamp set, Snowman Season stamp set, Real Red & Whisper White cardstock, Let It Snow Specialty Designer Series paper, Shaded Spruce & Coastal Cabana ink, Layering Circles dies, White Bakers Twine, Let It Snow Embellishment Kit, glue dots, liquid adhesive, dimensionals)
Step-by-Step
-
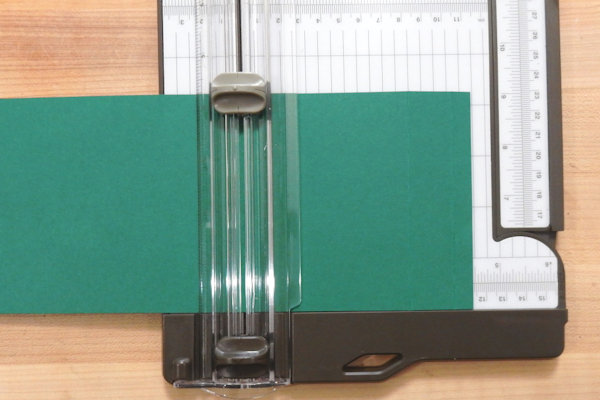
Step 1
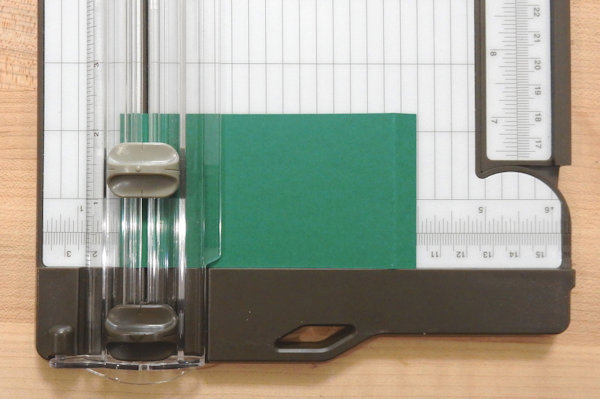
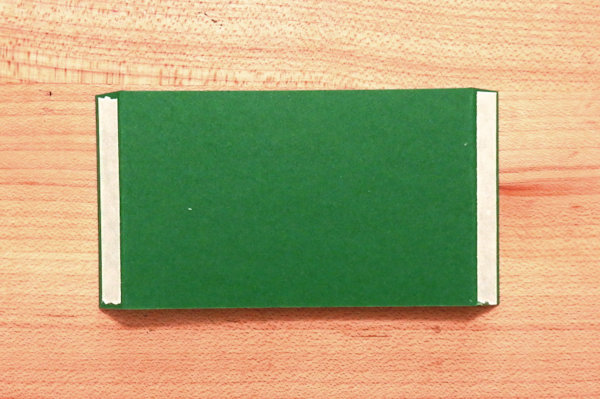
Score 4-1/4” x 10-1/8” cardstock at 3/8”, 1-1/4”, 3-5/8” & 4-1/2” on the long side.
-
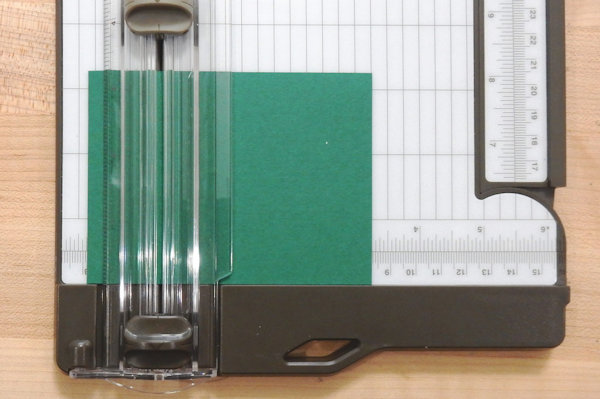
Step 2
Score 3-1/4” x 4-3/8” cardstock at 3/8” & 1-1/8 on the long side.
-
Step 3
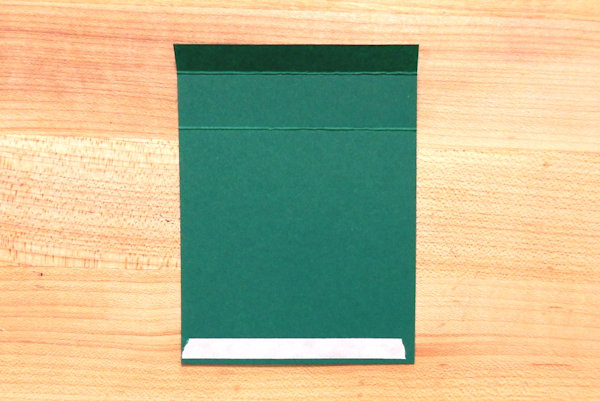
Score 4-3/8” x 2-1/4” cardstock at 3/8” on each end.
-
Step 4
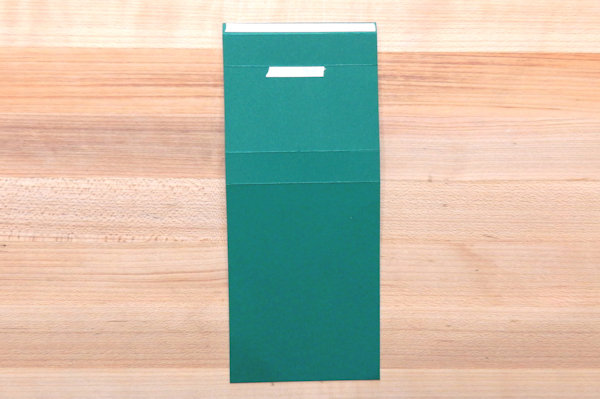
Fold 4-1/4” x 10-1/8” cardstock along score lines.
Add adhesive to 3/8” tab. Add approx. 2” of adhesive to center just below 1-1/4” score line. -
Step 5
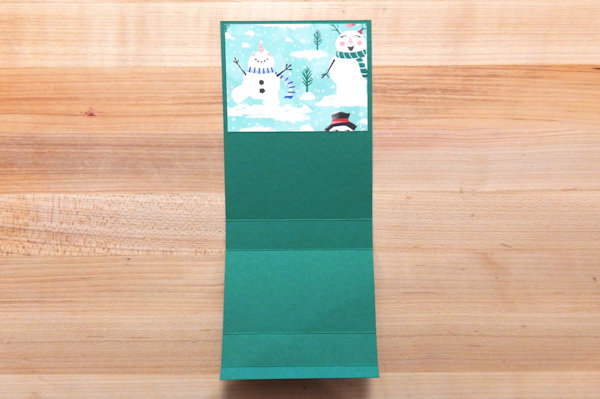
Add adhesive to back of 4” x 3” designer paper and adhere to inside of card base. (optional)
-
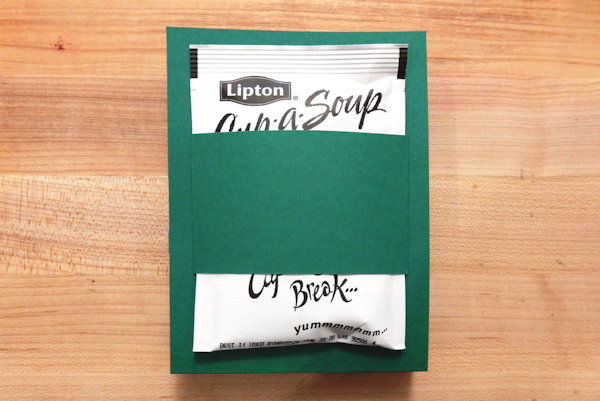
Step 6
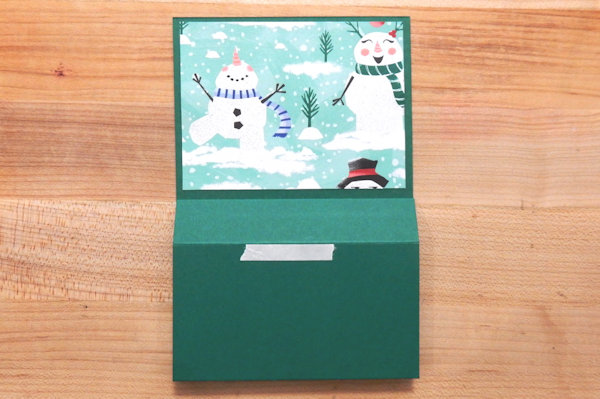
Fold cardstock on the 3-5/8” score line and adhere tab to card base to create pouch for tissues.
-
Step 7
Fold 4-3/8” x 2-1/4” cardstock along score lines.
Add adhesive to tabs. -
Step 8
Flip card base to back side and adhere layer, wrapping around soup packet for placement.
-
Step 9
Fold 3-1/4” x 4-3/8” cardstock along score lines.
-
Add adhesive to 3/8” tab. Flip over and add adhesive to bottom of back.
-
Step 10
Adhere bottom of layer to front of card base.
-
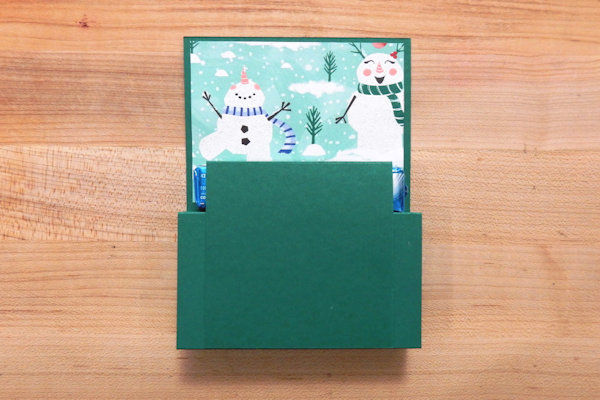
Step 11
Adhere top of layer, wrapping around cough drops for placement.
-
Step 12
Embellish as desired to complete the project.


Video!
Your Turn
You've seen the tutorial, now you try it! We've got a section of the gallery set aside for Get Well Kit. Try this technique, then upload your artwork to the gallery. Show us your creations!
***Please note - Internet Explorer/Edge is not a supported browser, and will not allow you to see the videos. Please use Chrome, Firefox or Safari to view our tutorial videos.

Questions and Comments
We'd love to get your feedback or questions. Leave your comment below.
Page 1 of 1 pages