Gel Printing Shrink Plastic
by Dina Kowal
Use a gel press to decorate shrink plastic for jewelry charms.
Supplies
- Shrink plastic with a rough side (Chunky Stamps brand used here)
- Gel plate
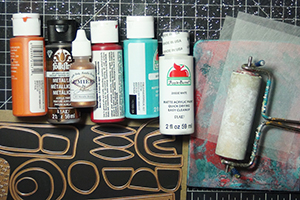
- Acrylic craft paints (various brands used here)
- Brayer
- Stencil (A Colorful Life Designs 017159 Rose Cluster used here)
- Items for adding texture (Sunny Side Up Bakery Damask impression mat used here, other ideas mentioned below)
- Dies (abstract circles from Spellbinders Feb. 2020 Large Die of the Month club kit used here)
- 1/4” round hole punch
- Heat set ink and brush or sponge (Versafine ink used here)
- Oven
- Acrylic block (optional)
- Other supplies as needed to complete the project (used here: 4mm and 6mm antique copper jump rings, various beads and spacers, earring hooks, 2” copper eye pin, jewelry pliers and wire cutters)
Step-by-Step
-
Step 1
Cut a piece of shrink plastic to the size of your gel plate. The sheet for this sample is about 4 1/2” x 5”.
-
Step 2
Plan for two layers of printing with good contrast. Colors can be combined within each layer.
(Excess paint on the plastic will raise and rub away. With more than two layers this is a risk.)
Apply a few drops of paint to the gel plate. (Click HERE for a tutorial on Gel Printing Basics.) -
Use a brayer to combine the paint colors together in a very thin layer.
-
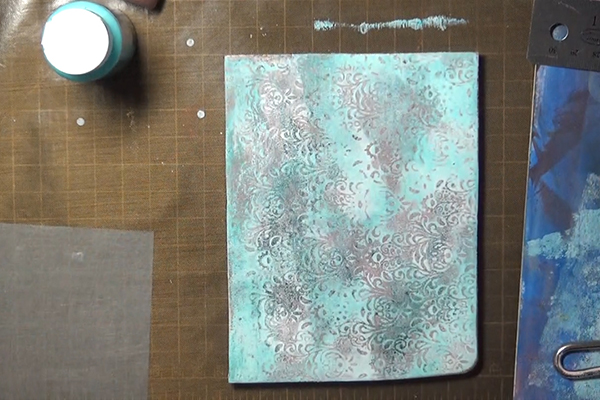
Step 3 (Optional)
Add a light texture to the paint. This can be done by pressing a texture sheet into the paint lightly, as shown here. Other items that could be used: a plastic grocery bag, embossing folder, sponge, background stamp, bubble wrap.
-
NOTE:
Don’t remove too much paint, since this is the base layer. -
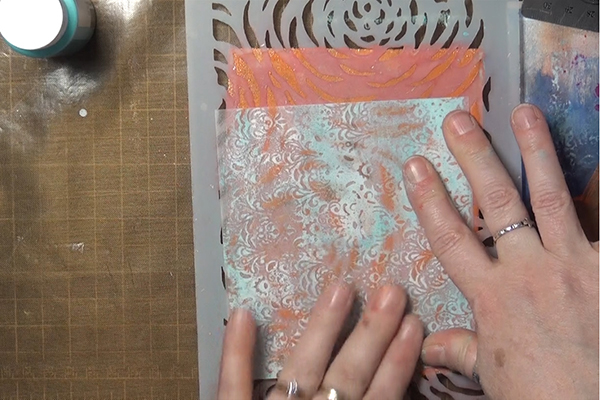
Step 4
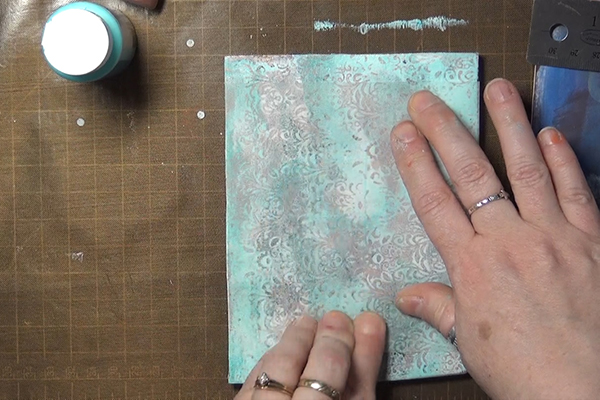
Press the shrink plastic *rough side down* onto the painted surface. Rub the full area of the plastic to ensure good coverage.
-
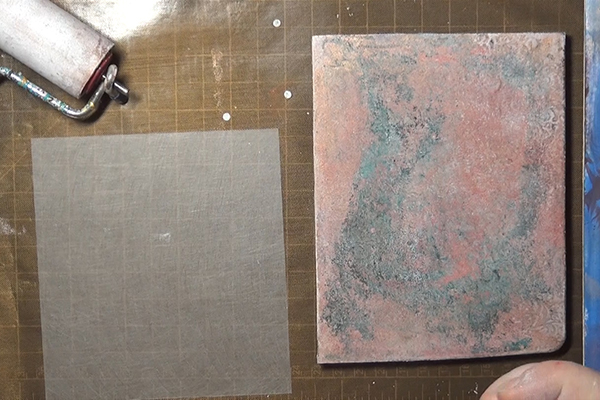
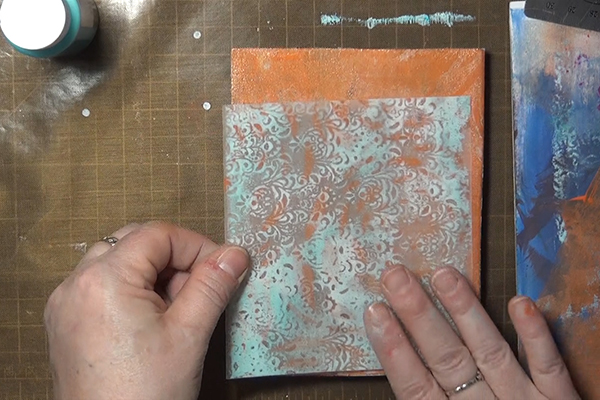
Step 5
Use a sheet of paper to lift any excess paint from the gel plate. (Here a piece of matboard is being used to lift the paint – it has been used often for this purpose and will become part of another project later.)
-
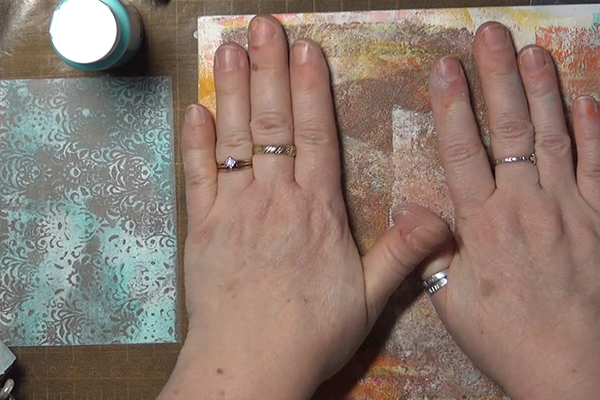
Step 6
Add paint to the gel plate for a second layer. Be sure to use colors that contrast with the first layer.
-
Use a brayer to combine the paint colors together in a very thin layer.
-
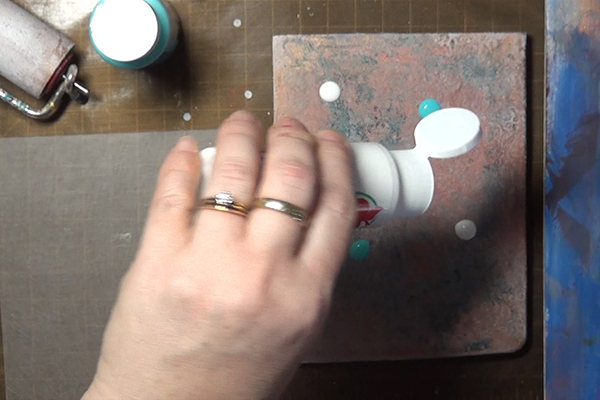
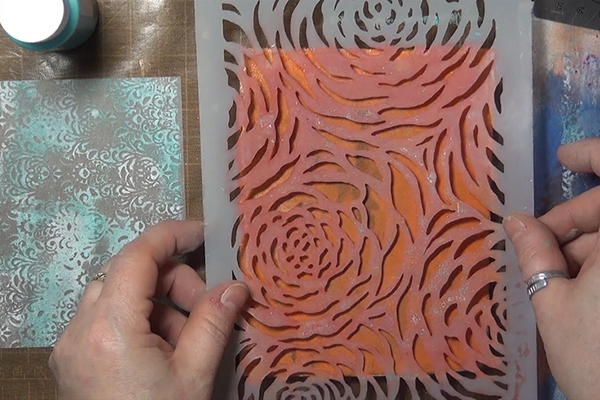
Step 7
Mask or remove paint from this layer. A stencil was used here. Other options: lift paint with tools recommended above, or scrape paint away with a texture tool, comb, brush handle, etc.
-
Step 8
Press the shrink plastic *rough side down* onto the painted surface. Rub the full area of the plastic to ensure good coverage.
-
-
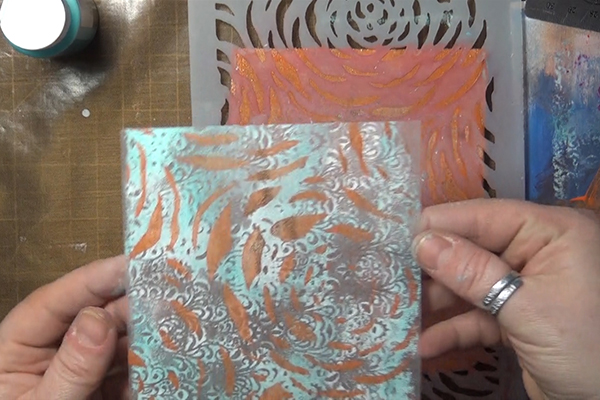
Step 9
Lift remaining paint from the plate as needed to add texture.
-
Step 10
Die cut shapes from the sheet to use in a project. Shrink plastic will usually reduce to about 1/3 of the original size, so keep your finished designs in mind as you choose dies. These dies are 2” tall, and the cut pieces shrank to 7/8”.
-
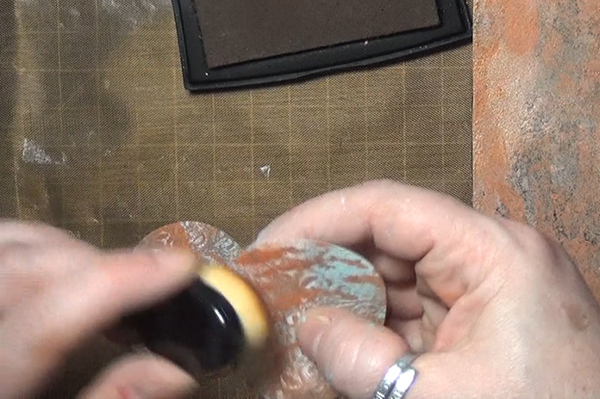
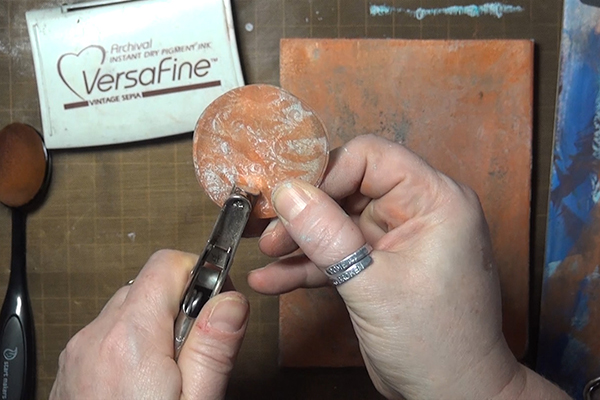
Step 11 (Optional)
Brush the edges with ink if desired. Stamped details can also be added with compatible ink (Versafine (used here), Stazon or hybrid inks are recommended).
-
Step 12
Use a 1/4” hole punch to punch each piece about 1/4" in from the edge if they will be used for jewelry.
-
Step 13
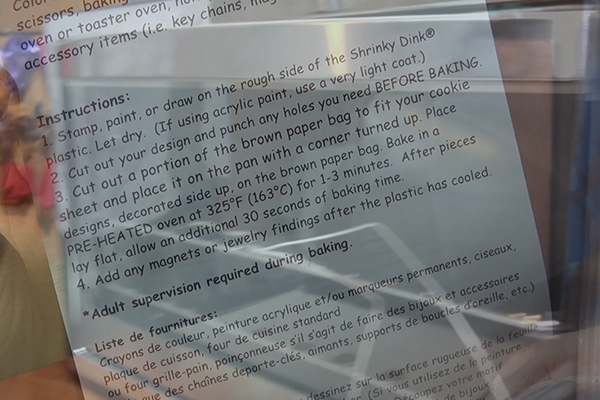
Follow package instructions to shrink the plastic.
-
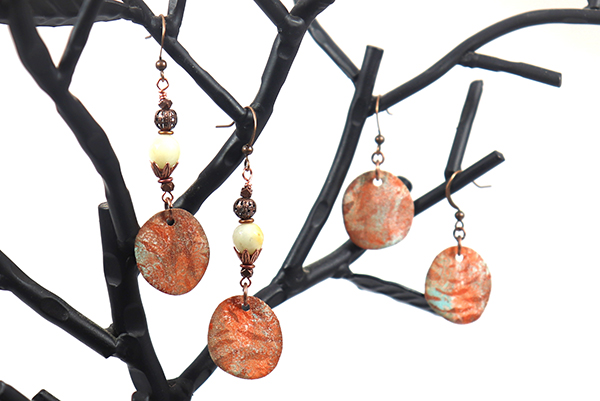
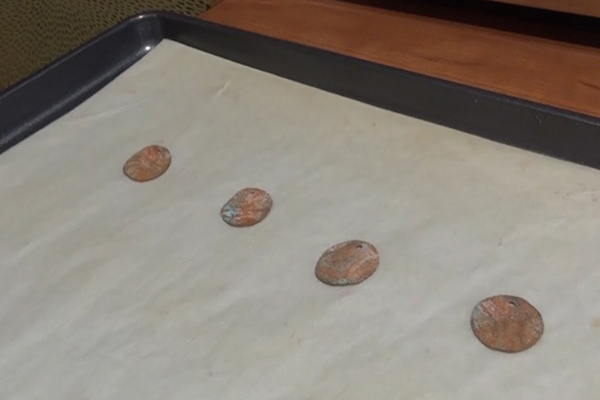
Step 14
The finished pieces are ready to be used for jewelry, charms, embellishments, or other projects. You can use an acrylic block to press them flat while they are still very warm – they may arch a little when baking.
-
Step 15
The video contains instructions for making these earring pairs! Please visit the gallery for further inspiration.


Video!
Your Turn
You've seen the tutorial, now you try it! We've got a section of the gallery set aside for Gel Printing Shrink Plastic. Try this technique, then upload your artwork to the gallery. Show us your creations!
***Please note - Internet Explorer/Edge is not a supported browser, and will not allow you to see the videos. Please use Chrome, Firefox or Safari to view our tutorial videos.

Questions and Comments
We'd love to get your feedback or questions. Leave your comment below.
Page 1 of 1 pages