Gel Impressionism Foiled Collage
by Lydia
In a fun update to the serendipity technique, create a foiled collage.
Supplies
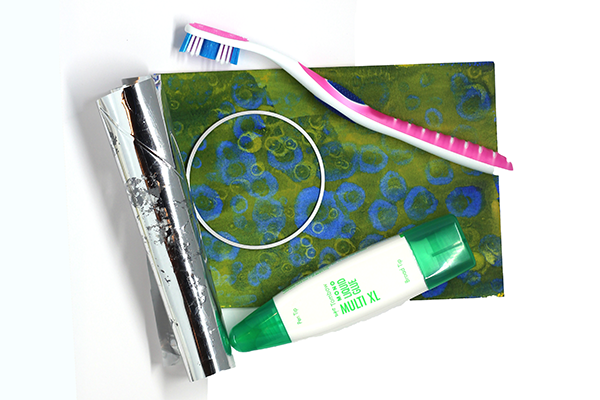
- Gel Press print, background or patterned paper (Print from this technique used here)
- Glue (Tombow Mono Multi used here)
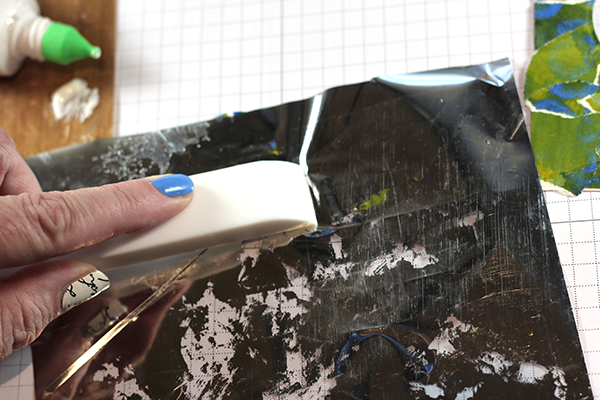
- Craft foil (Silver Deco Foil used here)
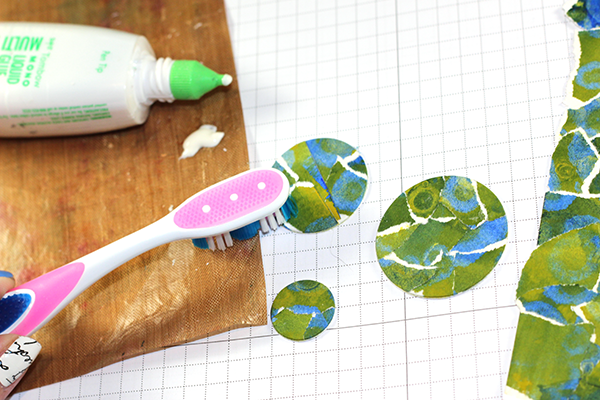
- Dies or punches (Hero Arts Circle Infinity Dies used here)
- Old toothbrush
- Collage medium or gel medium (optional)
- Bone folder or old credit card
Step-by-Step
-
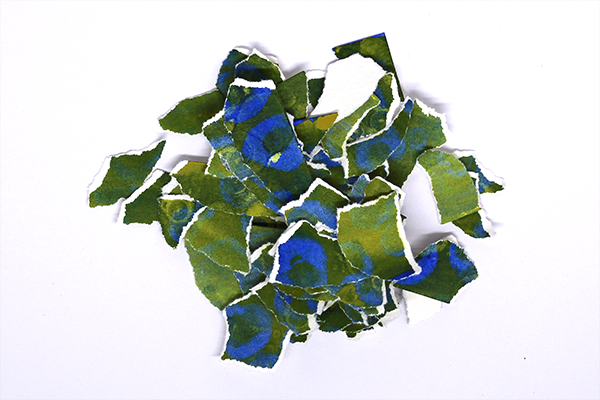
Step 1
Find a Gel Press print, patterned paper or other background piece that's approximately 5x7. Tear it into small pieces about the size of a thumbprint.
-
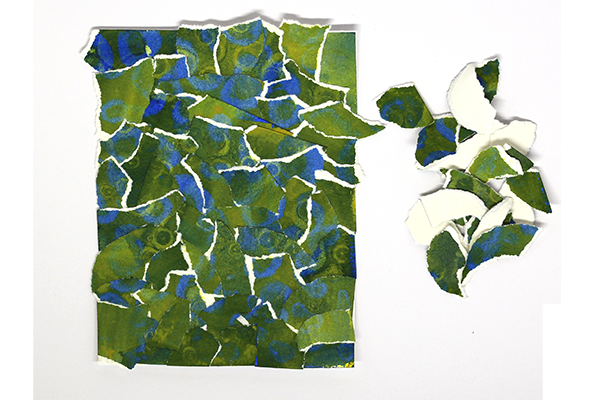
Step 2
Using glue or gel or collage medium, collage the pieces onto a card front. It takes a larger piece than the finished size you're working with. You can see how little is left over when collaging a 5x7 piece onto a card front.
-
Step 3
Using dies or punches or your paper trimmer, cut the collaged piece into small shapes.
-
Step 4
Using an old toothbrush and glue, randomly apply glue to die cut shapes.
-
Step 5
Place craft foil onto wet glue, with the shiny side up, and burnish with a bone folder or old credit card.
-
Step 6
The foil will be transferred to wherever there was glue.
-
Step 7
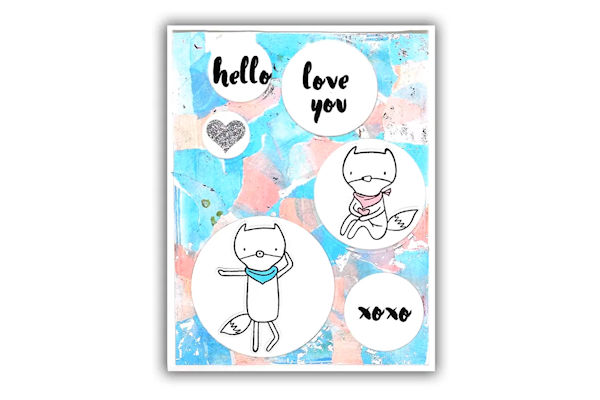
Use the final collage pieces on a finished card.


Video!
Your Turn
You've seen the tutorial, now you try it! We've got a section of the gallery set aside for Gel Impressionism Foiled Collage. Try this technique, then upload your artwork to the gallery. Show us your creations!
***Please note - Internet Explorer/Edge is not a supported browser, and will not allow you to see the videos. Please use Chrome, Firefox or Safari to view our tutorial videos.

Questions and Comments
We'd love to get your feedback or questions. Leave your comment below.
Page 1 of 1 pages